How to Beat Level 165 in Drive Mad – Breakout Guide
Beat Breakout by rushing the wall before the falling obstacle crushes your truck, using quick retreats to rebuild momentum and a slight front lift to knock the upper bricks loose.
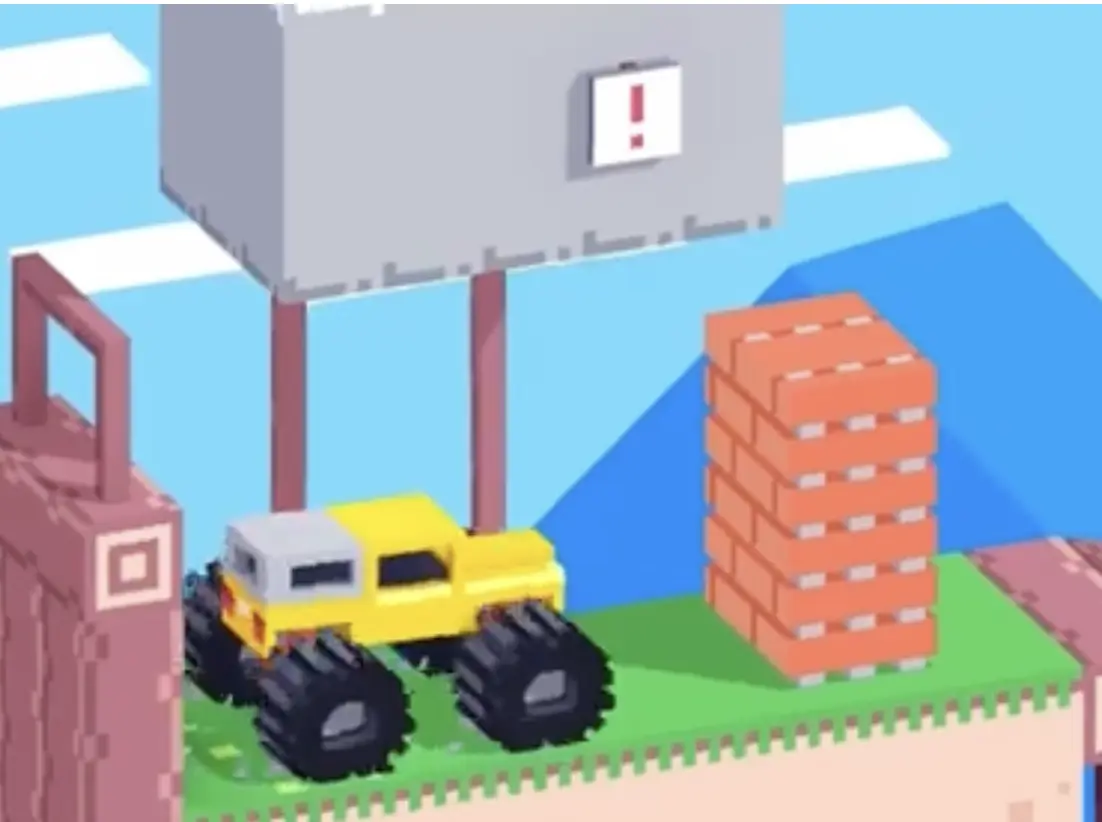
Drive Mad Level 165, called Breakout, is a pressure level where a heavy obstacle drops from above while a brick wall blocks the way forward. The goal is to break through the wall before the falling block crushes your truck, which means you need fast timing, smart recovery, and enough force on each hit.
Why Level 165 Feels Hard
This level feels difficult because you are racing against a descending obstacle, not just the terrain. The wall is tall enough that a weak hit often is not enough, and every failed attempt wastes precious time. You also need to recover smoothly after each impact instead of panicking and getting stuck at the wall.
Step-by-Step Walkthrough for Drive Mad Level 165
Step 1: Rush the wall before the obstacle drops too low
As soon as the level starts, the obstacle above begins dropping. Do not wait. Accelerate toward the brick wall right away so you can start breaking it before you run out of space and time.
Step 2: If the wall does not break, reverse immediately and ram it again
Usually one impact is not enough. The moment your hit stalls out, back up immediately, rebuild momentum, and charge the wall again. Repeat this back-and-forth rhythm until the bricks collapse enough to open a path.
Try not to sit pressed against the wall. Quick recovery matters just as much as the hit itself.
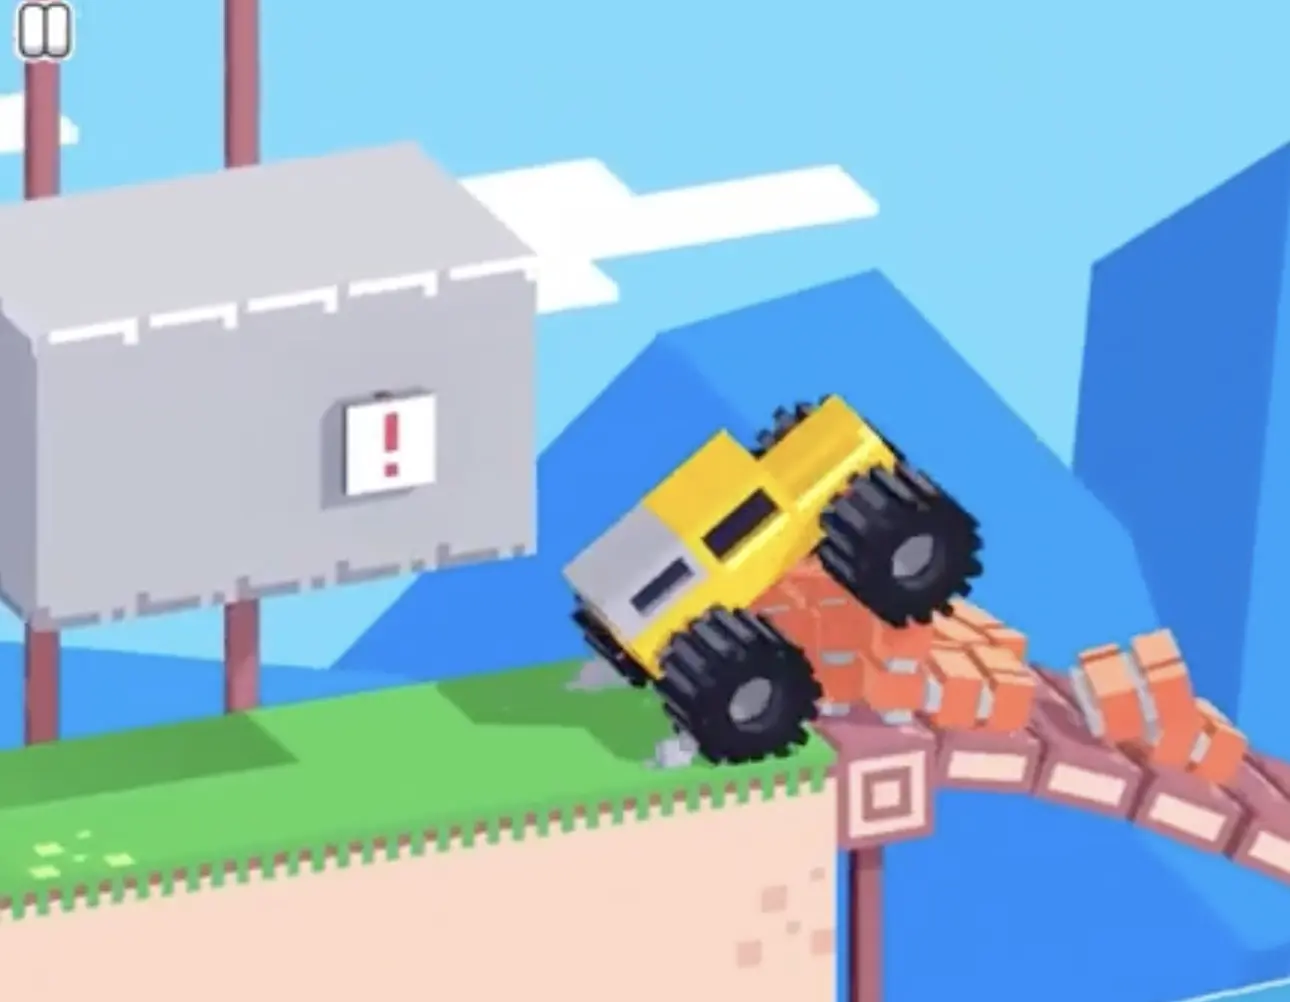
Step 3: Use a slight front lift, then drive through as soon as the wall opens
At the start of your push, raising the front wheels slightly can help you hit the upper part of the wall and topple the higher bricks sooner. Once the wall gives way, do not hesitate. Drive straight through the opening and head to the finish immediately.
The level ends cleanly once you escape the blocked area, so your final job is simply to keep moving forward.

Best Cue for Consistent Clears
Think fast, hit fast, recover fast. If you hesitate after a weak impact, the falling obstacle steals your remaining time. The best runs are the ones where every failed hit instantly turns into the next setup.
Why This Method Works
This method works because the level is really about beating the timer created by the descending obstacle. Immediate acceleration gives you more attempts, quick reverses restore impact force, and a slight front lift helps break the taller part of the wall more efficiently. Once the bricks collapse, the finish is straightforward.
Common Mistakes in Drive Mad Level 165
- Waiting too long at the start and letting the obstacle drop too low.
- Pressing against the wall instead of reversing to rebuild momentum.
- Trying to force the wall in one weak push.
- Keeping the truck completely flat and failing to disturb the upper bricks.
- Breaking the wall but hesitating instead of driving through immediately.
Fast Summary
- Accelerate immediately.
- Hit the wall before the obstacle drops too low.
- If it does not break, reverse instantly and ram again.
- Use a slight front lift to knock the upper bricks loose.
- Once the wall opens, drive straight to the finish.
FAQ
How do you beat Level 165 in Drive Mad?
Start immediately, ram the wall before the falling obstacle gets too low, and keep reversing and hitting again until the wall collapses.
Why do I fail in Breakout?
Most failures happen because players hesitate, waste time after the first hit, or do not rebuild enough momentum for repeated impacts.
Do I need to lift the front wheels in Level 165?
Yes, a slight front lift helps a lot because it can knock the upper bricks loose earlier and make the wall collapse faster.
What is the key trick in Drive Mad Level 165?
The key trick is fast recovery. If one ram does not work, instantly back up and hit the wall again before the overhead block crushes you.