How to Beat Level 199 in Drive Mad – Stay Between the Lasers and Switch Cars
Learn how to beat Level 199 by staying between the moving lasers, waiting for the upper car to assemble, and breaking the lower car at the right time.
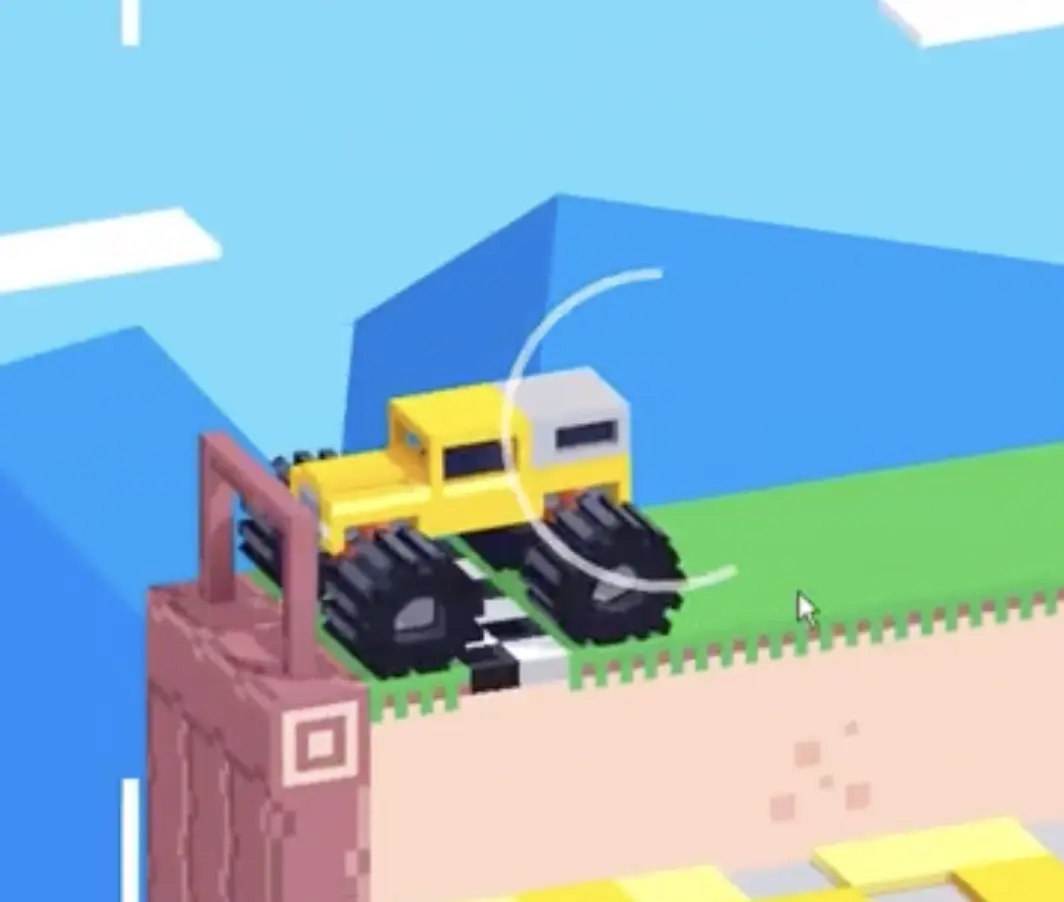
Drive Mad Level 199 looks like a chaos level, but it is really a control and patience level. The trick is not to rush through the lasers. You need to stay between the two cutting beams, move with them at a slow speed, then wait for the upper car to finish assembling before you destroy the lower car and switch control.
Why Level 199 Feels Hard
This level feels confusing because it looks like you should keep pushing forward, but that is exactly what gets you cut up or mistimed. The real test is staying centered between the lasers, matching their movement at a controlled speed, and understanding that the finish only comes after the lower car is sacrificed and the upper car becomes playable.
Step-by-Step Walkthrough for Drive Mad Level 199
Step 1: Drive to the end of the yellow section
At the start, move forward until you reach the end of the yellow floor. That is what triggers the cutting sequence.
Do not overthink the opener. The level really begins once the lasers activate.
Step 2: Stay between the two lasers and move backward with them
Once the lasers start cutting, position your truck between them and move backward with them. The key is to keep a slow, controlled speed.
Do not jerk around or try to outrun them. The level is much easier when you treat the lasers like moving rails and stay centered between them.
Step 3: When the lasers move forward again, keep following them
The lasers will stop near the start of the yellow section, then begin moving forward again. When that happens, do the same thing in reverse: stay between them and keep following their movement.
This second pass is where many players panic. You still do not need to rush. The safest play is the same as before: stay centered and keep your speed low.
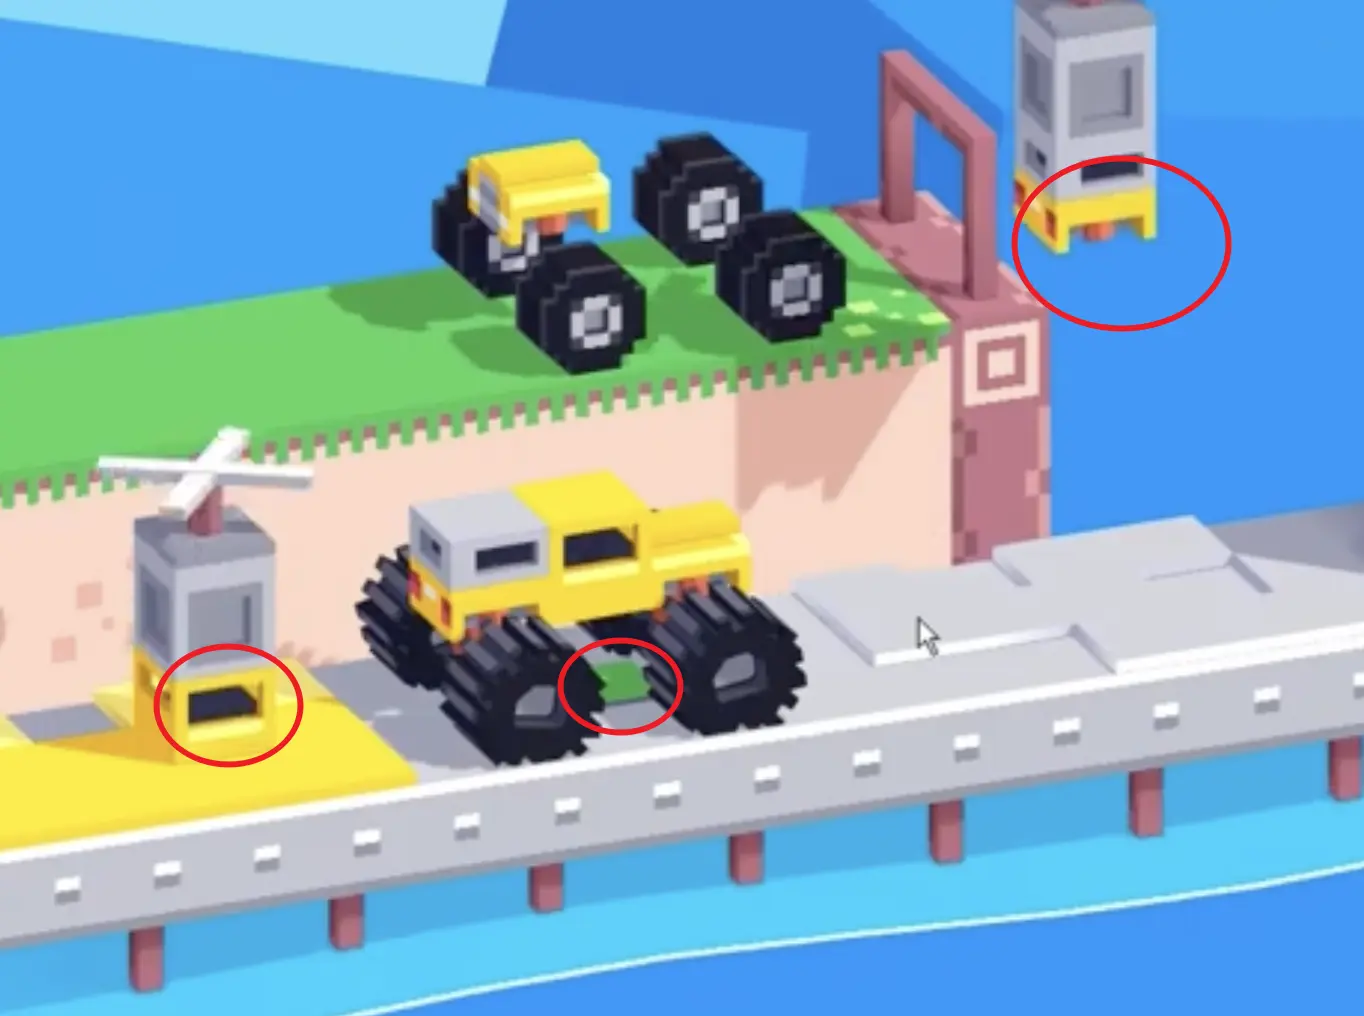
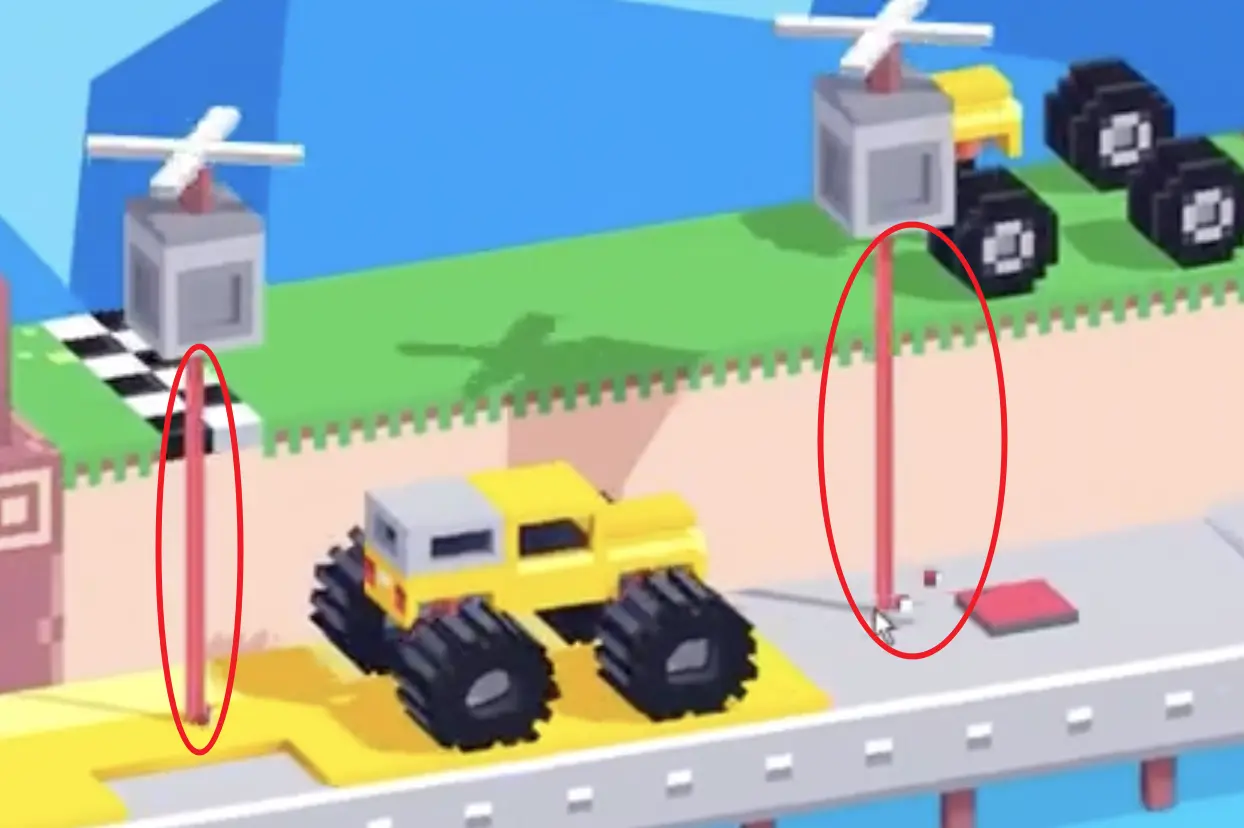
Step 4: Wait for the wall to cover the upper car while it assembles
Eventually the lasers stop. At that point, do not throw the run away by rushing. Just wait. A wall will come up and cover the upper car while it assembles.
This is the hidden mechanic in Level 199. The level is not over when the lasers stop. You still need the upper car to finish rebuilding before the control switch makes sense.
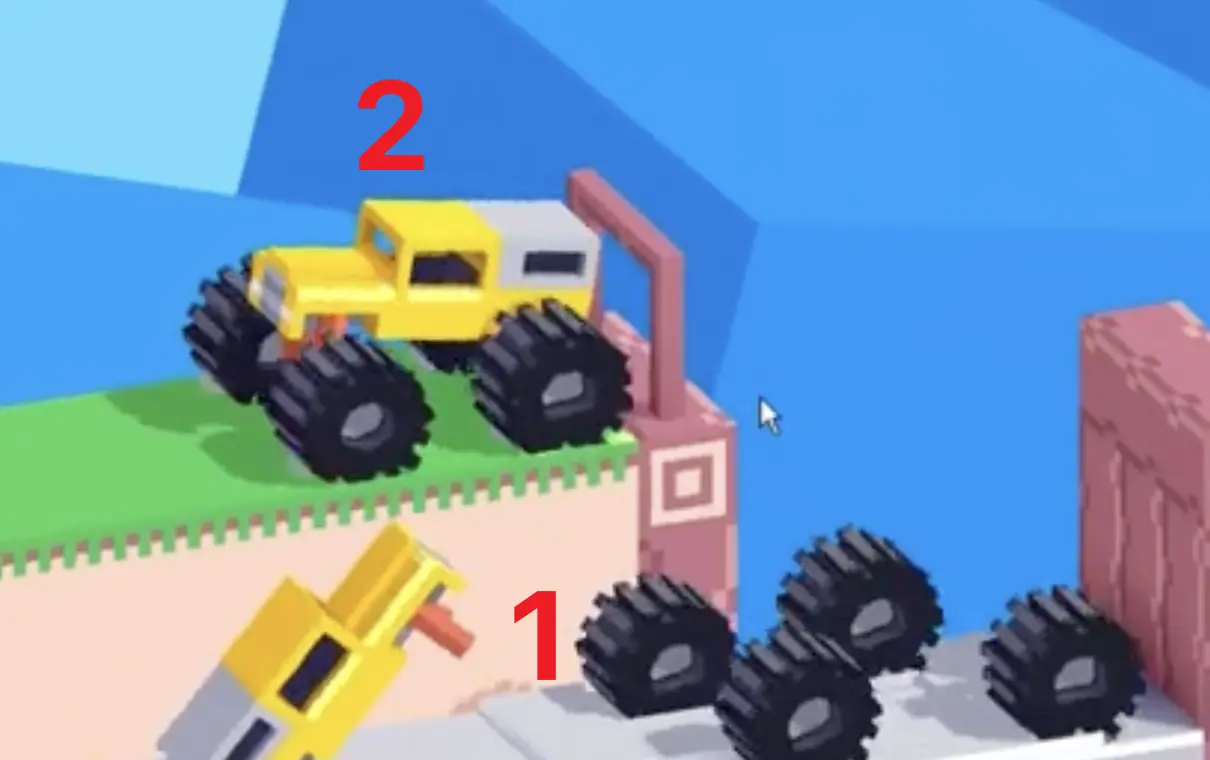
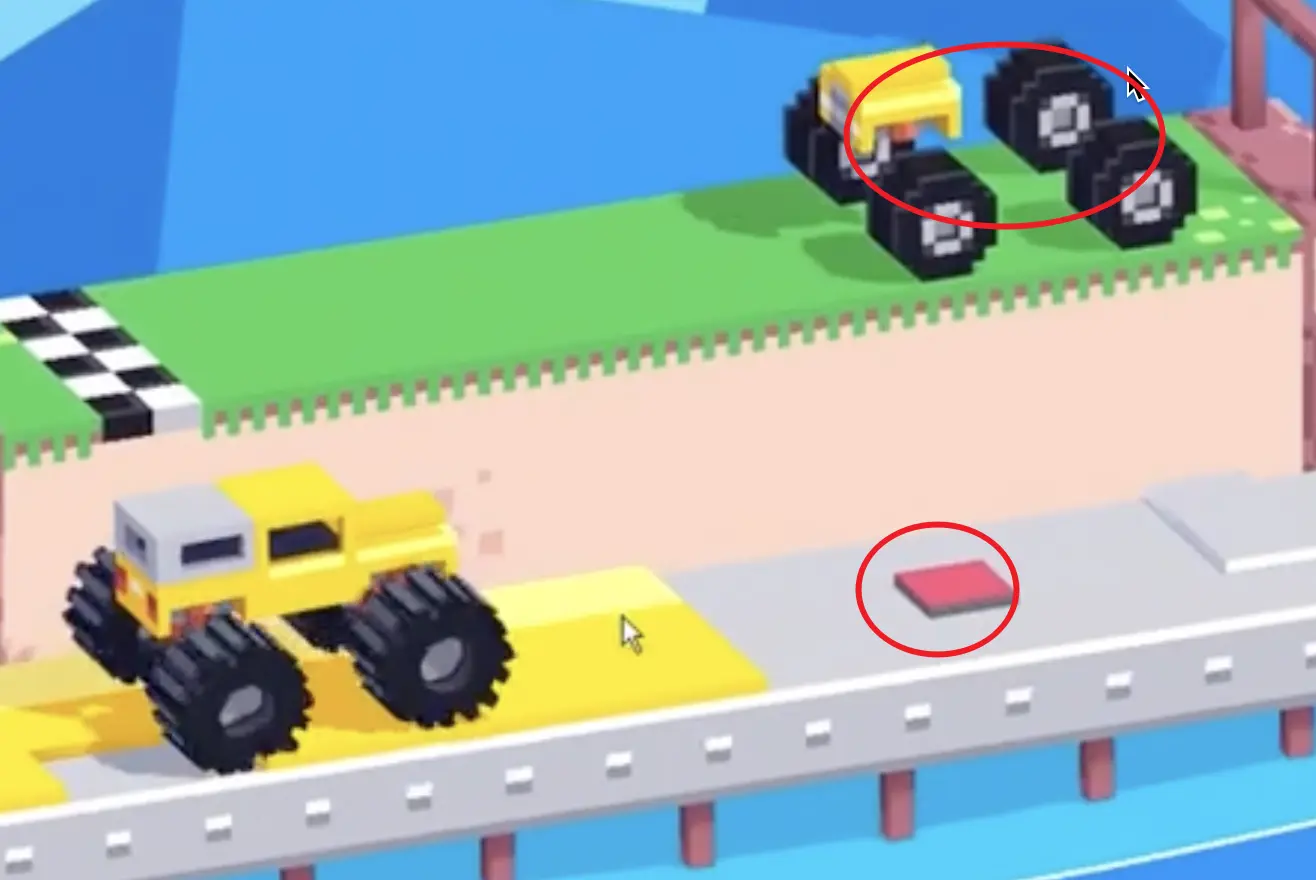
Step 5: Break the bottom car to gain control of the top car
When you can see the upper car again, crash the bottom car and break it. That is how you switch control to the rebuilt car on top.
After that, the level is basically solved. The important thing is understanding that the bottom car is disposable and the real finish comes from handing control over to the top car.
Timing and Control Tip
The biggest mistake in Level 199 is moving too fast. The lasers are much easier to handle when you match their pace instead of trying to beat them. Think of the sequence as escorting your truck between two moving cutters.
The second big mistake is acting too early after the lasers stop. Wait until the upper car is visible again. If you break the lower car before the rebuild is ready, the run falls apart.
Why This Method Works
The level is built around controlled positioning. Staying between the lasers keeps the lower car alive through the cutting phase. Waiting after the lasers stop gives the upper car time to assemble behind the wall. Breaking the lower car at the correct moment then transfers control to the rebuilt car, which is the real path to clearing the level.
Common Mistakes in Drive Mad Level 199
- Driving too fast instead of matching the laser speed.
- Leaving the safe space between the two lasers.
- Panicking when the lasers reverse direction instead of just following them.
- Rushing forward after the lasers stop instead of waiting for the upper car to assemble.
- Breaking the lower car before the rebuilt upper car is visible again.
Fast Summary
- Drive to the end of the yellow section.
- Stay between the two lasers.
- Move backward with them slowly.
- Follow them forward again when they reverse direction.
- Wait for the upper car to assemble behind the wall.
- Break the lower car to gain control of the upper car.
FAQ
How do you beat Level 199 in Drive Mad?
Trigger the lasers by driving to the end of the yellow section, stay between them as they move backward and forward, then wait for the upper car to assemble and break the lower car to switch control.
Why do I keep failing Drive Mad Level 199?
Most players fail because they move too fast between the lasers or because they rush after the lasers stop instead of waiting for the upper car to finish assembling.
What is the hardest part of Level 199?
The hardest part is keeping the lower car centered between the two lasers at a slow speed, then knowing to wait for the upper car before making the final switch.
Is Level 199 a speed level?
No. It is much more about controlled movement and timing than raw speed.
Why do I need to break the lower car in Drive Mad Level 199?
Because breaking the lower car is what gives you control of the rebuilt upper car, which is the final step needed to clear the level.