Color Block Jam Level 34 Walkthrough: 4-Phase Route to Beat the 2-Min Timer
Beat Color Block Jam Level 34 consistently under the 2-minute timer. Follow a 4-phase route (Top Exit → Center Release → Lower Push → Final Sweep) plus pro tips, pitfalls, and FAQ.
Level 34 is a timer level: you have about 2 minutes to slide blocks into their matching gates and clear the board. The fastest clears come from following a repeatable route—not memorizing every swipe. Use the 4-phase strategy below and you’ll finish under the countdown much more consistently.
Level overview
- Difficulty: ~★★★★☆ (timing + tight corridors)
- Time limit: 2 minutes (fail & restart if time runs out)
- Goal: slide colored blocks into their matching gates and clear the board
- Main obstacles: 2 barrels, U-shaped wall, single-lane corridors
- Consumables: none (no boosters/skip items in this version)
Key path strategy: 4 phases
Master these four phases instead of trying to remember every micro-move. The sequence is what prevents jams.
Phase 1 — Top-layer exit
Clear the long cyan, purple, and pink bars first to open vertical exit lanes.
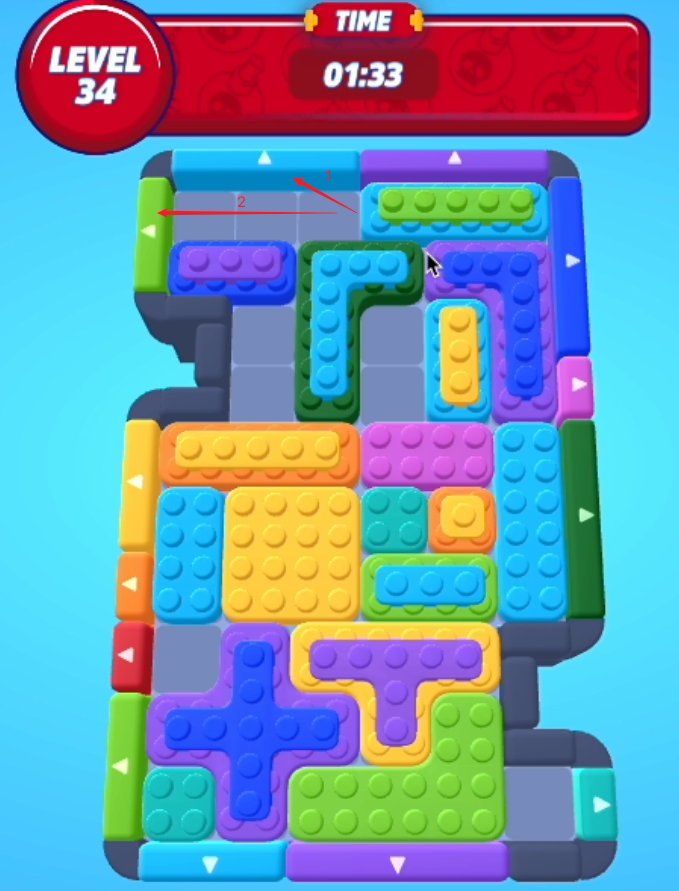
Phase 2 — Central release
Use the 2×2 cyan block to plug gaps, then float the L-, T-, and “+” blocks upward in sequence to free the center.
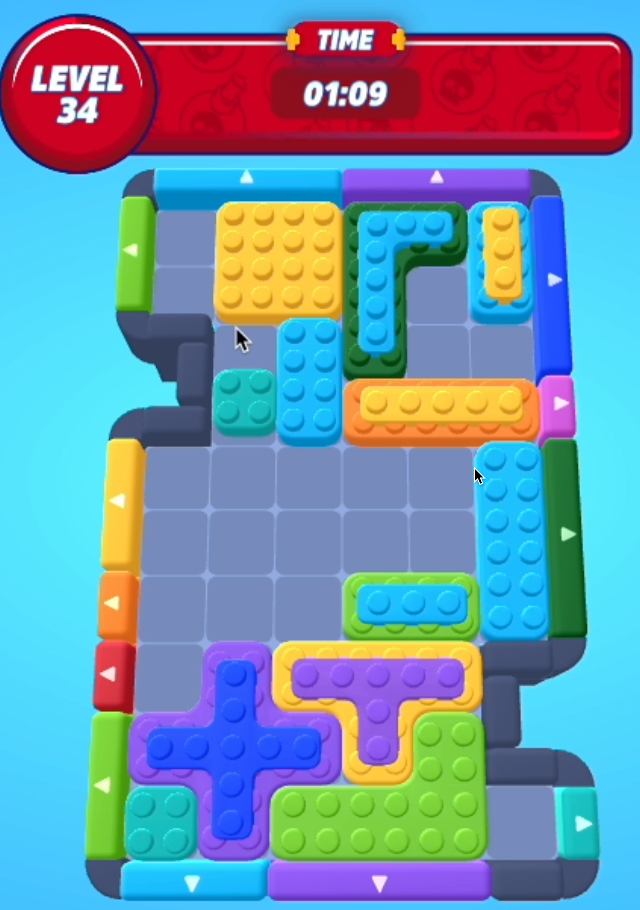
Phase 3 — Lower-half push
Once the center is free, slide the yellow and orange bars across the mid-row. This paves the way for bottom-layer exits.
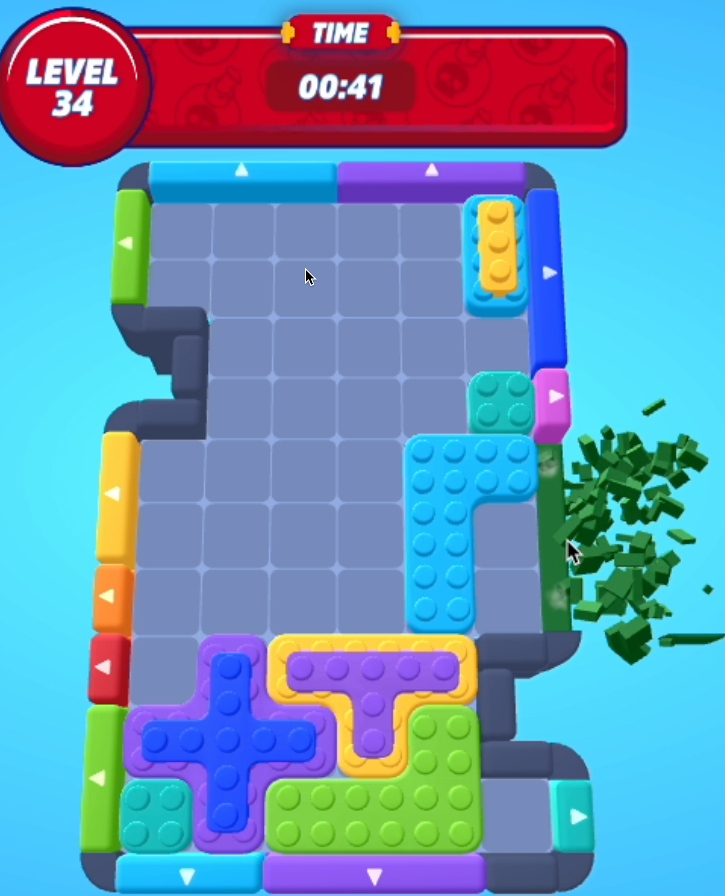
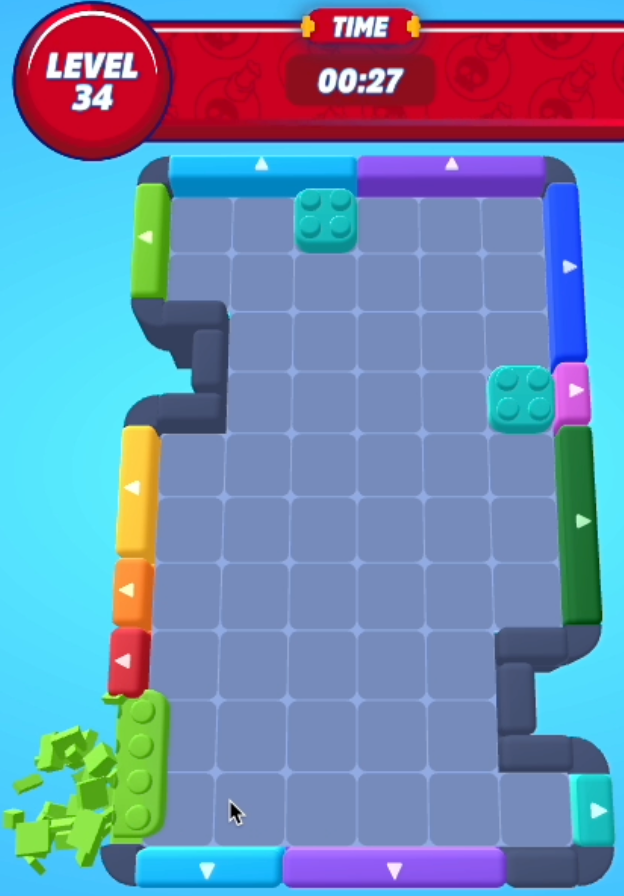
Phase 4 — Final sweep
Send the remaining bars out through the cleared corridors. Each barrel should ideally be shifted only once.
Pro tips
- Barrel leverage: try to shift each barrel only once—extra moves can split lanes and create dead-ends.
- Timer check: when the clock hits ~1:00 remaining, switch to speed mode and focus only on critical clears.
- Flexible plugging: the 2×2 cyan block is your best temporary plug; keep it as a spacer until you need it.
- Sequence discipline: don’t deviate early—Top-layer → Center → Lower → Sweep is the safest path.
Common pitfalls
- Moving the yellow bar too early → can block the green exit and force a reset.
- Sliding the “+” block before the T-block → starves the center of rotation space.
- Over-shifting both barrels → can cut the mid-lane in two and deadlock the puzzle.
- Ignoring the timer → you’ll run out of the 2-minute window even if the solution is close.
FAQ
- Do I need an exact move count? → No. Focus on the 4-phase route and finishing under 2 minutes.
- Are there boosters/skip items? → No—this level version has no consumables.
- What happens if I run out of time? → The level fails immediately and you must restart.
Useful resources
Related guides
Next step
If this route helped you clear Level 34 under 2 minutes, bookmark the guide series and note your best clear time. Good luck on Level 35!