How to Beat Level 197 in Drive Mad – Slope Madness Guide
Clear Slope Madness by looping clockwise, keeping the truck stable on the drop, reversing through the second ring, then repeating the setup to finish.
Drive Mad Level 197, called Slope Madness, is a control level more than a speed level. You need to drive clockwise around the first ring, drop from near the top while keeping the truck balanced, then reverse through the second ring so the truck can line up forward into the third. After that, repeat the same launch-and-drop pattern one more time, then back into the finish.
Why Level 197 Feels Hard
This stage tricks players into thinking it is just another loop level, but it is really about body control. The hard part is not getting around the ring. It is landing without letting the truck tilt too far, then switching into reverse at the right moment so the next section lines up correctly. If the body gets unstable during any drop, the run usually ends right there.
Step-by-Step Walkthrough for Drive Mad Level 197
Step 1: Accelerate normally and circle clockwise around the first ring
At the start, drive forward with a steady input and go clockwise around the first circular slope. You do not need a wild burst of speed here. What matters more is keeping the truck smooth as it climbs.
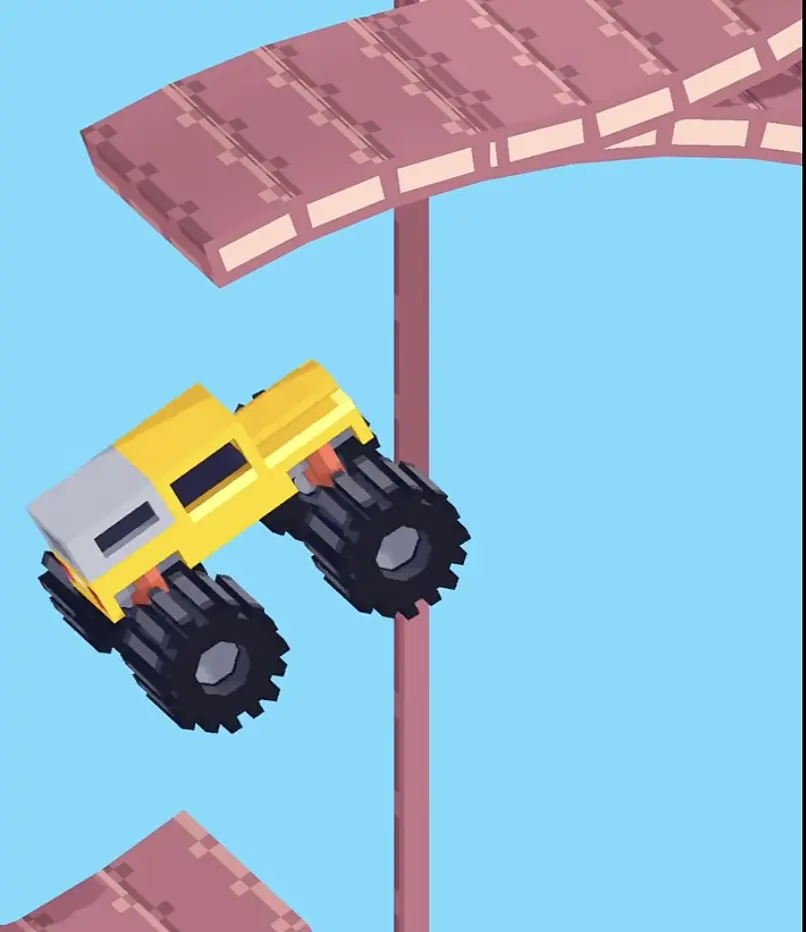
As you reach the upper part of the ring, let the truck fall naturally. During the drop, pay attention to the body angle. Try to keep the vehicle as stable as possible so it lands cleanly instead of pitching nose-down or rolling awkwardly.
Step 2: Reverse through the second ring and line up for the third
After the first landing, switch to reverse and back through the second ring. This is the part many players fumble because they keep trying to force a forward approach. Backing through gives you the right setup for the next section.
While reversing, keep the truck centered and avoid wobbling the chassis. By the time you reach the third ring, the truck needs to be facing forward properly. If the body is crooked or tilted, the next launch becomes messy and usually fails.

Step 3: Repeat the same clockwise launch on the third ring
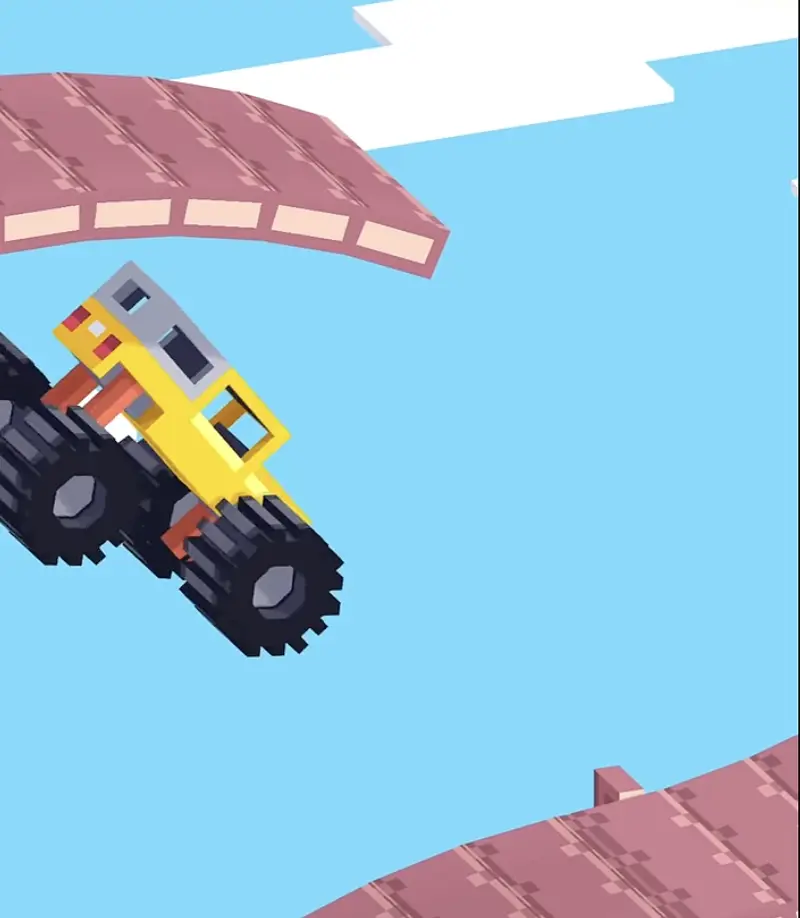
Once you are lined up, do the same thing again. Accelerate forward, go clockwise around the third ring, and let the truck fall from near the highest point.
Just like before, the key is not raw speed. It is keeping the body steady during the descent. Small corrections are fine, but overcorrecting will make the truck tip and throw away the attempt.
Step 4: Reverse into the finish
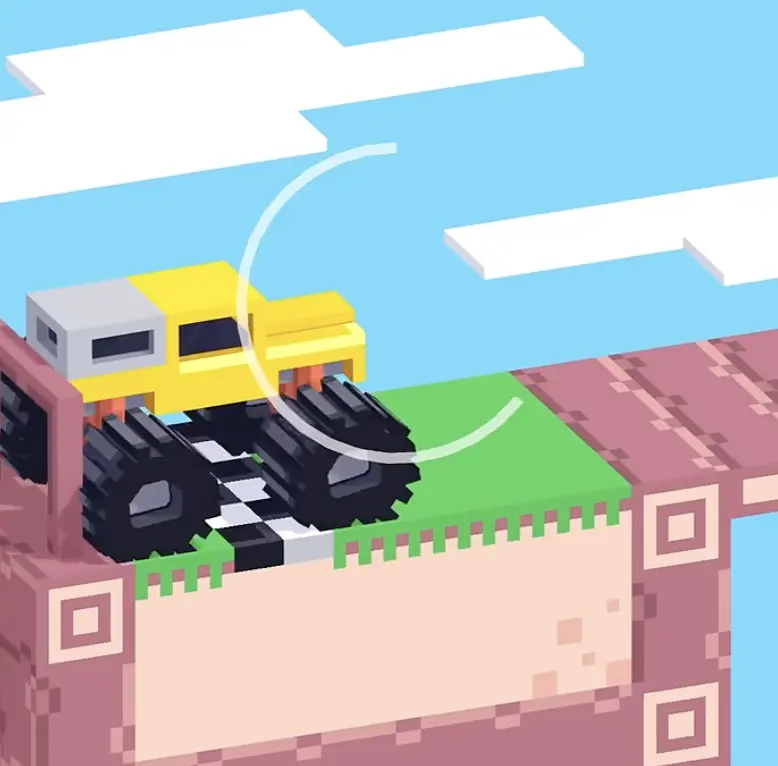
After clearing the last ring section, switch to reverse and back into the goal. Do not rush the final input. This is one of those Drive Mad endings where the truck is technically through the hard part but can still fail if it bounces or twists at the last second.
Keep the wheels grounded, stay centered, and reverse through the finish cleanly.
Body Control Tip for More Consistent Clears
The best way to beat Slope Madness consistently is to stop treating the truck like a rocket. Use smoother inputs, especially during the drops. If the front end dips too hard or the rear kicks up, the truck loses stability fast. Think of the level as a balance test with direction changes, not a race to the finish.
Why This Method Works
The layout is built around controlled momentum. Going clockwise around the ring gives the truck the right path, but the descent only works if the body stays stable. Reversing through the second ring is what creates the correct angle for the third section. Then the last part repeats the same logic one more time before the final reverse finish. Every successful clear comes from preserving alignment between sections.
Common Mistakes in Drive Mad Level 197
- Using too much speed and losing body control on the first drop.
- Letting the truck tilt too far forward or backward during the fall.
- Trying to force the second ring forward instead of backing through it.
- Entering the third ring with the truck angled the wrong way.
- Clearing the last drop but failing because the reverse finish is rushed.
Fast Summary
- Drive clockwise around the first ring.
- Drop from near the top with a stable body angle.
- Reverse through the second ring.
- Make sure the truck enters the third ring forward.
- Repeat the same controlled clockwise drop.
- Reverse carefully into the finish.
FAQ
How do you beat Level 197 in Drive Mad?
Go clockwise around the first ring, land with a stable body, reverse through the second ring, line up forward for the third ring, then repeat the same drop and reverse into the finish.
Why do I keep failing Slope Madness in Drive Mad?
Most failures happen because the truck becomes unstable during the drops. If the body tilts too much in the air or lands crooked, the next section becomes almost impossible to control.
Do I need a lot of speed in Drive Mad Level 197?
Not really. You need enough speed to complete each ring, but the bigger priority is keeping the truck balanced. Too much speed usually makes the drops harder to control.
Why do you reverse through the second ring in Level 197?
Because reversing through the second ring sets up the truck in the correct direction for the third ring. If you approach it the wrong way, the final section becomes much less stable.
What is the hardest part of Drive Mad Level 197?
The hardest part is maintaining body stability during both drops. The level punishes bad landings immediately, so smooth control matters more than aggressive inputs.