How to Beat Level 90 in Drive Mad – Motor Hop Guide
Beat Motor Hop by flipping the first block cleanly, borrowing extra distance before the river gap, staying balanced in the air, and driving to the finish.
Drive Mad Level 90, called Motor Hop, is a balance-and-distance level. The first flip is not too bad if your approach is clean, but the river gap is the real problem. Before jumping it, you need to borrow as much extra distance as possible by letting the front of the vehicle reach outward a little while still keeping the body stable.
Why Level 90 Feels Hard
Motor Hop is tricky because the second obstacle is not just a normal jump. The river gap becomes much easier if you take a little extra reach before leaving the edge. The problem is that borrowing distance also makes the vehicle less stable, so the level punishes players who lean too far or rush the takeoff.
Step-by-Step Walkthrough for Drive Mad Level 90
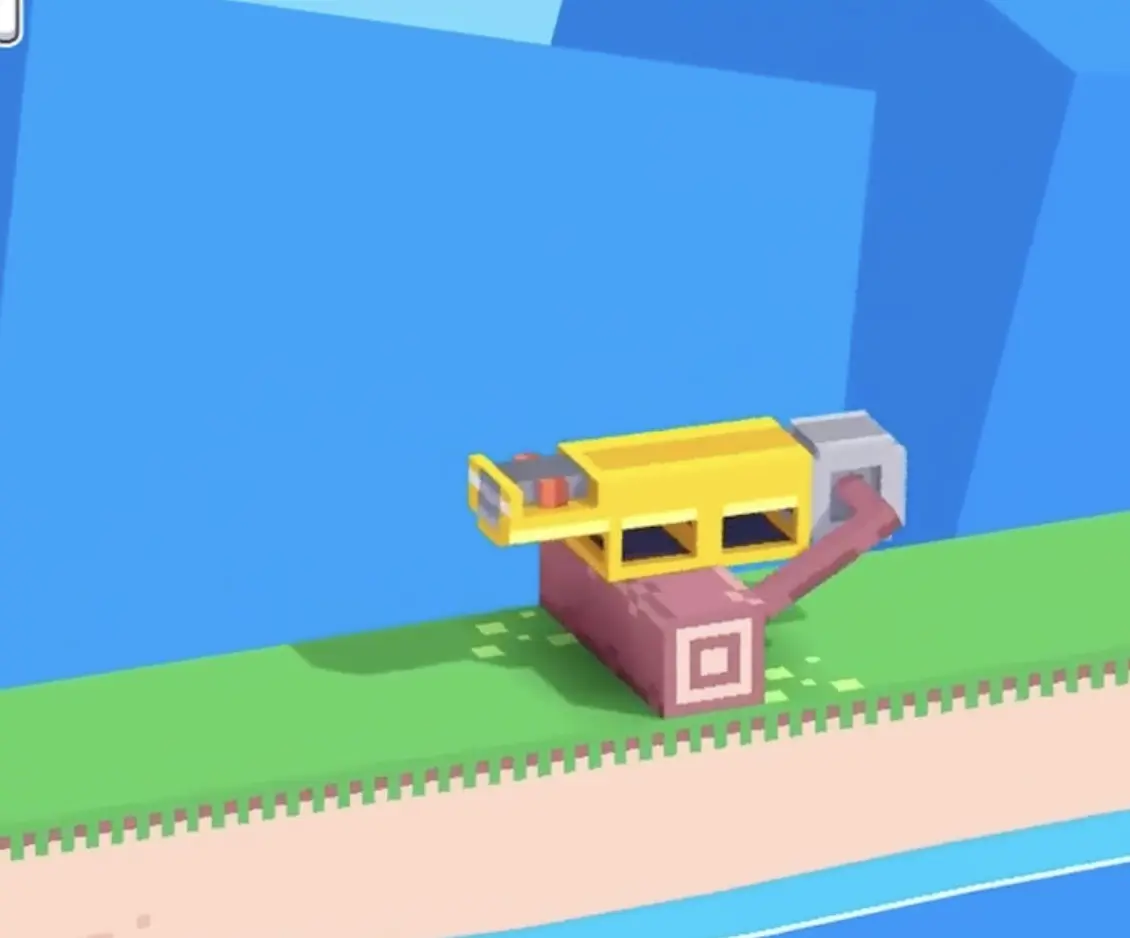
Step 1: Reach the first obstacle at a normal speed and flip over it
At the start, just drive forward with a controlled, normal pace. You do not need a weird setup here. The first obstacle is mostly about distance control, and if your speed is steady, it is not too hard to rotate over it.
The main goal is to clear that first section without losing too much balance. If you get through it cleanly, the level immediately becomes about setting up the river gap the right way.

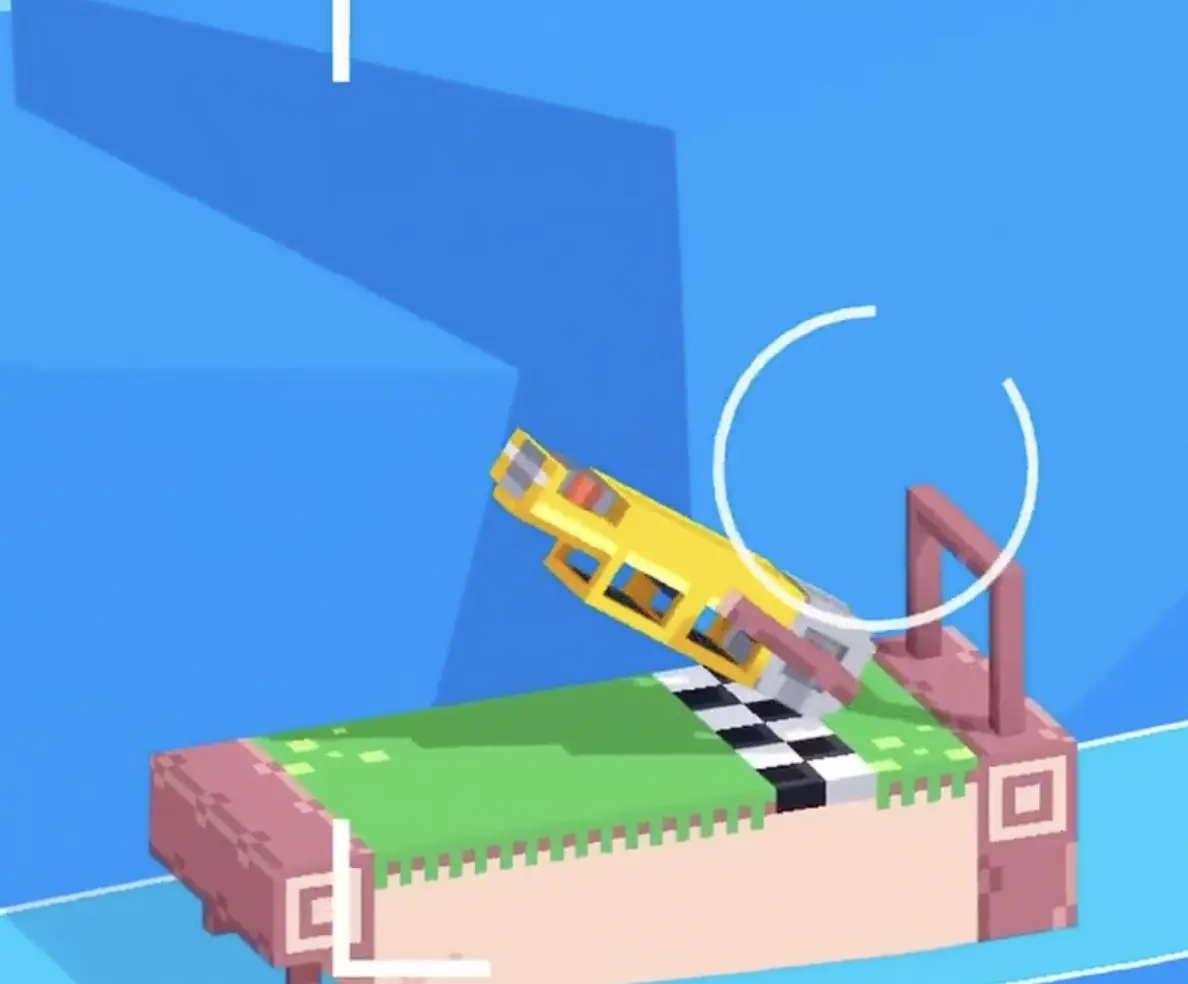
Step 2: Borrow extra distance before the river gap
This is the whole level. Before you flip across the river gap, try to let the front of the vehicle hang out a little farther than usual. That extra reach gives you a better launch and makes the cross much more reliable.
The catch is stability. If you poke the nose out too aggressively, the vehicle tips and falls. So the correct move is to extend just enough to steal distance while still keeping the body under control. If you fail to borrow that extra bit of reach, the flip becomes much harder.

Step 3: Land the flip and drive to the finish
Once you make it across the river, the hard part is basically over. From there, just keep the vehicle stable, move forward normally, and finish the level.
No extra trick is needed after the big flip. If the landing is decent, you can roll straight through and collect the clear.
Best Cue for More Consistent Clears
Focus on how far the front of the vehicle reaches before the river jump. If it stretches out a little while still looking stable, you are in a good spot. If it stays too far back, the flip usually comes up short. If it leans too far forward, the vehicle drops before the jump even starts.
Why This Method Works
The first obstacle mostly checks whether you can keep the vehicle under control at a reasonable speed. The river gap is different. It rewards taking a slightly longer setup by reaching the front outward before takeoff. That small borrowed distance makes the crossing much easier, as long as the vehicle stays balanced enough not to fall early.
Common Mistakes in Drive Mad Level 90
- Rushing the first obstacle and losing control before the real jump.
- Trying to take the river gap from too far back.
- Leaning the front out too much and tipping into the water.
- Not borrowing enough distance before the second flip.
- Landing the big gap but overcorrecting instead of just driving to the finish.
Fast Summary
- Drive normally to the first obstacle.
- Flip over it cleanly with good balance.
- Before the river gap, reach the front out a little.
- Borrow extra distance without losing stability.
- Flip across the gap.
- Drive normally to the finish.
FAQ
How do you beat Level 90 in Drive Mad?
Clear the first obstacle at a normal speed, then borrow a little extra distance before the river gap by reaching the front outward while keeping the vehicle stable. After that, flip across and drive to the finish.
Why is the river gap so hard in Motor Hop?
Because it is easier if you steal a bit of extra distance before the jump, but doing that also makes the vehicle less stable. The level is all about balancing those two things.
Do I need a lot of speed in Drive Mad Level 90?
Not really. Normal controlled speed is enough for the first obstacle, and the river gap depends more on borrowing distance and staying stable than on going wildly fast.
What is the hardest part of Level 90?
The hardest part is the river flip, especially the setup right before it. If you do not reach out enough, the jump is difficult, and if you reach too far, the vehicle tips over.
What should I do after crossing the river in Motor Hop?
Just keep the vehicle steady and drive forward normally. Once the big gap is cleared, the level is basically won.