How to Beat Level 170 in Drive Mad – Well Guarded Guide
Beat Well Guarded by pressing the button, triggering the laser without rushing the finish, reversing back to the lower level, hiding under the raised platform, then resetting th…
Drive Mad Level 170, called Well Guarded, is a timing trap level where the finish is protected by a laser cycle. The goal is not to rush straight to the end on your first attempt. Instead, you need to press the button, trigger the laser, retreat safely, hide under the raised platform, and only then make the real run to the finish.
Why Level 170 Feels Hard
This level is tricky because the first clear-looking path is a trap. If you rush toward the finish right away, the laser destroys the truck. You also have to reverse back down without panicking, use the moving platform as cover, and avoid touching the laser again while the platform lowers.
Step-by-Step Walkthrough for Drive Mad Level 170
Step 1: Drive onto the button to activate the route
Start by driving onto the red button. This sets up the moving route and lets you access the upper path. Do not think of this as the final push yet. You are still setting up the level.
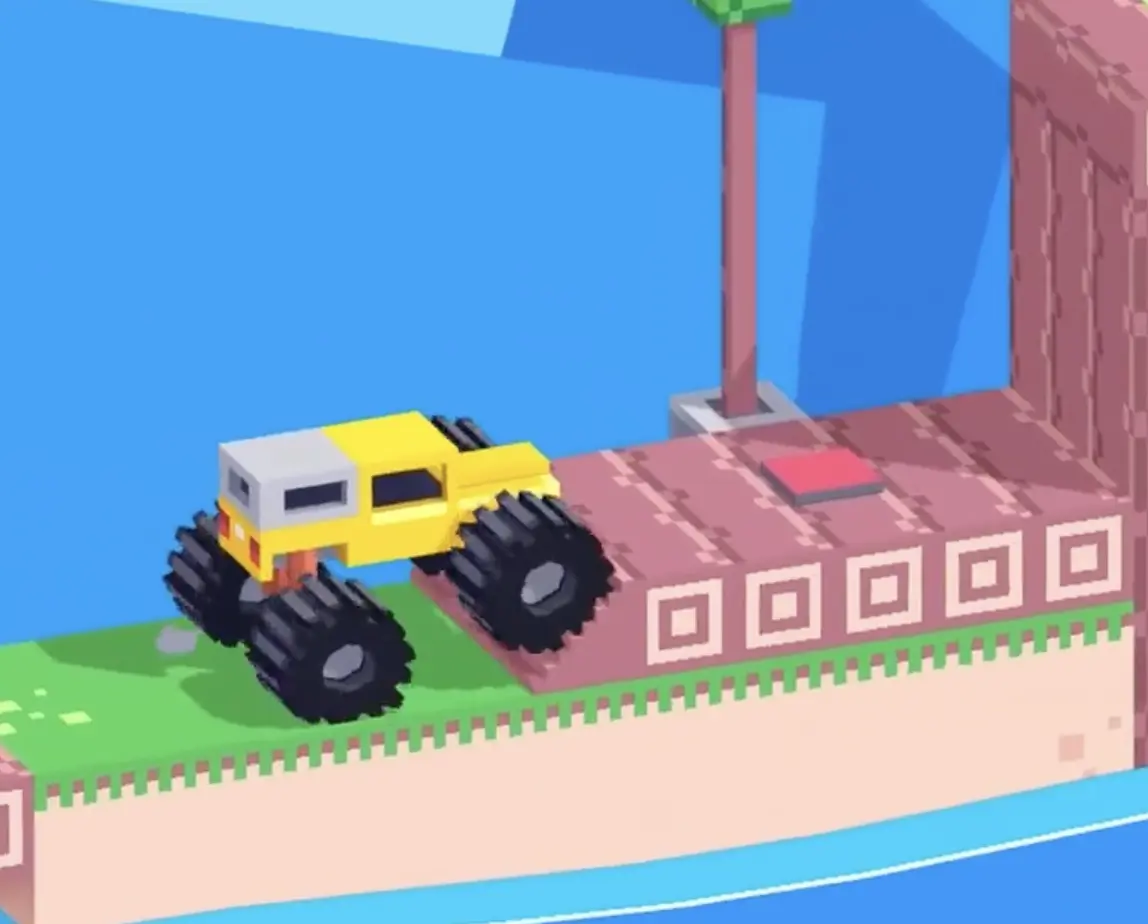
Step 2: Go up, move near the finish, and trigger the laser
After the route opens, drive up toward the finish area. Once you get close enough, the laser appears. Do not try to force the finish here. This first approach is only to trigger the hazard.
The moment the laser activates, reverse right away and head back toward the place where you came up.
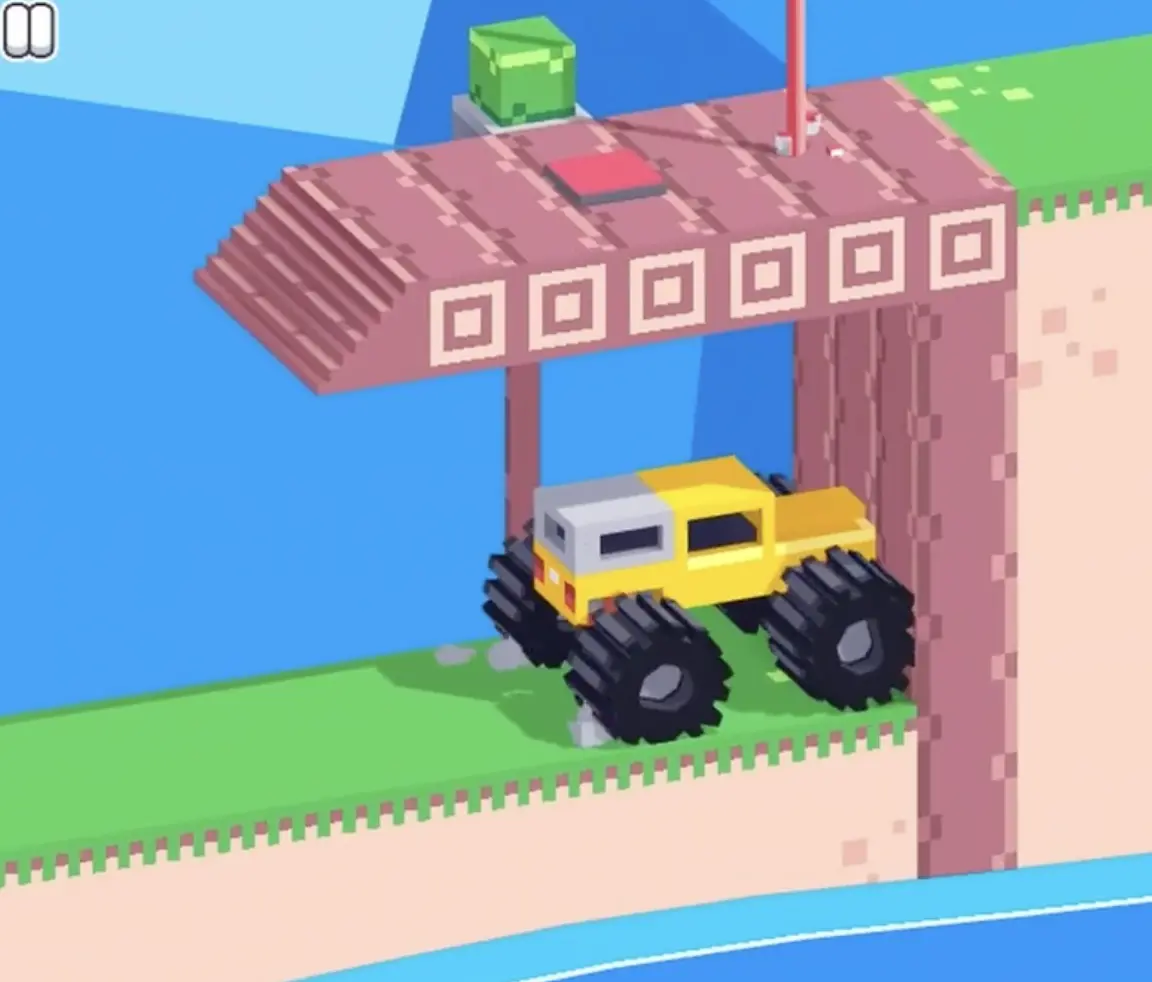
Step 3: Reverse back to the lower level and hide under the raised platform
Back up to the lower level and position the truck under the raised platform. This is your safe cover while the laser passes. If you stay exposed, the truck gets destroyed.
Be patient here. The level rewards calm retreat and correct positioning much more than speed.
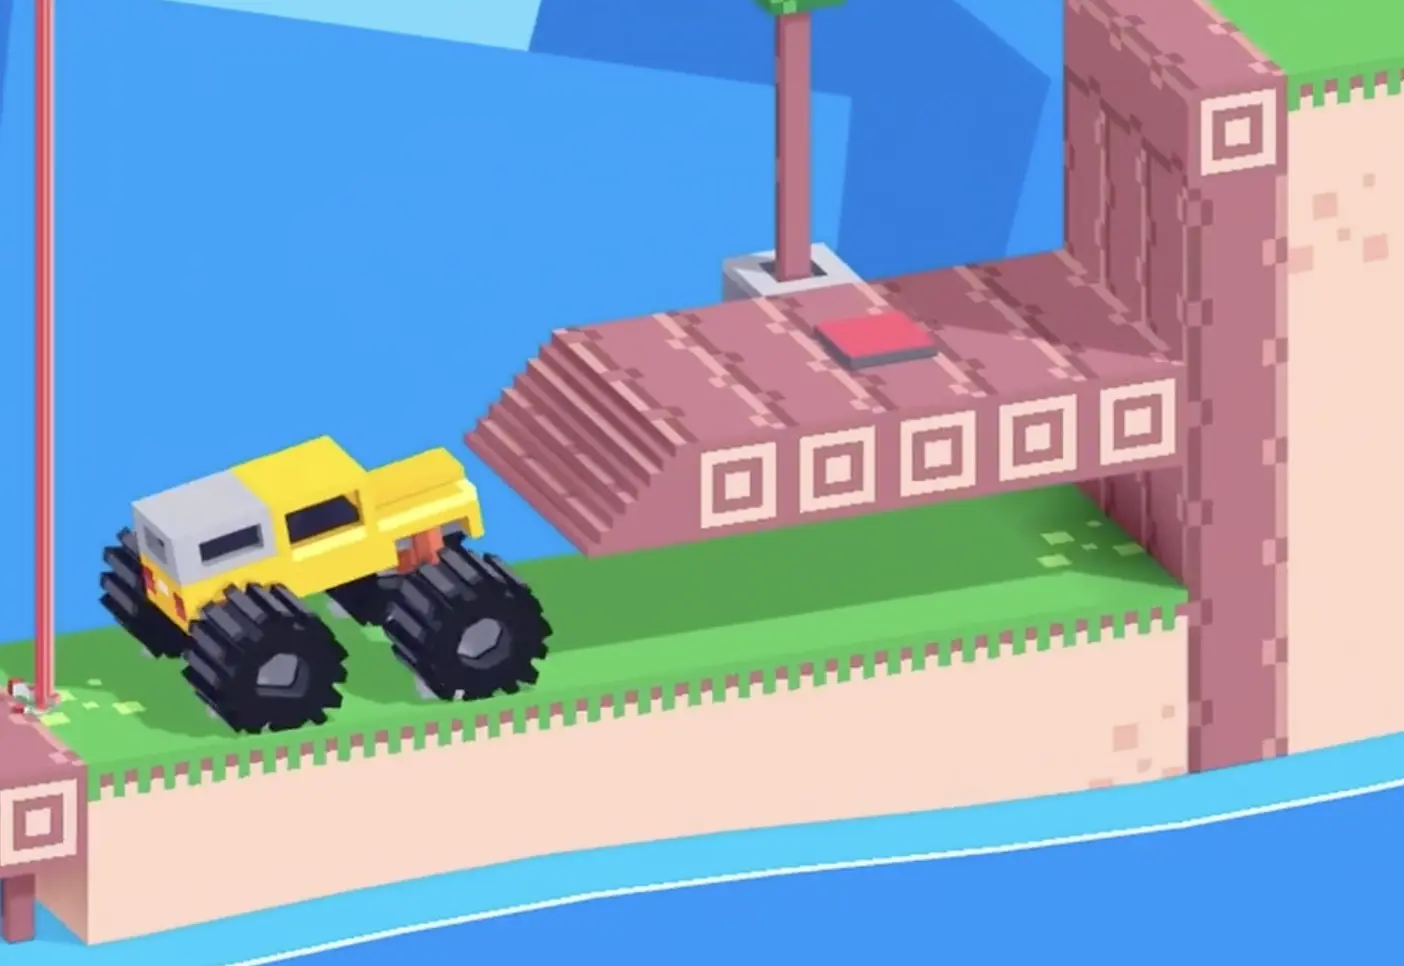
Step 4: Wait for the platform to lower, then avoid touching the laser
After the laser passes, the platform starts moving down. Do not reverse too fast or you can still run into the hazard. Stay controlled and let the platform finish lowering safely.
Once the platform reaches the ground again, the dangerous part of the cycle is over and you can reset for the real finish attempt.
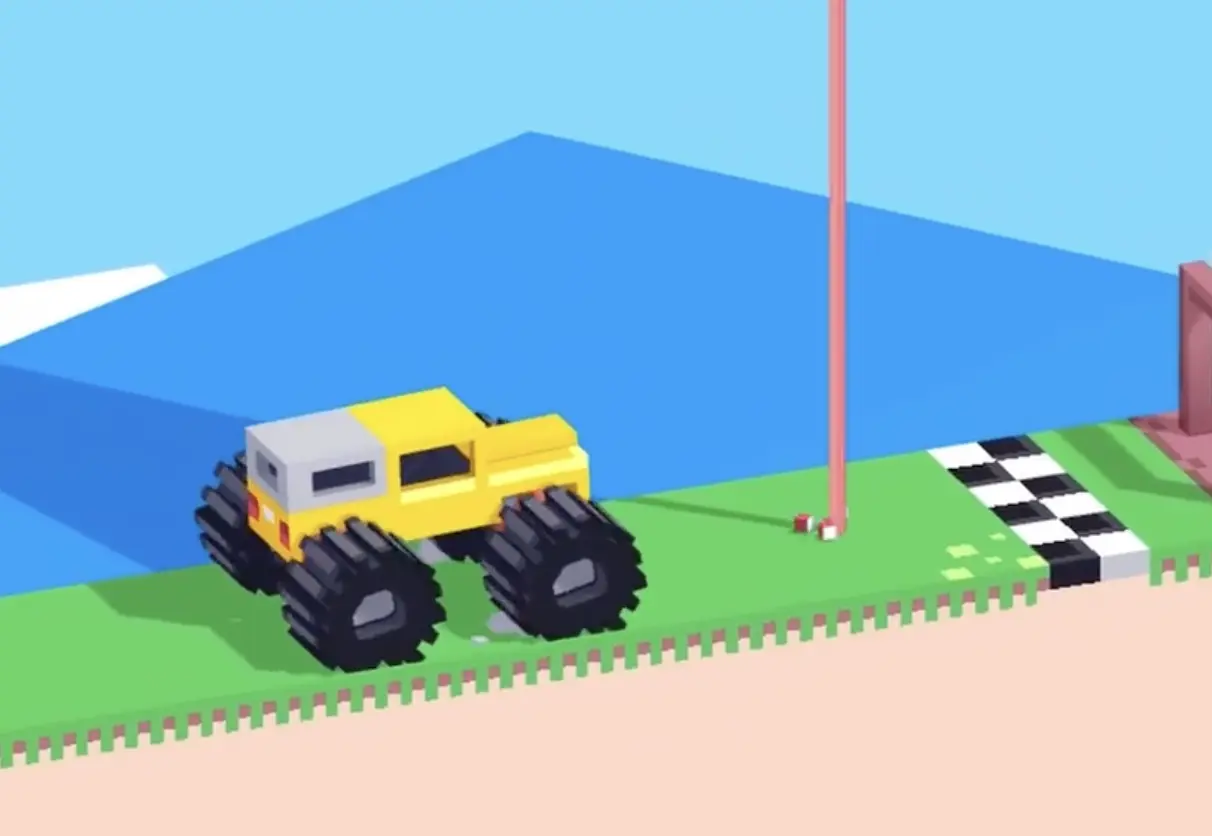
Step 5: Press the button again, go back up, and drive to the finish
Now repeat the button step to open the route again. Go back to the upper level and this time drive straight to the finish. Since the laser cycle has already been handled, the path is much safer.
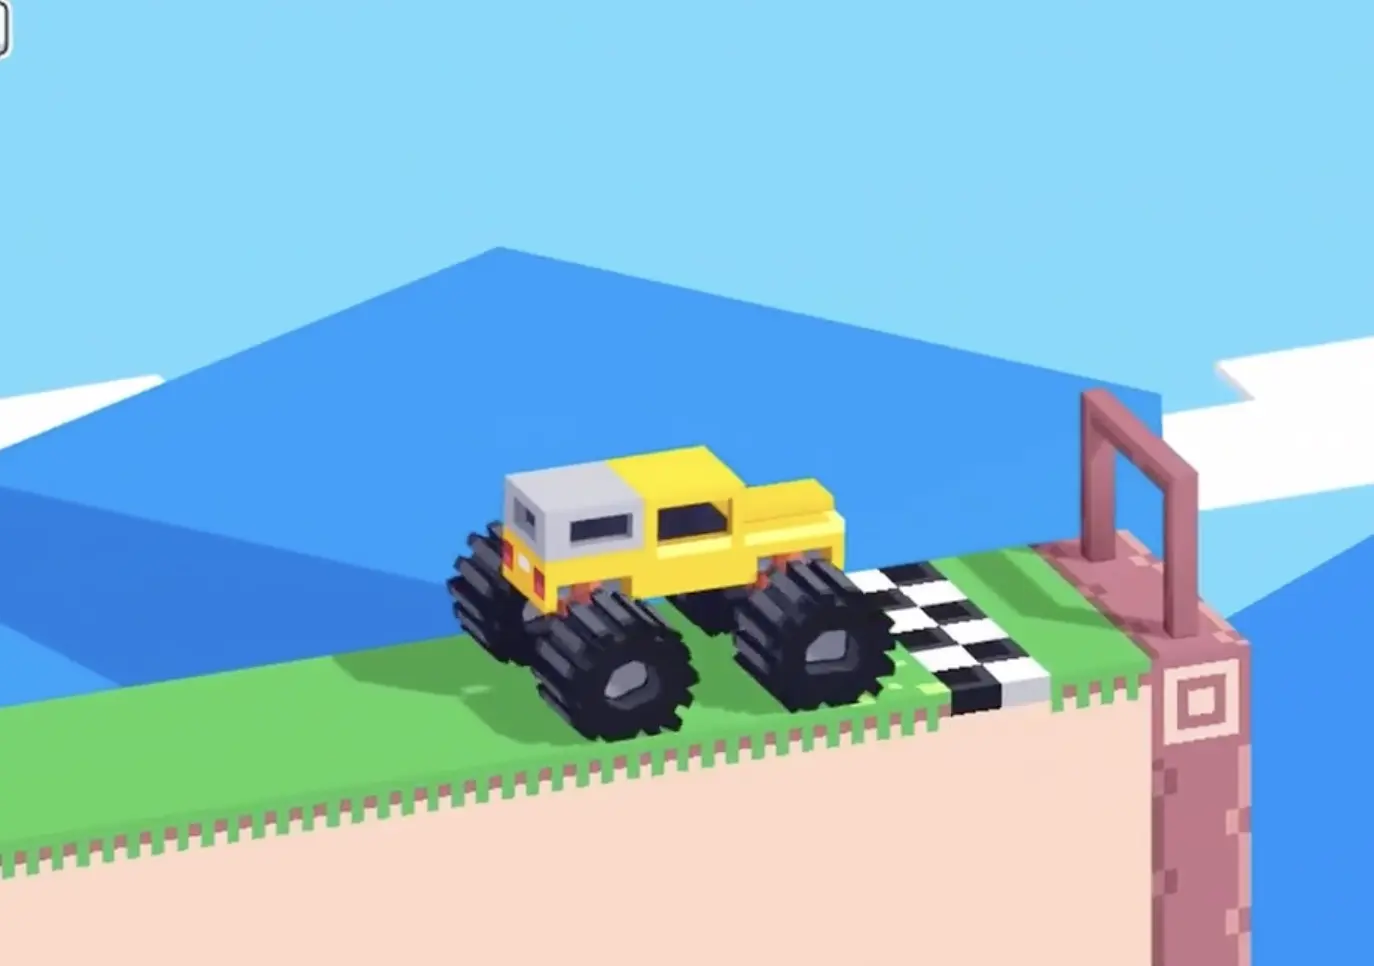
Once you reach the top again, just keep the truck stable and roll across the finish line.
Best Cue for Consistent Clears
The first run is a bait run, not the finish run. Trigger, retreat, hide, reset, then clear.
Why This Method Works
This method works because the level is built around the laser cycle, not just movement. Pressing the button opens the route, but going too far too early triggers the trap. By using the first approach to activate the laser and then hiding under the raised platform, you survive the dangerous phase and create a safe second chance to reach the finish.
Common Mistakes in Drive Mad Level 170
- Trying to rush straight to the finish on the first approach.
- Not reversing immediately after the laser appears.
- Forgetting to hide under the raised platform.
- Backing down too fast and touching the laser while the platform lowers.
- Getting impatient instead of waiting for the platform to return fully to the ground.
Fast Summary
- Press the button first.
- Go up and trigger the laser near the finish.
- Reverse back down immediately.
- Hide under the raised platform.
- Wait for the platform to lower safely.
- Press the button again and drive to the finish.
FAQ
How do you beat Level 170 in Drive Mad?
Press the button, go up and trigger the laser, reverse back down, hide under the raised platform, then reset the route and make a second safe run to the finish.
Why do I fail in Well Guarded?
Most failures happen because players try to rush the finish too early, do not retreat fast enough after the laser appears, or fail to use the raised platform as cover.
Should I go straight to the finish the first time in Level 170?
No. The first approach is meant to trigger the laser. If you keep rushing forward, the laser destroys the truck.
What is the key trick in Drive Mad Level 170?
The key trick is using the first run to activate the laser, then hiding under the raised platform and finishing only after the hazard cycle has ended.