How to Beat Level 200 in Drive Mad – So Much Win Guide
Beat So Much Win by lifting the nose for the first big gap, carrying speed through the second, then staying front-up over small gaps to clear the last jump.
Drive Mad Level 200, called So Much Win, is the final level, and it is really a gap-management test. The stage has several large gaps, plus a stretch of small gaps that can quietly ruin your speed before the last big jump. The trick is to control the truck’s front angle differently in each section instead of driving every gap the same way.
Why Level 200 Feels Hard
This level is nasty because the first big gap appears before your speed is fully built, and the later section punishes bad wheel contact. If both the front and rear wheels get slowed by the small gaps, the truck loses too much momentum and the last big gap becomes unreliable. So Much Win is not about one perfect jump. It is about preserving speed and angle across the whole stage.
Step-by-Step Walkthrough for Drive Mad Level 200
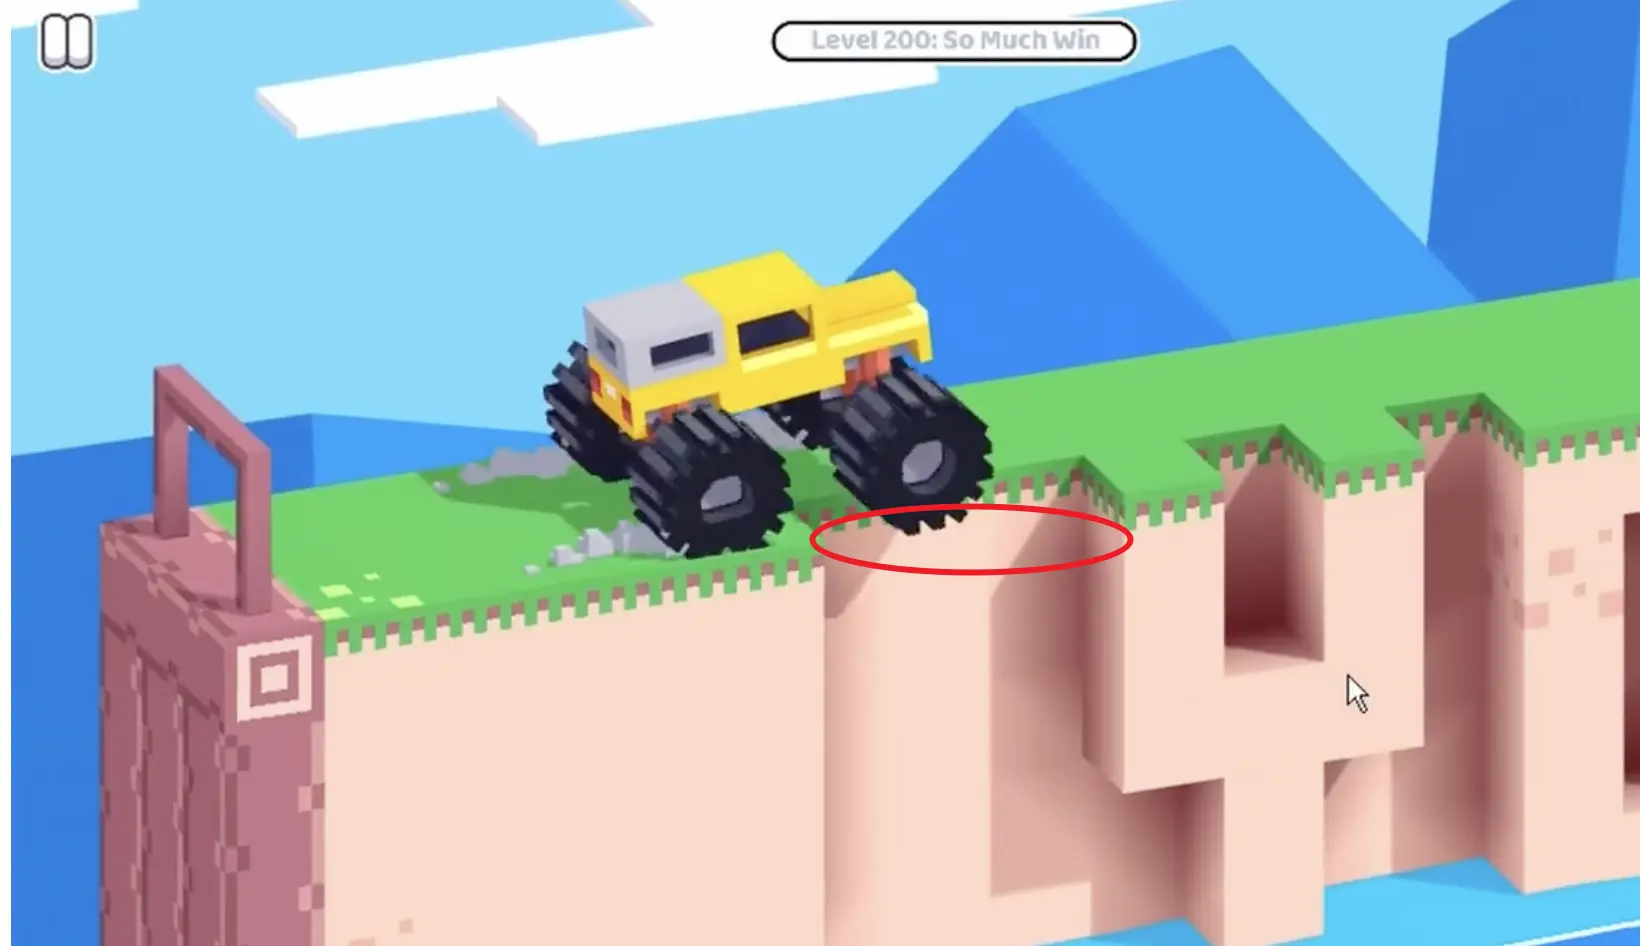
Step 1: Lift the front slightly at the start for the first big gap
Right after the level begins, your speed is still building, so the first big gap is more dangerous than it looks. Give the truck a slight front lift as you move forward.
You do not need to yank the nose way up. Just a small upward angle is enough to help the truck carry across once the speed comes in. If the front stays too flat here, the first big gap can fail even though the truck feels fast enough.
Step 2: Cross the second big gap with normal speed
Once the truck gets rolling, the second large gap is much simpler. In most runs, normal speed is enough to pass it cleanly.
That said, it is still smart to keep the front a little high. This is not because the jump is extremely tight, but because it reduces the chance of a weird nose-down contact that throws off the next section.
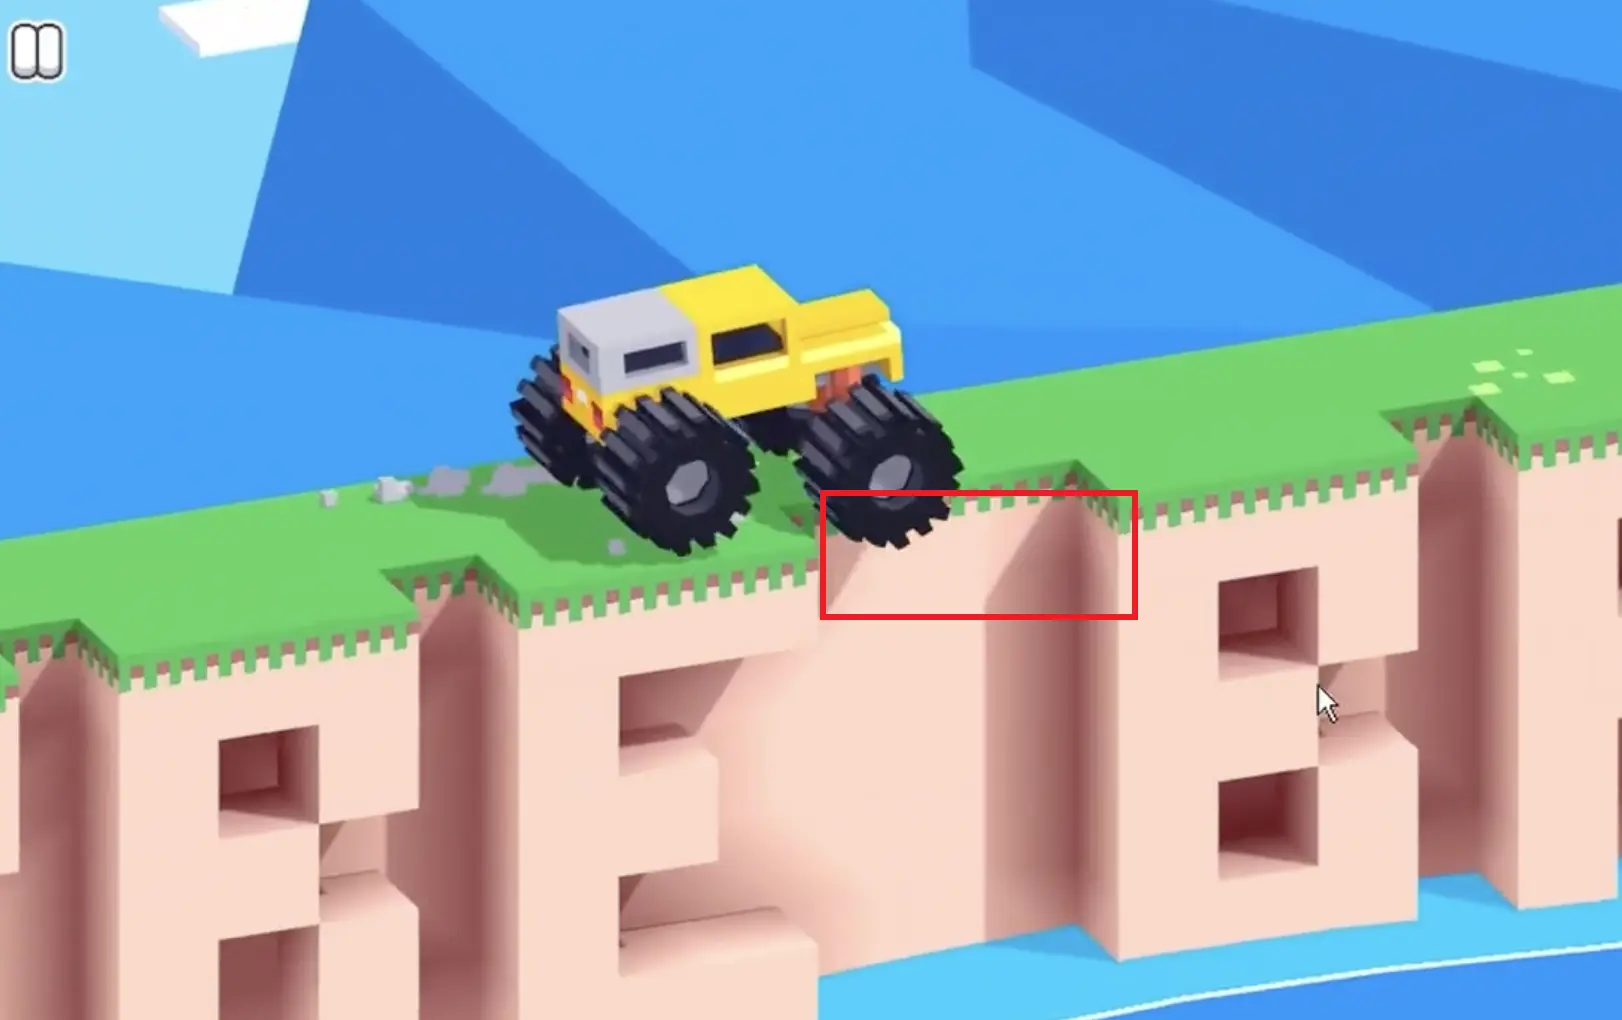
Step 3: Raise the front more through the small gaps before the last jump
After the second big gap, the level changes. There are several small gaps here, and this is where many clears die. If both the front and rear wheels drop into those tiny cuts and get slowed together, the truck loses too much speed for the third big gap.
To avoid that, try to keep the front higher during this section. The goal is to let the truck skim through the small gaps more cleanly instead of letting both axles get dragged down at the same time.
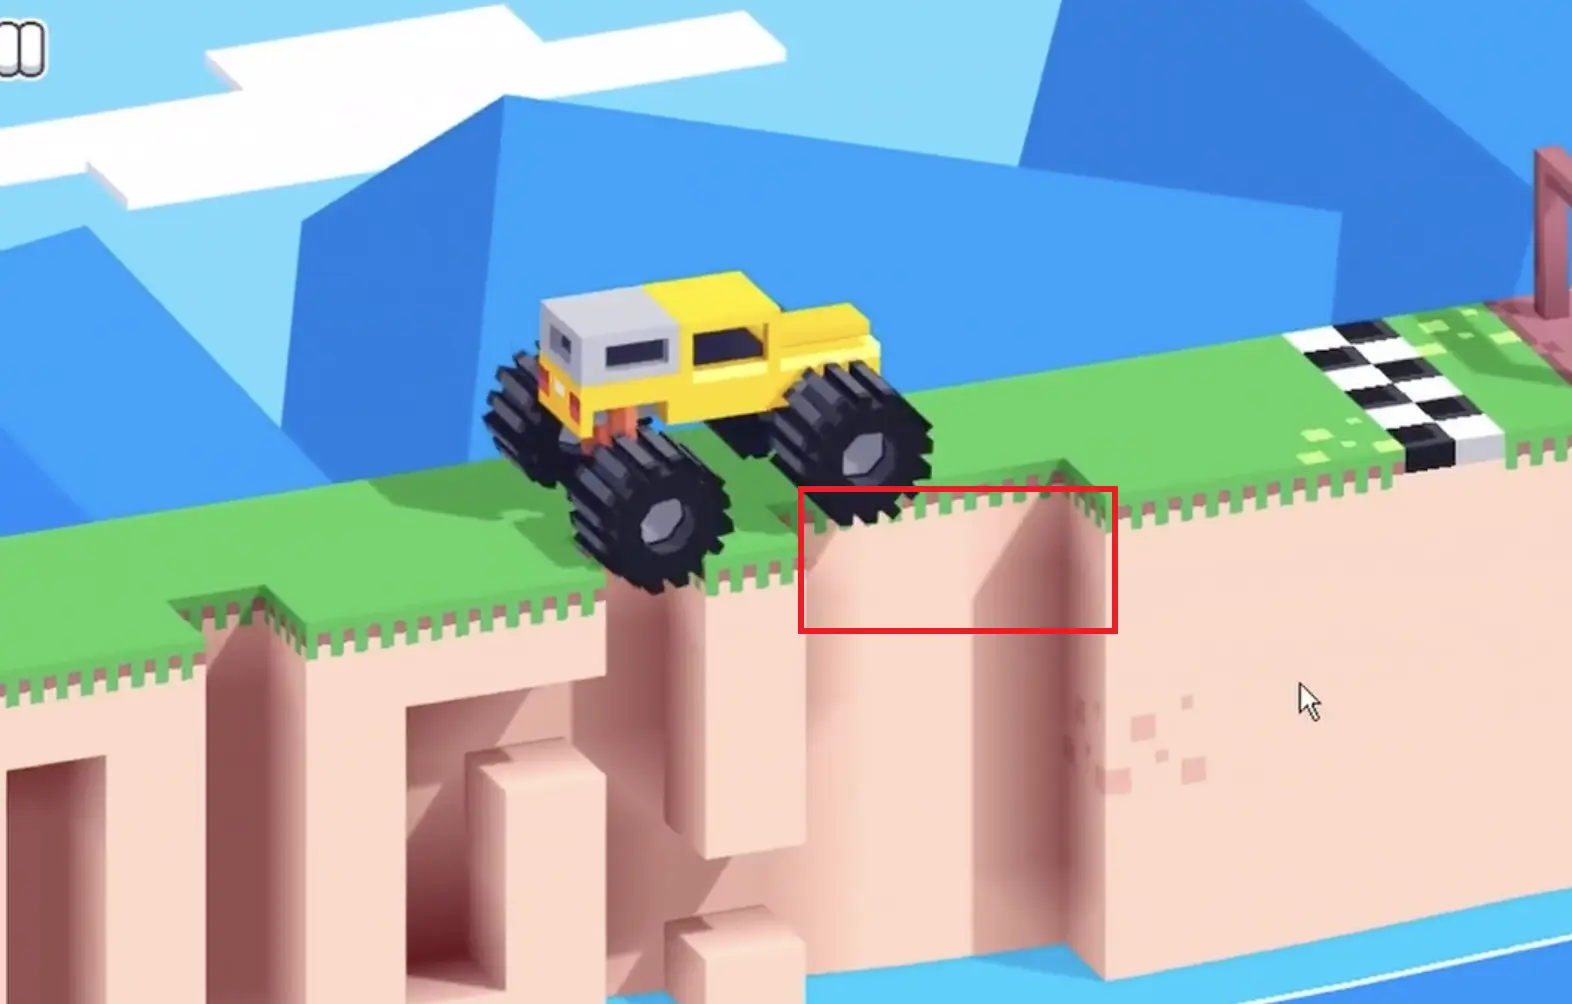
Step 4: Clear the third big gap and finish the game
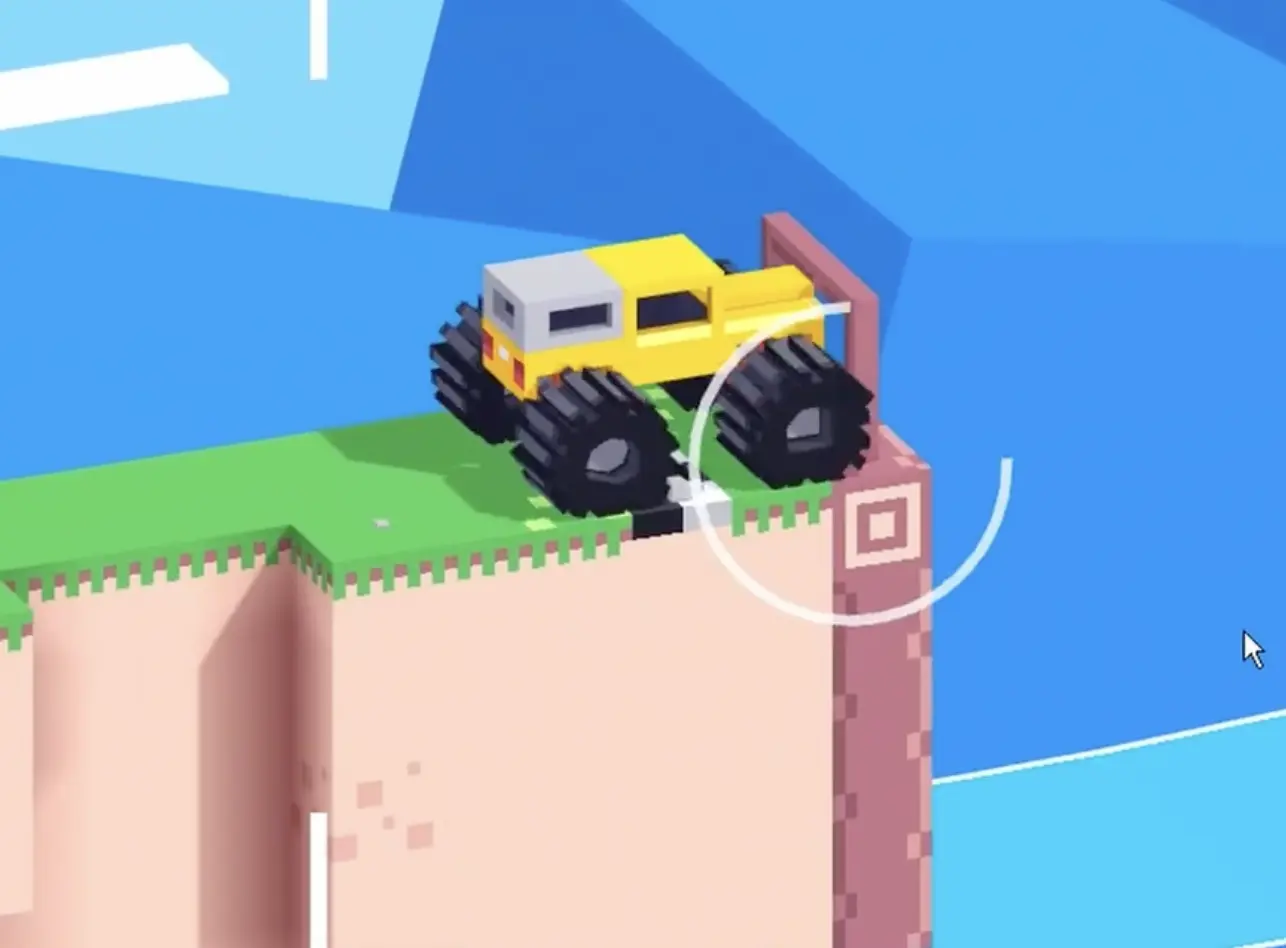
If you preserved enough speed through the small-gap section, the third big gap will finally open up. Stay controlled, keep the truck stable, and drive across.
Once you land past the last big gap, the level is finished. That is it—you have cleared Level 200 and completed all 200 levels in Drive Mad.
Best Cue for Consistent Clears
Watch the front wheels more than the speed. On this stage, the nose angle decides whether the truck floats over the dangerous sections or gets dragged down by them. A slightly raised front helps on the first two big gaps, and a more deliberate front lift becomes crucial in the small-gap zone before the final jump.
Why This Method Works
The stage is built to drain momentum little by little. The first big gap challenges you before the truck is fully moving, the second rewards a stable approach, and the small-gap strip before the third big jump is the real trap. Keeping the front up changes how the truck contacts the terrain, which helps preserve speed and prevents both wheels from getting slowed together. That preserved momentum is what makes the last gap possible.
Common Mistakes in Drive Mad Level 200
- Keeping the truck too flat at the start and failing the first big gap.
- Assuming the second big gap needs no setup at all and getting a bad nose-down landing.
- Driving normally through the small-gap section and letting both wheels lose speed together.
- Not lifting the front enough before the third big gap.
- Clearing most of the stage but losing momentum right before the final jump.
Fast Summary
- Slightly lift the front at the start.
- Use that angle to clear the first big gap.
- Cross the second big gap with normal speed, still slightly nose-up.
- Raise the front more through the small-gap section.
- Preserve momentum for the third big gap.
- Clear the last jump and finish all 200 levels.
FAQ
How do you beat Level 200 in Drive Mad?
Lift the front slightly for the first big gap, carry speed through the second, then keep the nose higher over the small gaps so you still have enough momentum for the final large gap.
Why do I fail the first big gap in So Much Win?
Usually because the truck is still building speed and the front stays too flat. A small front lift at the start helps the truck clear the gap more reliably.
What is the hardest part of Drive Mad Level 200?
The hardest part is the section before the third big gap. The small gaps there can slow both wheels at once, which kills the momentum you need for the final jump.
Do I need to raise the front wheels for every gap in Level 200?
Not by the same amount. A slight lift helps on the first and second big gaps, but the section after the second gap needs a stronger nose-up approach to protect your speed.
What happens after the third big gap in Level 200?
Once you clear the third big gap, the level is basically over. That also means you have finished Level 200 and completed the full Drive Mad set.