Drive Mad Level 110 Walkthrough - Embedded Guide
Complete Drive Mad level 110 walkthrough. Learn how to beat Embedded by using the upper truck to power the lower carrier, building enough momentum through the rings, and clearin…
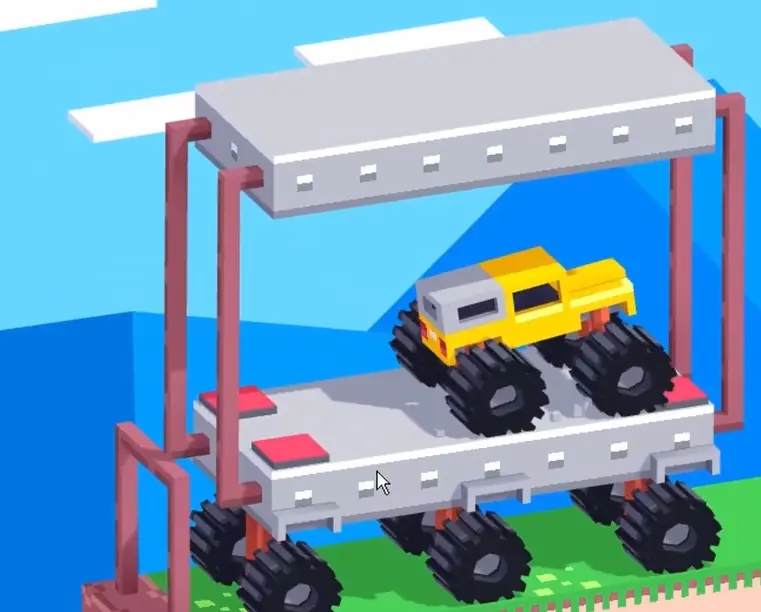
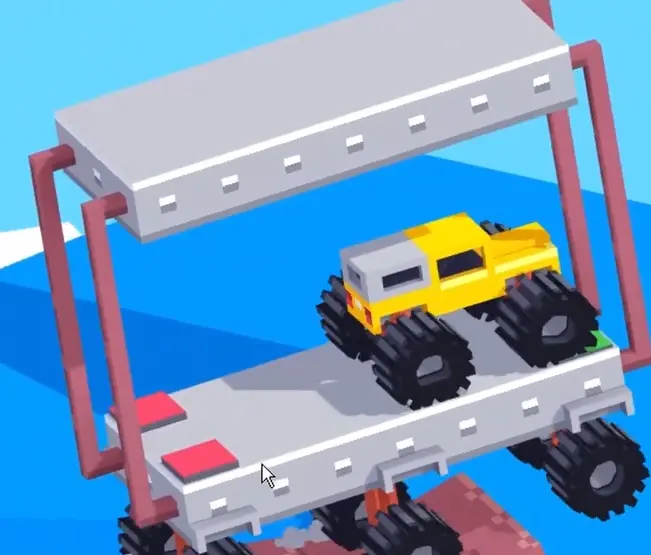
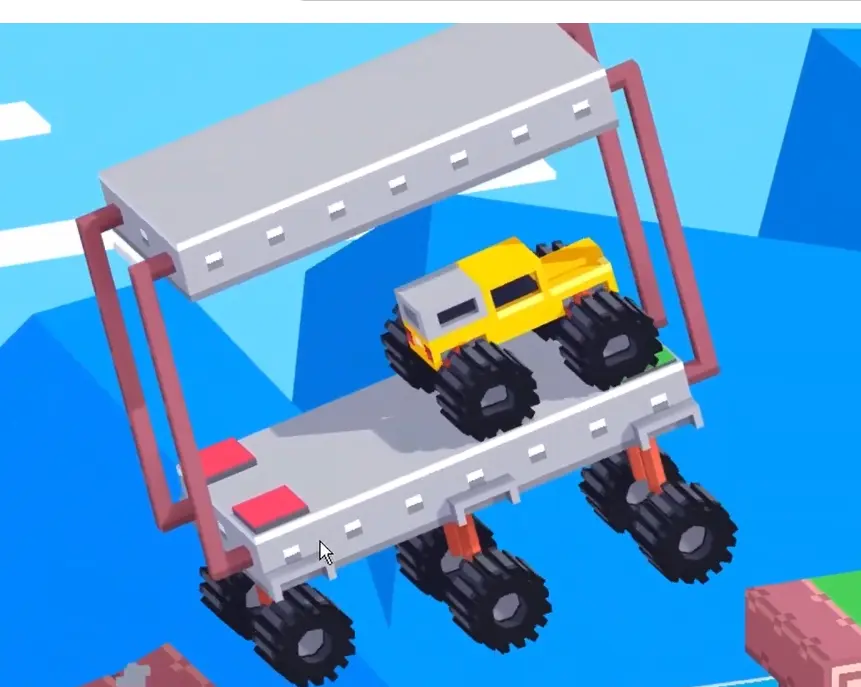
Drive Mad level 110, called Embedded, is a medium level built around indirect control, momentum transfer, and jump timing. As part of the full Drive Mad levels progression, this stage feels unusual because the truck you move on top is not the one that reaches the finish directly. Instead, your input powers the lower carrier, and that moving platform is what creates the speed needed for the embedded off-road truck to travel through the rings and across the gaps. If the carrier is too slow, it cannot generate enough force to launch the truck cleanly. If the timing is messy, the landings become tilted and the next jump falls apart. Once you understand that the top vehicle is really a trigger for the lower platform, the whole level becomes much easier to read.
Why Level 110 Feels Hard
This Drive Mad level feels confusing because the response is delayed. You are controlling the upper truck, but the real motion that matters happens below. That creates a small lag between your input and the embedded truck's movement inside the carrier. The rings then amplify that motion, so bad speed control turns into bad launch angles. The first launch already needs solid momentum, and the second gap is even less forgiving because it demands a stronger entry speed and a cleaner exit line.
Step-by-Step Walkthrough for Drive Mad Level 110
Step 1: Press the front red button to send the lower carrier forward
At the start, use the truck on the upper platform to hit the red button near the front edge. That button gives the lower moving carrier its forward push and starts the entire sequence. The goal here is to create a clean launch instead of a weak crawl, because the lower platform needs real momentum before it reaches the first ring.
Step 2: Carry enough speed through the first ring to fling the truck forward
The lower carrier now needs enough momentum to survive the ring section. As it moves through the circular structure, inertia shifts the embedded truck and throws it outward. This is the first real launch in the level. Let the ring do the work, but make sure the carrier enters with enough pace. A slow entry produces a weak release and usually ruins the next landing.
Step 3: Use stronger speed through the final ring to clear the larger last gap
The second gap is longer, so the final launch needs a higher entry speed than the first one. Use the curvature of the last ring to send the truck across the gap with a flatter, cleaner trajectory. If the carrier arrives fast enough and the platform stays reasonably level on release, the truck will land near the checkered platform. From there, just stabilize and drive into the finish.
Best Cue for Consistent Clears
Power the carrier, trust the rings, then land flat.
Why This Method Works
This method works because the level is really about transferring force rather than driving a normal line. The upper truck activates the lower carrier, and that carrier stores the speed needed for both launches. When it enters a ring with enough momentum, the embedded truck shifts with inertia and gets thrown outward along the curve. That means the rings are not just obstacles. They are launch tools. The first one sets the rhythm, and the last one demands even more speed so the bigger gap can be cleared. Keeping the carrier level on each landing also preserves the next setup instead of wasting momentum on a crooked bounce.
Common Mistakes in Drive Mad Level 110
- Pressing the button weakly and giving the lower carrier too little speed
- Entering the first ring too slowly and getting a poor launch
- Ignoring the delay between the upper truck and the lower carrier
- Reaching the final ring without enough momentum for the bigger gap
- Landing tilted and losing the next setup immediately
Fast Summary
- Use the upper truck to hit the red button
- Launch the lower carrier with enough speed
- Let the first ring throw the truck forward
- Carry stronger momentum into the last ring
- Clear the final gap and drive to the finish
FAQ
How do you beat Drive Mad Level 110?
Use the upper truck to press the red button, build enough speed for the lower carrier, let the rings launch the embedded truck forward, and carry enough momentum through the final ring to clear the last gap and reach the finish.
Why is Drive Mad Level 110 difficult?
Because you are not directly driving the truck that finishes the level. Your input affects the lower carrier with a slight delay, and the rings turn that speed into launch angles that are easy to misjudge.
What is the key trick in Drive Mad Level 110?
The key trick is to think of the upper truck as a control switch for the lower platform. The level is won by generating the right momentum for the carrier, not by steering normally.
How do I clear the final gap in Drive Mad Level 110?
You need a stronger entry speed into the last ring than you needed for the first launch. A fast, clean approach lets the ring throw the truck far enough to land near the checkered platform.