How to Beat Level 157 in Drive Mad – Rocket Bridge Guide
Beat Rocket Bridge by controlling your speed on the bridge, letting the rocket boost carry you near the finish, then dropping and landing at the right time to clear the level.
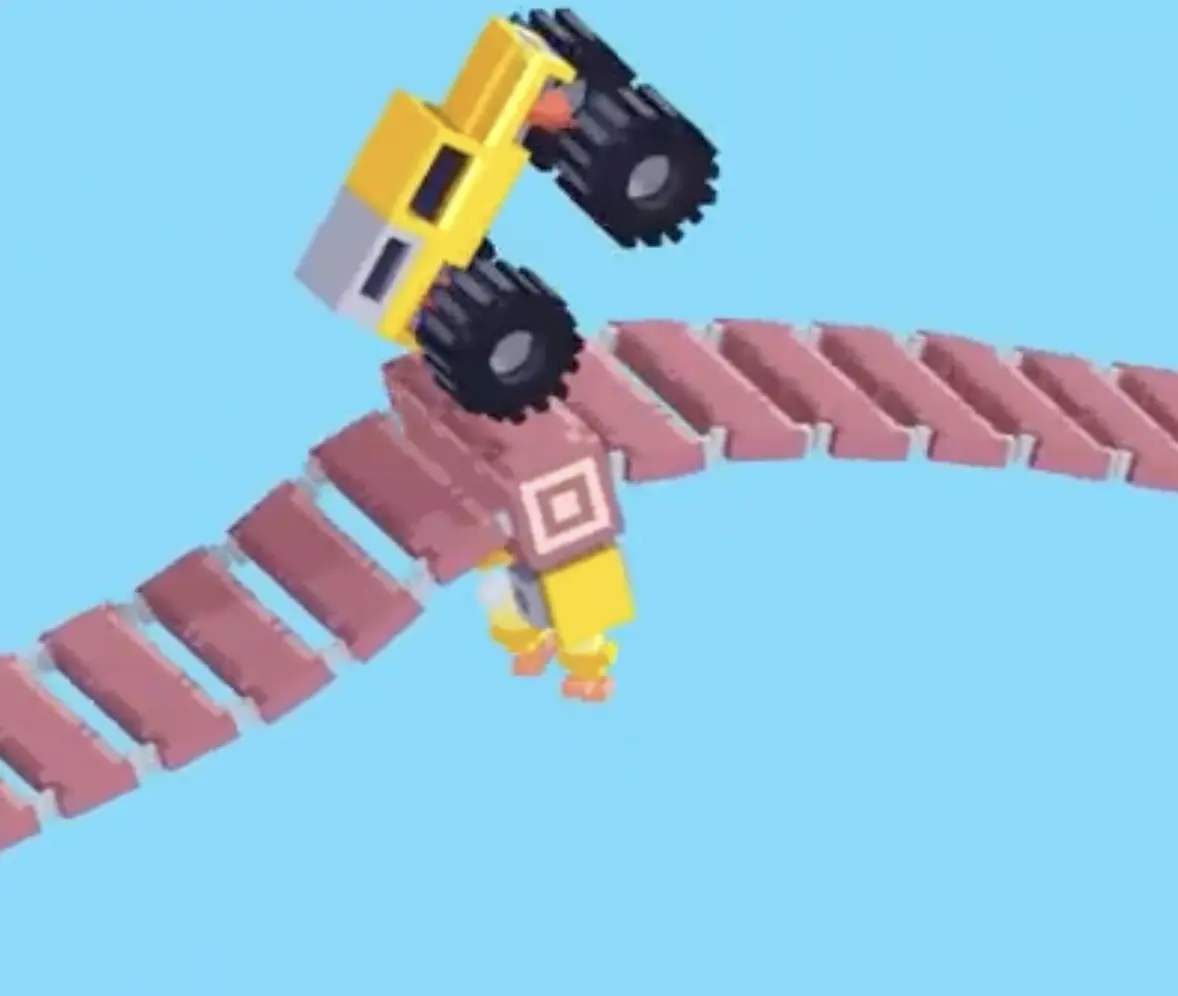
Drive Mad Level 157, called Rocket Bridge, is a launch-and-landing level built around a rocket boost hidden under the bridge. The goal is not just to reach the rocket. You also need to manage your speed before the boost and control your landing after it throws the truck forward. If the launch is too wild, the truck flies past the safe landing area and the run is lost.
Why Level 157 Feels Hard
This level feels awkward because the rocket does most of the movement for you, but you still need to control the result. If you approach too aggressively, the boost can send the truck too far. If you do not react well after launch, the truck lands badly or misses the safe area near the finish. The difficulty is not reaching the rocket. It is surviving the launch with enough balance to land correctly.
Step-by-Step Walkthrough for Drive Mad Level 157
Step 1: Drive onto the bridge and approach the rocket with controlled speed
Start by driving onto the bridge and moving forward until the truck reaches the rocket section underneath. Do not overdrive this part. You want a clean approach so the launch is strong enough to carry you forward, but not so wild that the truck becomes impossible to control afterward.
Think setup first. A calm entry gives you a much better chance of surviving the boost.
Step 2: After the rocket boost, drop near the finish and land cleanly
Once the rocket launches the truck, your main goal is to come down near the finish platform instead of sailing too far away. The landing timing matters more than anything else here. A good run is one where the boost carries you close enough, then the truck drops quickly and settles near the goal.
This part often takes a few tries. Small changes in timing can decide whether you land safely or overshoot the finish area.

Best Cue for Consistent Clears
Think controlled launch, quick drop. The level gets easier once you stop treating the rocket like free speed and start treating it like a landing setup.
Why This Method Works
This method works because the rocket already provides enough force to cover the distance. The real problem is not power, but control. Slowing the approach keeps the launch manageable, and focusing on the drop timing helps the truck land near the finish instead of overshooting. In other words, the bridge sets up the boost, and the landing decides the clear.
Common Mistakes in Drive Mad Level 157
- Driving too fast before reaching the rocket and making the launch too wild.
- Treating the rocket boost like a pure speed section instead of a landing setup.
- Flying too far past the safe landing area near the finish.
- Losing balance in the air and landing badly.
- Giving up after one bad launch instead of adjusting the landing timing.
Fast Summary
- Drive onto the bridge with controlled speed.
- Reach the rocket cleanly.
- Let the boost carry the truck forward.
- Focus on dropping near the finish.
- Land cleanly and complete the level.
FAQ
How do you beat Level 157 in Drive Mad?
Drive onto the bridge with controlled speed, let the rocket boost launch the truck, then time the landing so the truck drops near the finish instead of flying too far.
Why do I fail in Rocket Bridge?
Most failures happen because players approach too fast, get launched too wildly, or cannot land near the finish area after the rocket boost.
What is the key trick in Level 157?
The key trick is controlling the launch setup and landing timing. The rocket gives you enough distance already, so the real job is making sure you come down in the right place.
Do I need to retry the landing timing in Level 157?
Yes. This level often takes a few attempts because small timing differences can change where the truck lands after the rocket boost.