Drive Mad Level 75 Walkthrough - Seesaw Guide
Complete Drive Mad level 75 walkthrough. Learn how to beat Seesaw by ignoring the tempting upper route, using your truck's weight to sink the first platform into the lower tunne…
Drive Mad level 75, called Seesaw, is an easy level built around timing, momentum, and obstacle timing. The trap is that the stage makes the upper route look like the obvious path to the goal, but that high section is a fake lead. The real solution is below. You have to use your truck's weight to lower the first seesaw, slip into the tight lower passage, and then solve the second seesaw in the opposite way by bursting through and turning it into a bridge for the return trip.
Why Level 75 Feels Hard
This level confuses players because the first thing they see is a raised path that seems to point toward the goal. That visual suggestion is misleading. If you keep trying to force the high route, you waste attempts on a path that is not meant to work. The real challenge is recognizing that your truck is not just a vehicle here. It is also the weight that changes the shape of the course. Once you understand that, the whole stage becomes a simple sequence of lowering one seesaw, crawling through the bottom, then converting the second seesaw into a bridge for a short backtrack.
Step-by-Step Walkthrough for Drive Mad Level 75
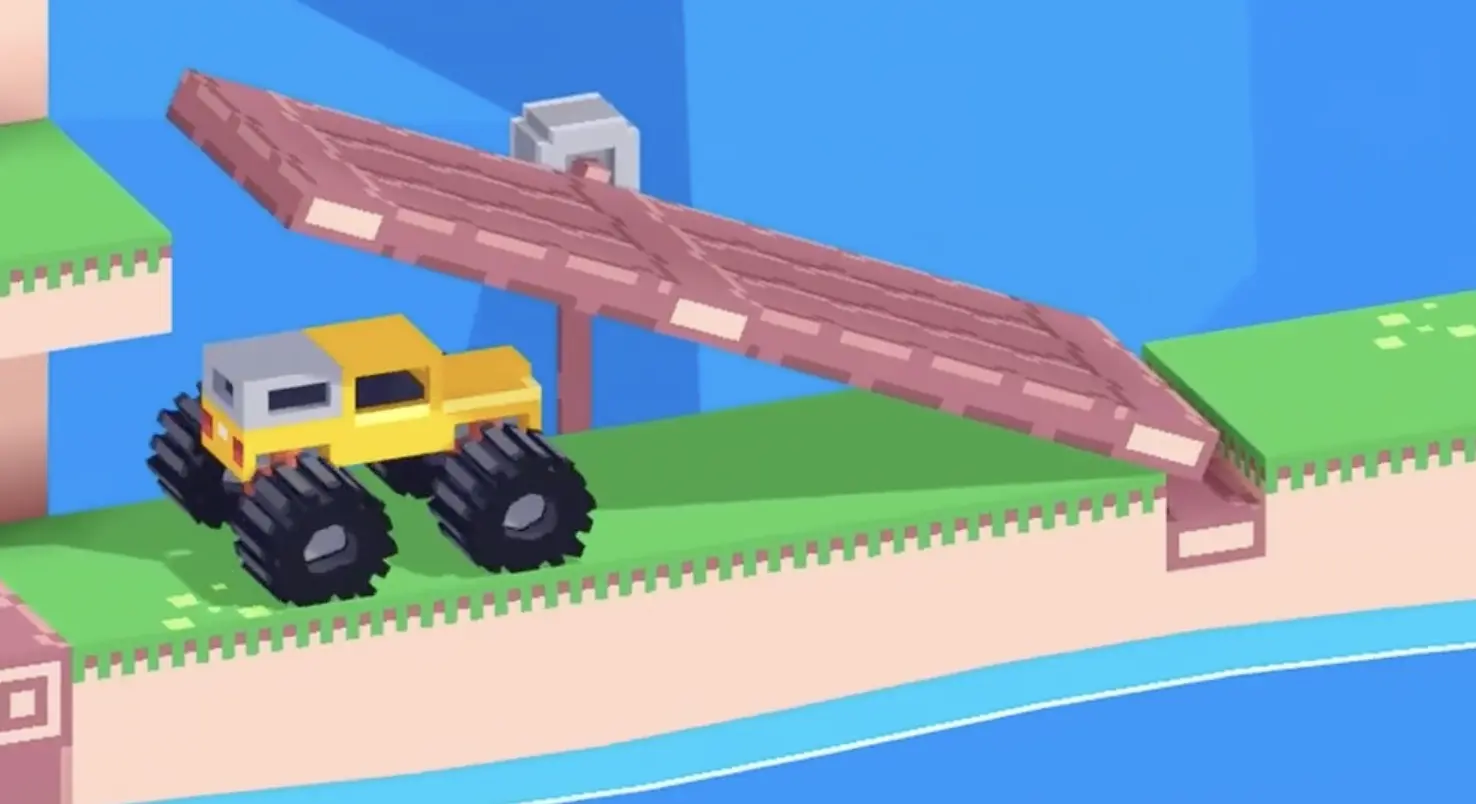
Step 1: Stop on the first seesaw and let your weight lower the entry into the bottom route
At the start, drive onto the first seesaw but do not rush up toward the upper platform. Instead, brake and wait. Your truck's weight will slowly pull the far side downward, creating the angle needed to enter the low tunnel underneath the fake upper route. Patience matters here. If you keep forcing the throttle, the angle can become awkward and the truck may get stuck or nose down badly.

Step 2: Stay on the lower path and burst past the second seesaw from underneath
Once you enter the lower section, keep steady control through the tunnel and approach the second seesaw with commitment. Here the solution is the opposite of the first board. You do not wait on it. You need enough speed to hit its low end from below, force your way past the front edge, and get the truck out in front of the seesaw. That forward breakout is what sets up the clear.
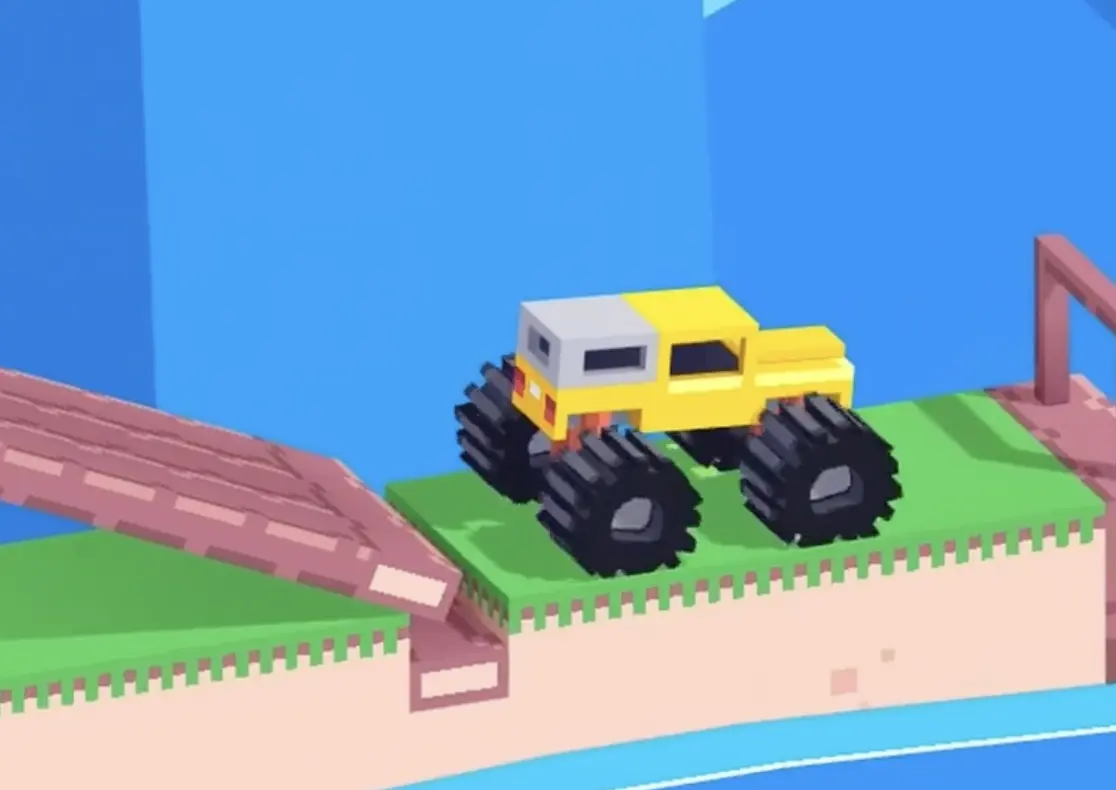
Step 3: Wait for the second seesaw to flatten, then reverse back across it to the finish
After you make it past the second seesaw, let it fall back into a flatter position. Once it settles, it becomes the bridge you actually need. Then reverse across it and head back toward the finish platform. This final backtrack is the last trick of the level. You are not racing deeper into the stage. You are using the board you just passed as a way to return to the goal cleanly.
Best Cue for Consistent Clears
Sink the first, break the second, reverse to win.
Why This Method Works
This method works because both seesaws respond to your truck's mass, but they need different treatment. On the first seesaw, your weight is used slowly as a counterbalance to lower the far side and unlock the bottom route. On the second seesaw, waiting is not enough. You need momentum to force your truck past the low end and get ahead of the board. Once that happens, gravity resets the seesaw into a more useful angle, effectively turning it into the bridge for the return trip. The puzzle is solved by changing the course layout with your truck, not by following the most obvious visual route.
Common Mistakes in Drive Mad Level 75
- Trying to take the tempting upper path on the first seesaw
- Using too much throttle on the first board instead of letting weight lower it naturally
- Entering the lower route at a bad angle and getting stuck in the tunnel
- Approaching the second seesaw too slowly and failing to break through to the far side
- Forgetting to reverse back after the second seesaw settles into a bridge
Fast Summary
- Drive onto the first seesaw and stop
- Let your weight lower the far side into the lower tunnel
- Take the bottom path instead of the fake upper route
- Burst past the second seesaw from underneath
- Reverse back across it once it flattens and reach the finish
FAQ
How do you beat Drive Mad Level 75?
Stop on the first seesaw so it lowers into the bottom tunnel, go through the lower route, force your way past the second seesaw, then reverse back across it after it settles into a bridge.
Why is Drive Mad Level 75 difficult?
Because the level tricks you into thinking the upper path is correct. The real solution is below, and the second seesaw also requires a backtrack instead of a straightforward finish.
What is the main trick in Drive Mad Level 75?
The main trick is using your truck as a moving counterweight. You sink the first seesaw to open the lower route, then use momentum to get past the second one and turn it into a bridge.
What usually causes failure in Drive Mad Level 75?
Most failures happen when players chase the fake upper route, rush the first seesaw, or do not hit the second seesaw with enough speed to get beyond it.
Do you need to go backward to finish Seesaw?
Yes. After you pass the second seesaw and it falls flat, you reverse back across it to reach the finish.