Drive Mad Level 105 Walkthrough - Back And Forth Guide
Complete Drive Mad level 105 walkthrough. Learn how to beat Back And Forth by repeatedly triggering the upper and lower button routes, unlocking the final path, and then driving…
Drive Mad level 105, called Back And Forth, is an easy level built around repeated button triggers and route unlocking. As part of the full Drive Mad levels progression, this stage is less about difficult driving and more about understanding that the level only opens after several back-and-forth activations. You first climb to the upper platform and press the button there multiple times, then return to the start to reveal a low-ceiling route with another button section. After triggering that second set enough times, the path beyond the ramp finally opens and the raised platform becomes the finish. Once you realize the level is really a sequence of unlock steps, it becomes very straightforward.
Why Level 105 Feels Hard
This Drive Mad level feels confusing at first because nothing important happens from a single button press. The level expects repeated activations, so players often think they are missing the solution when the path still looks blocked after one pass. The actual challenge is just recognizing the sequence: unlock the first route, return, unlock the second route, return again, and then finish. Once you stop expecting instant progress and start treating the stage like a trigger puzzle, the level becomes much more predictable.
Step-by-Step Walkthrough for Drive Mad Level 105
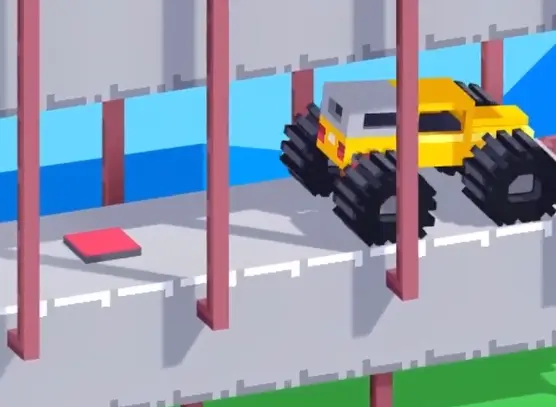
Step 1: Reach the upper platform and trigger its button four times
Start by driving up the ramp onto the upper platform. Once you are there, move back and forth across the red button until it has been pressed four times. Do not overthink the driving here. The important part is simply completing all four activations before heading back.

Step 2: Return and activate the low-ceiling button section three times
After finishing the upper sequence, drive back to the starting side. You will now see a newly opened low-clearance path with another red button inside it. Enter that section and move back and forth until the lower button has been triggered three times. This second unlock step is what opens the final route to the goal.
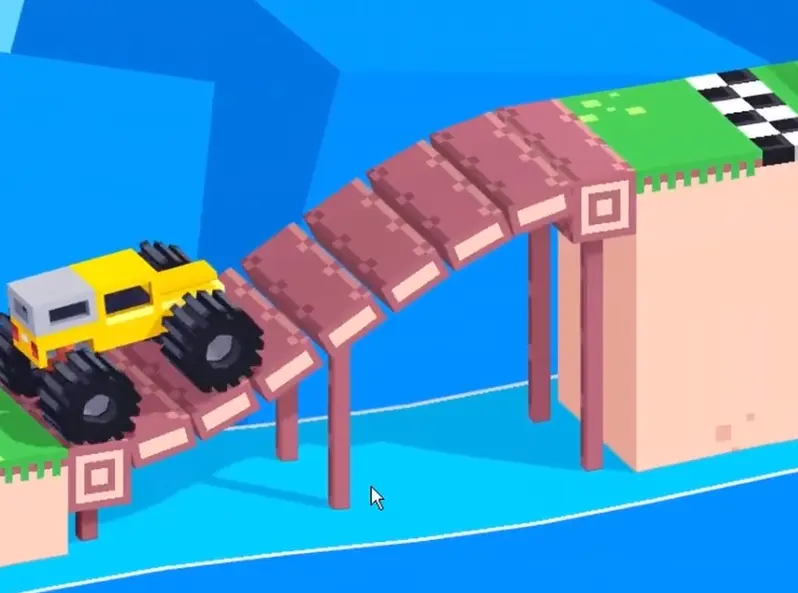
Step 3: Go back again and drive up the ramp to the finish
With both trigger sequences completed, return once more to the original ramp. The platform beyond it is now the finish area. Simply drive up the slope and continue forward onto the checkered goal to clear the level.
Best Cue for Consistent Clears
Trigger, return, trigger again, then finish.
Why This Method Works
This method works because the level is built as a locked progression puzzle rather than a test of speed or jumps. The first button sequence unlocks the second route, and the second sequence unlocks the finish path. That means every trip has a clear purpose. When you complete the activations in the intended order, the level solves itself. Treating each backtrack as part of the design makes the stage feel much cleaner and prevents wasted movement.
Common Mistakes in Drive Mad Level 105
- Pressing the upper button only once and expecting the path to open immediately
- Forgetting to return to the start after finishing the first trigger sequence
- Missing one of the required lower button activations
- Getting impatient and driving around without finishing the unlock order
- Assuming the ramp leads to the finish before both routes are completed
Fast Summary
- Drive up to the upper platform
- Press the upper button four times
- Return to the start and enter the low-ceiling button lane
- Press the lower button three times
- Go back and drive up the ramp to the finish
FAQ
How do you beat Drive Mad Level 105?
Drive to the upper platform and hit its button four times, return to unlock the low-ceiling button lane, trigger that second button three times, then go back and drive up the ramp to the finish.
Why is Drive Mad Level 105 confusing?
Because the level does not open after a single button press. You have to activate the button routes multiple times in the correct order before the final path appears.
What is the key trick in Drive Mad Level 105?
The key trick is understanding that backtracking is required. The level is built around repeated button triggers, not around one straight drive to the finish.
Do I need speed in Drive Mad Level 105?
Not really. This level is mostly about completing the trigger sequence correctly, so calm movement is more useful than fast driving.