Drive Mad Level 88 Walkthrough - The Fall Guide
Complete Drive Mad level 88 walkthrough. Learn how to beat The Fall by keeping the truck stable on each drop, making small midair balance corrections on the biggest jump, and la…
Drive Mad level 88, called The Fall, is an easy level built around timing, momentum, gap control, and balance. Even though the stage looks simple, the real challenge is not speed. It is controlling the truck's body angle while dropping from one platform to the next. Because the vehicle cannot really power itself in midair, the moment that matters most is the instant it leaves each edge. A small tilt there decides whether the next landing is smooth or whether the nose crashes and ruins the run.
Why Level 88 Feels Hard
This level tricks players into thinking it is just a series of harmless drops. The problem is that every landing has a different height, so the truck does not behave the same way each time. The first drop is short and forgiving, but the second one gives the truck enough airtime to tilt badly if it leaves the ledge at the wrong angle. Many failed runs happen because players drive too fast, overcorrect in the air, or slam the throttle the moment they touch down. The level becomes easy once you realize the whole stage is about keeping the vehicle flat rather than moving quickly.
Step-by-Step Walkthrough for Drive Mad Level 88
Step 1: Ease off the first edge and let the small drop happen naturally
Start by rolling toward the first edge at low speed. This opening drop is very short, so you do not need any dramatic correction. The truck will almost slide down the wall into the next platform by itself. Your only job here is to stay calm and avoid blasting forward. Treat this first section as a setup move that keeps the truck level and ready for the larger fall ahead.

Step 2: Make a tiny balance correction during the long middle fall
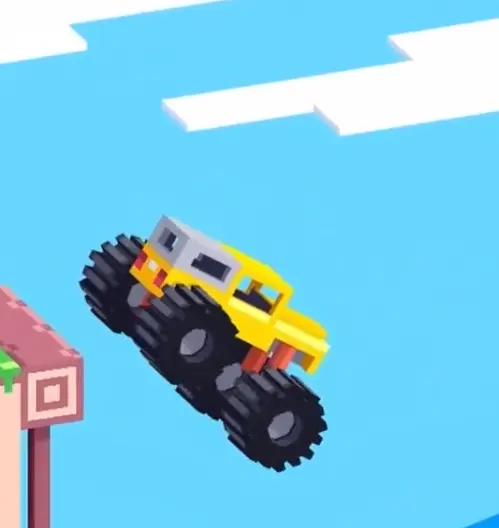
The second drop is the dangerous one because the height is larger and the truck stays in the air longer. Watch the nose as you leave the platform. If the front starts dipping too low, tap reverse lightly to raise it. If the nose is too high, tap forward lightly to bring it down. The key word is lightly. You are not trying to rotate the truck hard. You are only trying to guide it into a flatter landing so all four tires touch down as evenly as possible.
Step 3: Take the final drop at medium speed and slide into the finish
After the big landing, keep the truck under control and continue into the final drop with moderate speed. This last height change is easier than the middle one, so you usually do not need much correction as long as the truck is already balanced. Let the vehicle land, absorb the impact, and use the leftover momentum to roll into the black-and-white goal. Do not stomp the throttle right on impact, because that can drive the nose into the ground and ruin an otherwise clean run.

Best Cue for Consistent Clears
Stay flat, land clean, keep rolling.
Why This Method Works
This method works because the level is really a test of landing quality, not raw speed. Slow approaches give you more time to judge the truck's angle at each ledge. Small air corrections on the big fall stop the front end from diving too hard or the rear from slamming down first. Once the truck lands evenly, the suspension absorbs the drop better and the remaining momentum becomes useful instead of destructive. That is why a calm, flat descent clears the level much more reliably than a fast one.
Common Mistakes in Drive Mad Level 88
- Approaching the drops too fast and losing time to react
- Doing unnecessary corrections on the first small drop
- Overcorrecting during the long middle fall and making the truck rotate too much
- Landing nose-first instead of aiming for a flatter four-wheel touchdown
- Accelerating hard the instant the truck lands near the finish
Fast Summary
- Approach the first ledge slowly
- Let the first short drop happen naturally
- Use tiny balance corrections on the big middle fall
- Aim for a flat four-wheel landing
- Use the final momentum to roll smoothly into the finish
FAQ
How do you beat Drive Mad Level 88?
Drive slowly off each ledge, keep the truck balanced during the big middle fall with tiny air adjustments, and land flat enough to carry the remaining momentum safely into the finish.
Why is Drive Mad Level 88 difficult?
Because the stage looks easy, but the larger middle drop gives the truck enough airtime to tilt badly if it leaves the platform at the wrong angle.
What is the main trick in Drive Mad Level 88?
The main trick is controlling the truck's body angle during the long fall so the landing stays flat and stable instead of turning into a nose-first crash.
Should I go full speed in Drive Mad Level 88?
No. Slow and controlled descents are much safer. This level rewards balance and clean landings more than speed.