Drive Mad Level 107 Walkthrough - Chick Swap Guide
Complete Drive Mad level 107 walkthrough. Learn how to beat Chick Swap by matching the truck's movement to the chick block's jump rhythm, catching it safely, and escorting it ac…
Drive Mad level 107, called Chick Swap, is a medium level built around rhythm matching, balance, and escort control. As part of the full Drive Mad levels progression, this stage is less about your own truck reaching the finish and more about transporting a small jumping block safely to the goal. The chick cube keeps bouncing on its own, so the real challenge is to move the truck in sync with that jump cycle. Each time the cube lands, your truck bed needs to be directly underneath it or lined up with the next safe platform. If you drive too fast, the cube overshoots and falls away. If you hesitate too much, it lands behind you and the whole escort breaks down. Once you treat the level like a rhythm-based delivery instead of a normal drive, it becomes much more manageable.
Why Level 107 Feels Hard
This Drive Mad level feels awkward because the object you are escorting moves on its own schedule. You are not fully controlling when the chick block jumps, only where it lands. That means every small throttle input has to react to its rhythm. The truck must keep up without getting too far ahead, and it also has to stay balanced enough to receive the next landing cleanly. The difficulty comes from synchronizing two motions at once: the cube's bounce arc and the truck's forward movement.
Step-by-Step Walkthrough for Drive Mad Level 107
Step 1: Watch the jump rhythm before committing to the escort
At the start, do not rush forward immediately. Spend a moment reading the chick block's bounce height and timing interval so you can anticipate where it will come down. This setup matters because the whole level depends on moving in step with that rhythm rather than forcing your own pace.
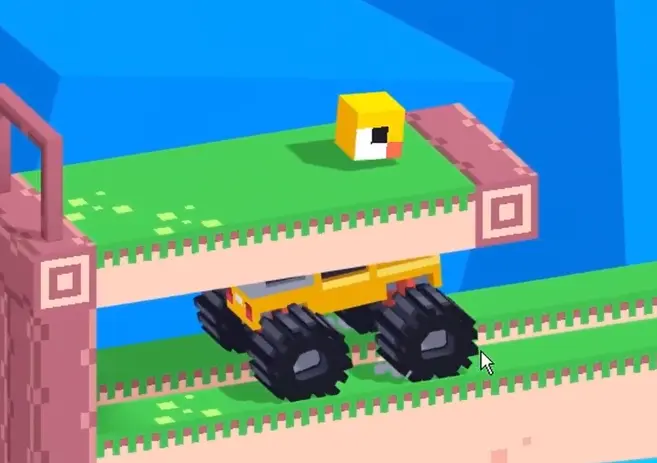
Step 2: Catch the chick block cleanly when it jumps down from the upper ledge
As the chick block leaves the starting platform, move forward slowly and place the truck bed underneath its landing path. The goal is a calm first catch, not a rushed pickup. If you arrive too early, the block can rebound off-center. If you arrive too late, it drops behind the truck and the run is lost.
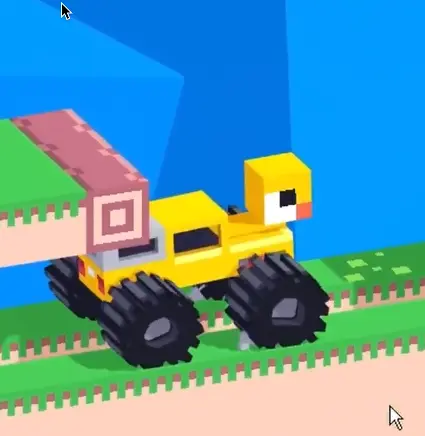
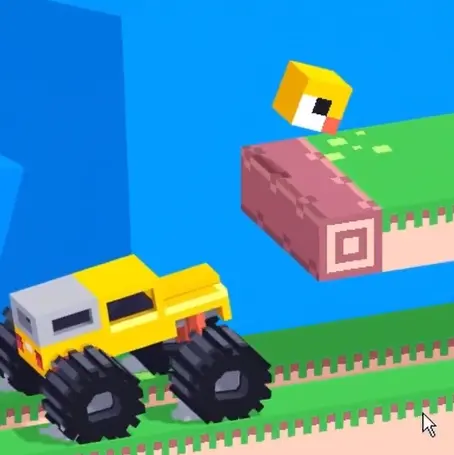
Step 3: Adjust your speed so each jump lands on the truck or the next safe platform
Once the escort begins, keep tracking the cube's jump arc instead of staring at the truck itself. When the chick block rises high, you can briefly ease off and let it come down. When the next platform is positioned ahead, give a controlled push so the landing point remains safe. The truck should always be following the block's landing path, never abandoning it.
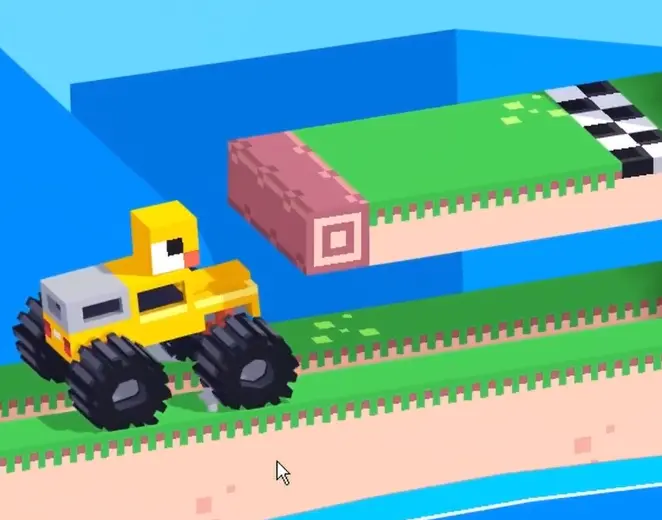
Step 4: Repeat the catch-and-carry rhythm until the chick block reaches the finish
Keep repeating the same sequence: catch, move, wait for the jump, then reposition for the next landing. The level stays reliable when you let the chick block set the tempo. On the final approach, make sure its last bounce carries it onto the checkered area rather than behind the truck. Once it lands in the finish zone, the stage is done.
Best Cue for Consistent Clears
Follow the bounce, not your own speed.
Why This Method Works
This method works because the level is decided by landing control rather than raw driving speed. The chick block already has its own jump cycle, so trying to outrun it only creates bad spacing. By first reading the rhythm, then moving only enough to stay under the next landing point, you turn a chaotic escort into a predictable sequence. The truck acts like a moving platform, and each successful catch resets the next jump into a manageable pattern. The level becomes much more repeatable when you separate it into two jobs: protect the current landing and prepare the next one.
Common Mistakes in Drive Mad Level 107
- Rushing forward before understanding the chick block's jump rhythm
- Driving too far ahead and leaving the next landing point uncovered
- Stopping too suddenly and letting the block fall behind the truck
- Watching the truck instead of tracking the bounce arc
- Trying to force the escort with speed instead of timing
Fast Summary
- Read the chick block's bounce timing first
- Catch it cleanly when it jumps down
- Adjust your speed to stay under the next landing
- Escort it across each safe section
- Let the final bounce land in the finish zone
FAQ
How do you beat Drive Mad Level 107?
Watch the chick block's jump rhythm, catch it when it drops from the upper ledge, then keep moving the truck so each new landing happens on the bed or on the next safe platform until it reaches the finish.
Why is Drive Mad Level 107 difficult?
Because the chick block moves on its own timing. You are not controlling the jump itself, only the landing position, so the truck has to stay synchronized with the bounce cycle.
What is the key trick in Drive Mad Level 107?
The key trick is to let the chick block set the pace. Instead of driving at a constant speed, you adjust your movement to match where the next landing will happen.
What should I focus on in Drive Mad Level 107?
Focus on the block's landing arc, not just the truck. If you keep your bed under the next landing point, the escort becomes much more stable.