Drive Mad Level 87 Walkthrough - One Up Guide
Complete Drive Mad level 87 walkthrough. Learn how to beat One Up by loading the rear suspension with a short backward input, lifting the front wheels onto the ledge, and using…
Drive Mad level 87, called One Up, is an easy level built around timing, momentum, gap control, and front-lift. The obstacle looks like a simple ledge, but the real trick is using the monster truck's huge tires and torque correctly. Because the wheels are larger than the step height, you do not need a perfect jump. You only need to get the front wheels high enough to bite the platform edge. Once they catch, the truck's power can drag the rest of the body up almost automatically.
Why Level 87 Feels Hard
This level feels awkward because a normal straight climb does not always work from a flat approach. When players drive directly into the ledge, the truck often bumps the front end against the wall without enough lift to climb. That makes the stage feel more precise than it really is. The level becomes easy once you realize the goal is not speed by itself. It is creating a small front-wheel rise at exactly the right moment, then letting the oversized tires and engine torque do the rest.
Step-by-Step Walkthrough for Drive Mad Level 87
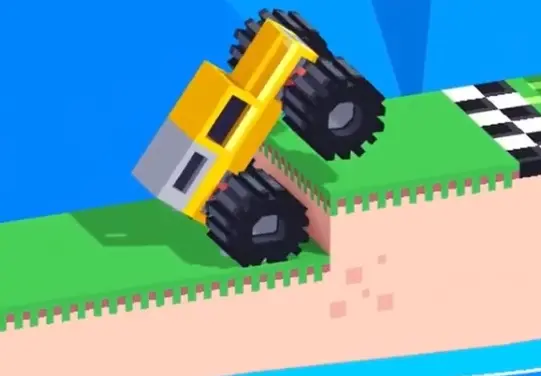
Step 1: Back up slightly, then use the rebound to lift the front wheels
When you get about one truck length away from the step, tap and hold reverse for a brief moment instead of charging straight in. This shifts the center of mass backward and compresses the rear suspension. The moment that suspension begins to rebound, switch immediately to strong forward input. That combination of torque, weight transfer, and rebound lifts the nose upward. Your target is simple: get the front wheels to rise just high enough that they pass the ledge line and start to hook onto the upper platform.
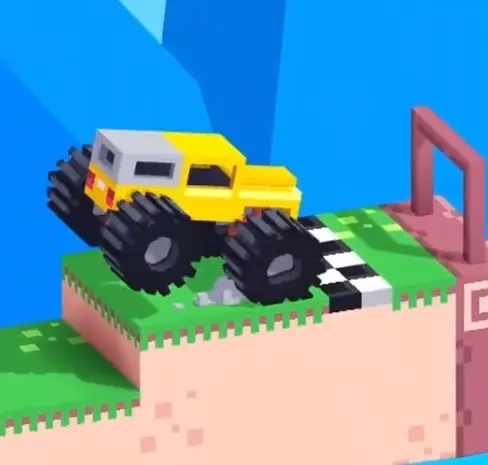
Step 2: Keep the front hooked and let the truck pull itself up
As soon as the front tires catch the ledge, keep holding forward instead of hesitating. The giant wheels have enough grip and diameter to act almost like hooks once they bite the top edge. After that, the truck usually climbs the rest of the way on its own. Stay smooth, avoid unnecessary braking, and let the rear wheels follow up the wall. Once you are on the platform, just keep rolling a short distance into the black-and-white finish zone.
Best Cue for Consistent Clears
Back, pop, hook, pull up.
Why This Method Works
This method works because the monster truck is strongest when its front tires can get purchase on the ledge. A direct flat approach does not always give those tires enough height. The short backward input solves that by shifting the weight rearward and loading the suspension. When you switch into forward, that stored force helps lift the nose, and the engine torque takes over. Since the tires are so large relative to the obstacle, even a small successful hook is enough to turn the climb from impossible into automatic.
Common Mistakes in Drive Mad Level 87
- Driving straight into the step without setting up the rear suspension first
- Reversing too long and losing the correct distance for the lift
- Switching to forward too late and missing the rebound window
- Letting go of the throttle after the front wheels touch the ledge
- Trying to overcorrect even though the truck can usually pull itself up once hooked
Fast Summary
- Stop about one truck length from the step
- Back up briefly to load the rear suspension
- Accelerate hard as the suspension rebounds
- Get the front wheels to hook the ledge
- Hold forward and drive into the finish
FAQ
How do you beat Drive Mad Level 87?
Back up briefly before the ledge, accelerate forward as the rear suspension rebounds, and keep holding forward once the front tires catch the platform so the truck can pull itself up.
Why is Drive Mad Level 87 difficult?
Because a direct climb can leave the front end too low. The level is really about creating a small front-wheel lift at the right moment rather than simply driving faster.
What is the main trick in Drive Mad Level 87?
The main trick is using a short reverse input to shift the weight back and compress the rear suspension, then using the rebound to lift the front tires onto the ledge.
Should I charge the wall at full speed in Drive Mad Level 87?
No. A short setup and timed burst forward are much more reliable than blindly flooring it from the start.