Drive Mad Level 129 Walkthrough - Automobile Guide
Complete Drive Mad level 129 walkthrough. Learn how to beat Automobile by waiting for moving terrain to align, using controlled speed across the broken gap, balancing over the s…
Drive Mad level 129, called Automobile, is a hard level built around timing, balance, gap control, and moving terrain. As part of the full Drive Mad levels progression, this stage asks you to work with dynamic platforms instead of treating the road as fixed. You must wait for the terrain to align, cross at the correct moment, use medium speed at the broken jump, stay balanced on a deforming bridge, and then land the final drop without breaking the truck. If you are looking for a reliable Drive Mad level walkthrough, this guide explains how to use patience on the moving sections, manage momentum through the narrow gap, and finish the level with a clean landing.
Why Level 129 Feels Hard
This Drive Mad level is difficult because almost every section punishes the wrong kind of speed. The early platforms look simple, but rushing them drops you into the gaps. The broken jump is even harsher, because you need enough momentum to cross without smashing into the far wall or falling short. Then the bridge bends under your weight, which makes balance just as important as timing. The whole stage is really about working with the terrain instead of forcing your way through it.
Step-by-Step Walkthrough for Drive Mad Level 129
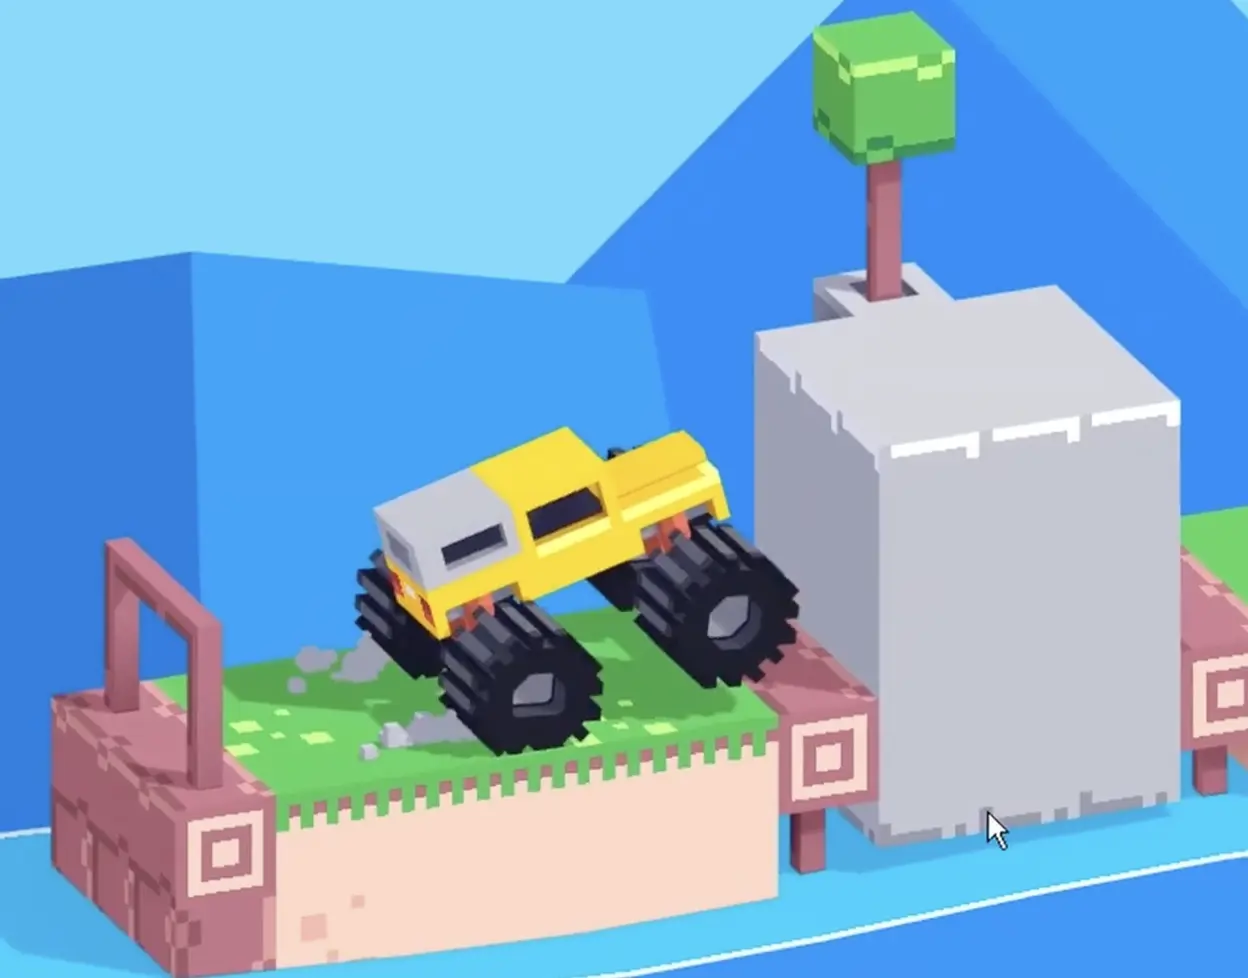
Step 1: Stop at the first moving platform and wait for it to lower flush
Drive to the edge of the first platform and stop immediately. Do not try to force your way over the gap while the moving block is still too high or too low.
Wait until the platform fully lowers and becomes level with the road, then tap forward and cross quickly. If you fall into the gap by mistake, stay calm and wait for the platform to rise again so you can rejoin the track.
Step 2: Use the same wait-first strategy on the second moving section
The next platform works the same way. Let it align first, then drive across with a smooth and steady input instead of over-accelerating.
This section is easier once you accept that patience is part of the solution. The level is testing whether you can read the terrain cycle, not whether you can react faster than it moves.

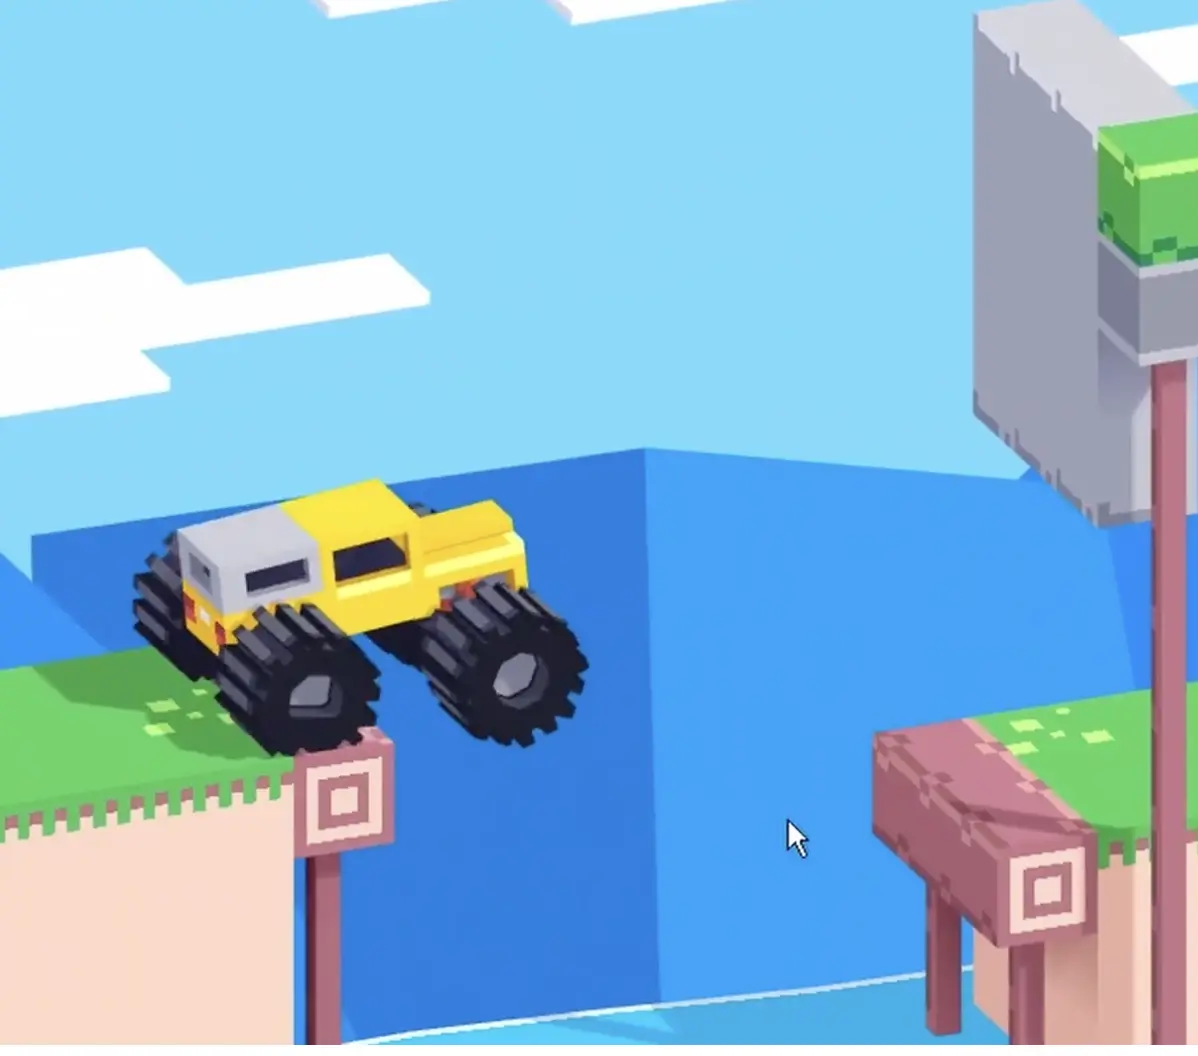
Step 3: Use medium speed at the broken gap and dip the nose into the narrow opening
At the broken bridge, use medium speed. Too much speed sends the truck too high and makes it crash into the far structure. Too little speed leaves you short of the crossing.
As the wheels leave the edge, release the throttle so the front end drops slightly under gravity. That small nose dip helps the truck enter the narrow landing space much more cleanly.
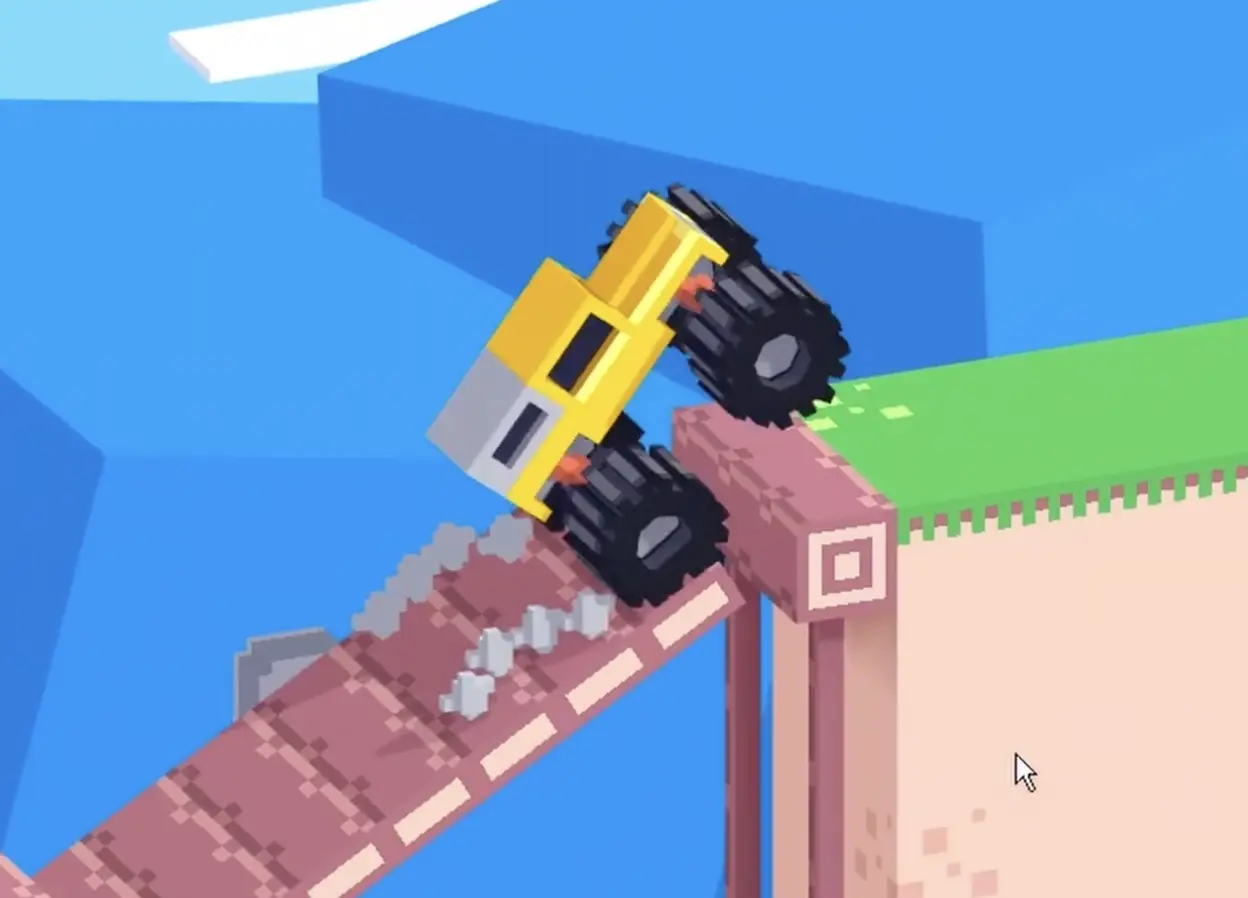
Step 4: Cross the soft bridge at even speed and ride the slope up to the high platform
Once you reach the flexible wooden bridge, keep your speed even. The bridge bends under the truck's weight, so sudden throttle changes can throw off your balance and shift the center of mass too aggressively.
Let the truck roll naturally as the bridge deforms, then carry that small amount of momentum forward into the rising end. The terrain will help lift you onto the higher platform if your line stays stable.
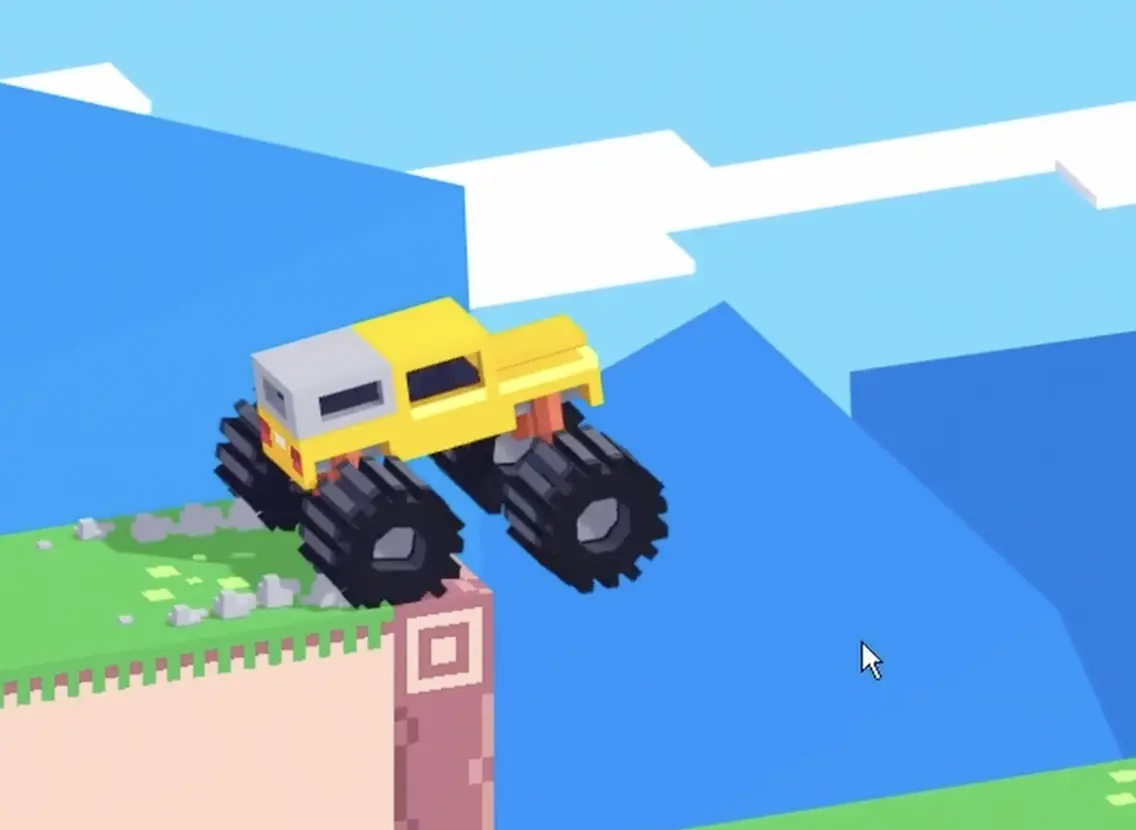
Step 5: Release the throttle before the final drop and land with all four wheels
Before driving off the last high ledge, let go of the accelerator. A natural fall gives the truck a cleaner arc and makes it much easier to land evenly.
If needed, tap reverse lightly while you are in the air to raise the front end a little. That small backward torque helps the truck settle with all four wheels instead of smashing nose-first into the ground. Once you land cleanly, keep the truck straight and roll into the finish.
Best Cue for Consistent Clears
Think of the level as alternating between waiting and committing: wait for the terrain, then commit to the move.
Why This Method Works
This method works because every obstacle in the level is built around terrain timing rather than pure acceleration. The first platforms only become safe when they align with the road. The broken jump only works with a medium launch that places the truck at the correct height. The soft bridge punishes unstable throttle because the surface changes shape under your wheels. The final drop is safer when you stop forcing the truck forward and let gravity create a natural landing arc. Each section rewards control over impulse.
Common Mistakes in Drive Mad Level 129
- Trying to cross the moving platforms before they align
- Using too much speed at the broken jump
- Taking the gap too slowly and falling short
- Changing throttle too aggressively on the flexible bridge
- Keeping the accelerator held during the final drop and landing nose-first
Fast Summary
- Wait for the first platform to lower flush
- Repeat the same timing on the second moving section
- Use medium speed at the broken gap
- Stay steady on the soft bridge
- Release the throttle before the last drop and land flat
FAQ
How do you beat Drive Mad Level 129?
Wait for the moving platforms to align, use medium speed across the broken gap, keep balanced on the soft bridge, and release the throttle before the final drop so the truck lands flat.
Why is Drive Mad Level 129 difficult?
Because the terrain keeps changing. The level mixes timing-based platforms, a precision gap crossing, a deforming bridge, and a landing that punishes bad body angle.
What is the key trick in Drive Mad Level 129?
The key trick is knowing when not to accelerate. Waiting for alignment and releasing the throttle at the right moments are more important than constant speed.
Why do I fail the final landing?
Usually because the truck leaves the ledge with too much forward drive and drops nose-first. Letting go of the throttle early, and lightly tapping reverse in the air if needed, makes the landing much safer.