How to Beat Clubstep in Geometry Dash (2026 Updated)
Struggling with Clubstep? This Geometry Dash guide explains the fake orbs, memory sections, Ball timing, and final upside-down Ship so you can get your first clear without wasti…
Clubstep is the first official Demon in Geometry Dash, and it still ruins first clears for the same reason it always has: fake inputs, memory pressure, and ship control that gets much harder late in the level. The difficulty is not just raw speed. Clubstep keeps asking whether you can read trolls early enough and stay calm when the level starts hiding the real path.
If you are stuck on Clubstep, do not treat it like one long reaction test. Treat it like a level with a few very specific walls: the fake-orb opening, the invisible-block memory path, the Ball and Mini Ball transitions, and the final upside-down Ship that kills a huge number of first clears.
Why Clubstep feels so hard
Clubstep is not hard because every click is mechanically extreme. It is hard because the level keeps lying to you. Fake orbs, fake walls, troll spikes, and invisible-looking routes force you to memorize what is real before you can play consistently. That is why so many deaths feel random at first.
The other problem is pacing. A lot of early sections are learnable once you know the pattern, but the late Ship sections are still demanding even after you understand them. That creates the classic Clubstep experience: you finally make it deep into the level, then die in the last 20% because your flight rhythm falls apart under pressure.
Best practice setup before trying full runs
If you want your first clear faster, practice setup matters. Clubstep becomes much more manageable when you stop grinding only from 0% and start isolating the sections that actually kill your runs.Because a full run is about 90 seconds long, replaying from 0% over and over is much more wasteful than isolating the sections that actually kill your attempts.
- Use Practice Mode first so the fake orbs and fake walls stop feeling random.
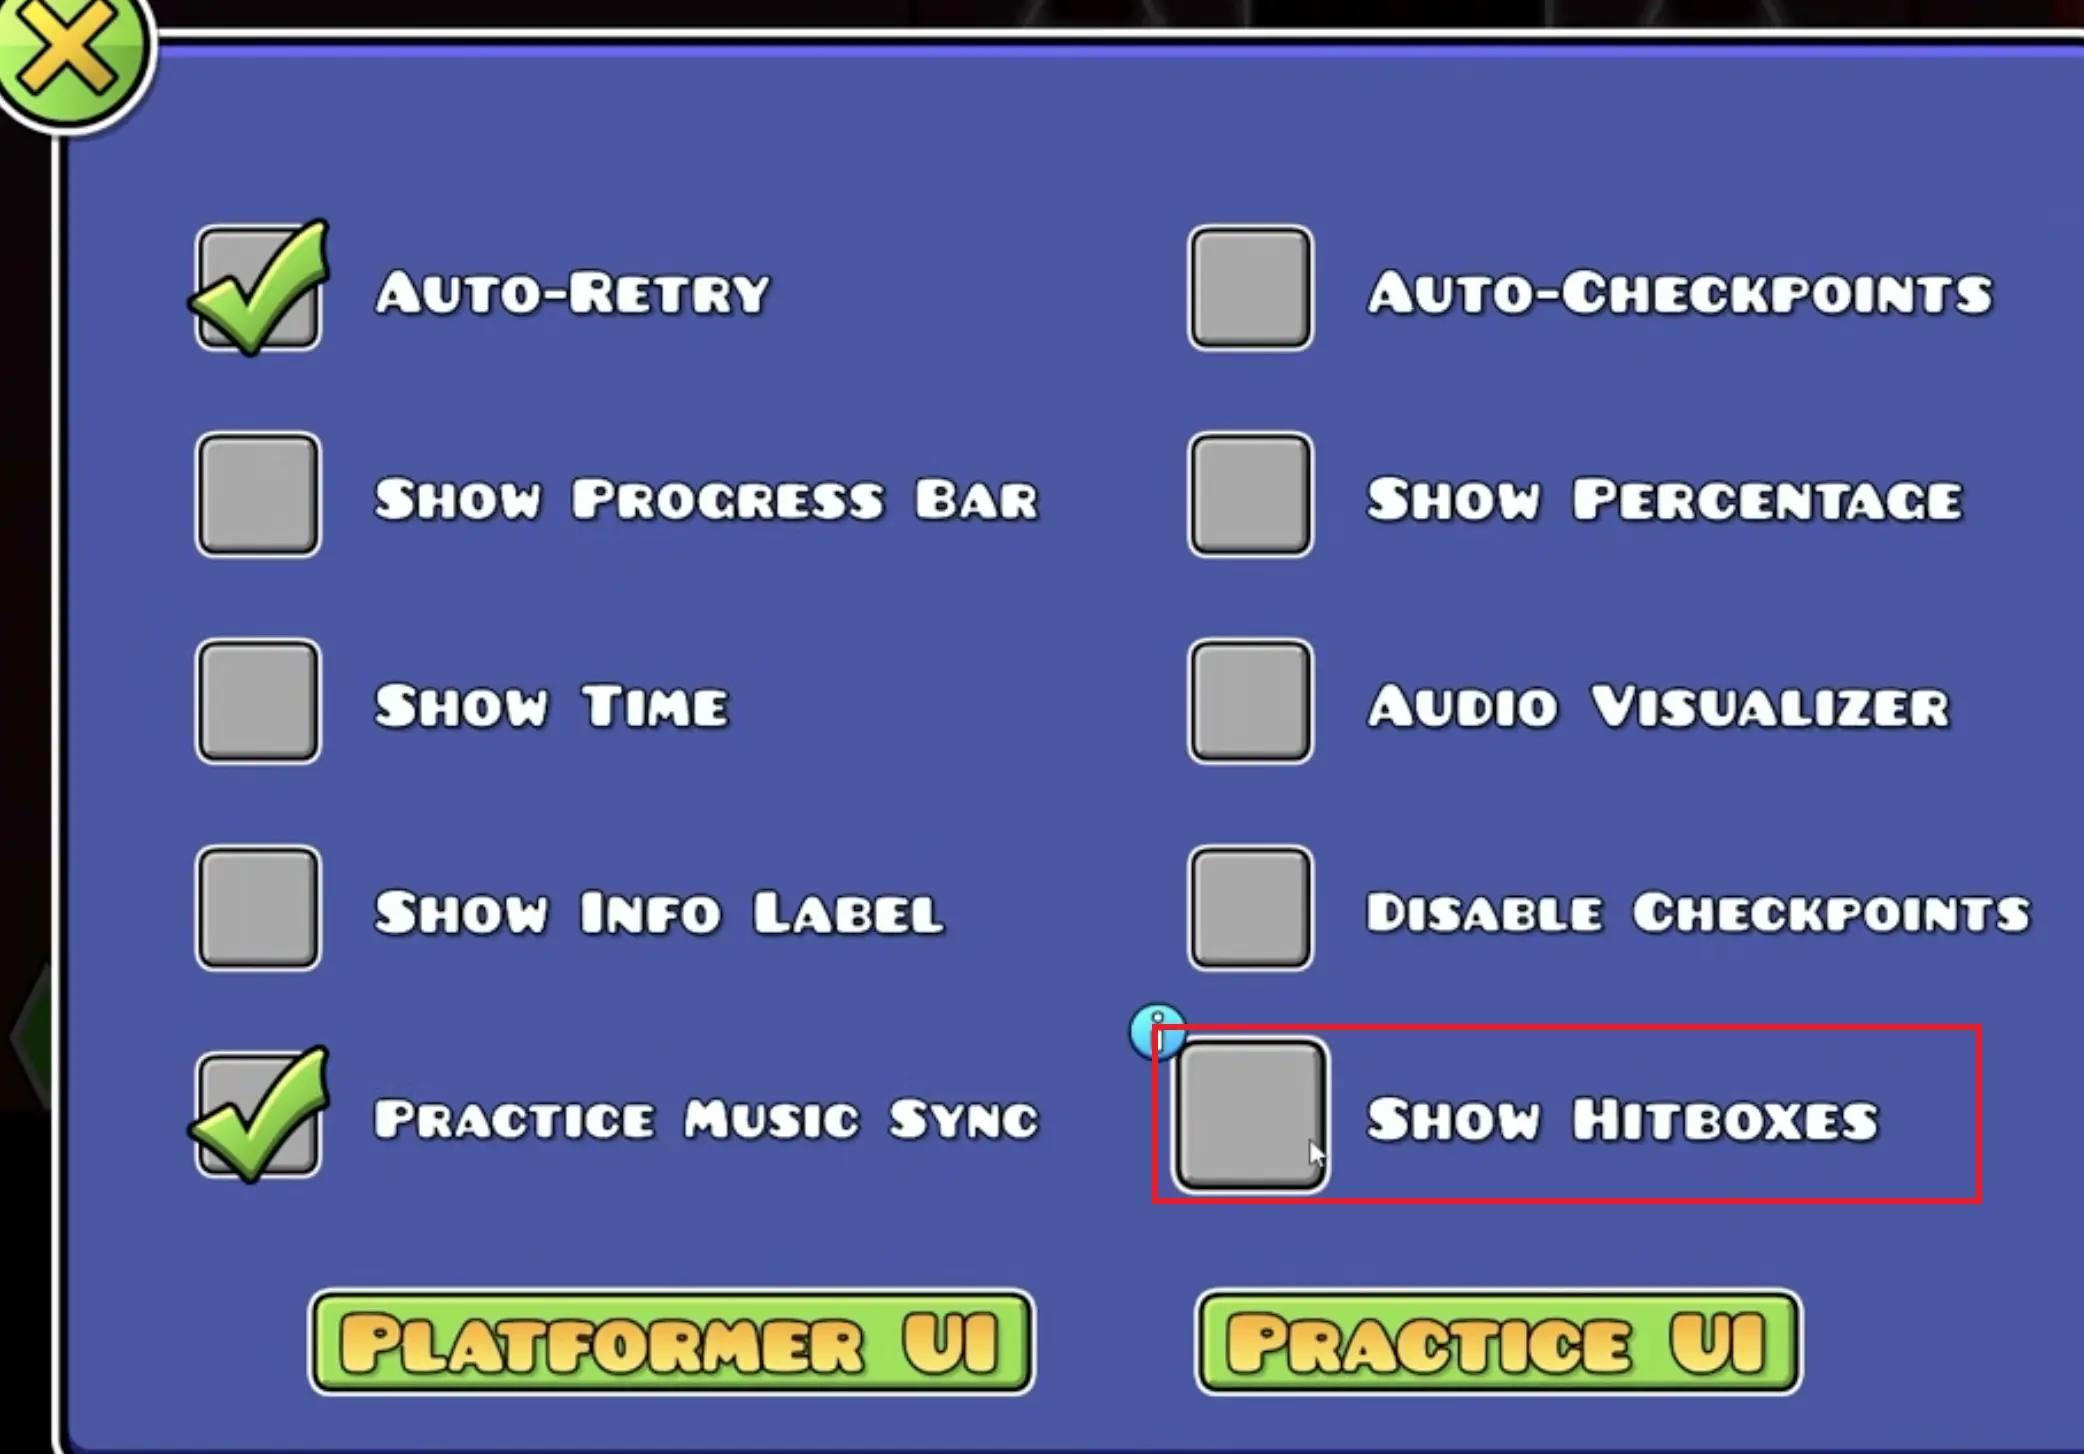
- Turn on Show Hitboxes while learning the memory sections so the invisible-looking route becomes readable.
- If a Ship section still feels unreadable, learn the click rhythm slowly first, then return to normal speed once the visual cue is clear.
- On PC, many players find mouse inputs easier to keep consistent than keyboard in Ship-heavy parts.
How to use a copyable version with Start Positions
Search the online levels browser for a copyable version of Clubstep, then use that copy for focused practice. Put a Start Position at the section that is ruining your runs instead of replaying the whole level every time.
- Search for a copyable Clubstep level in the in-game online browser and open a version you can edit.
- Place a Start Position around 82% if the final Ship is your main problem, or earlier if a different section is the real wall.
- Once that checkpoint feels consistent, move the Start Position backward to around 75%, then 68%, then return to full runs from 0%.
Clubstep walkthrough by section and percentage
0–24%: opening Cube, fake orbs, and early memory
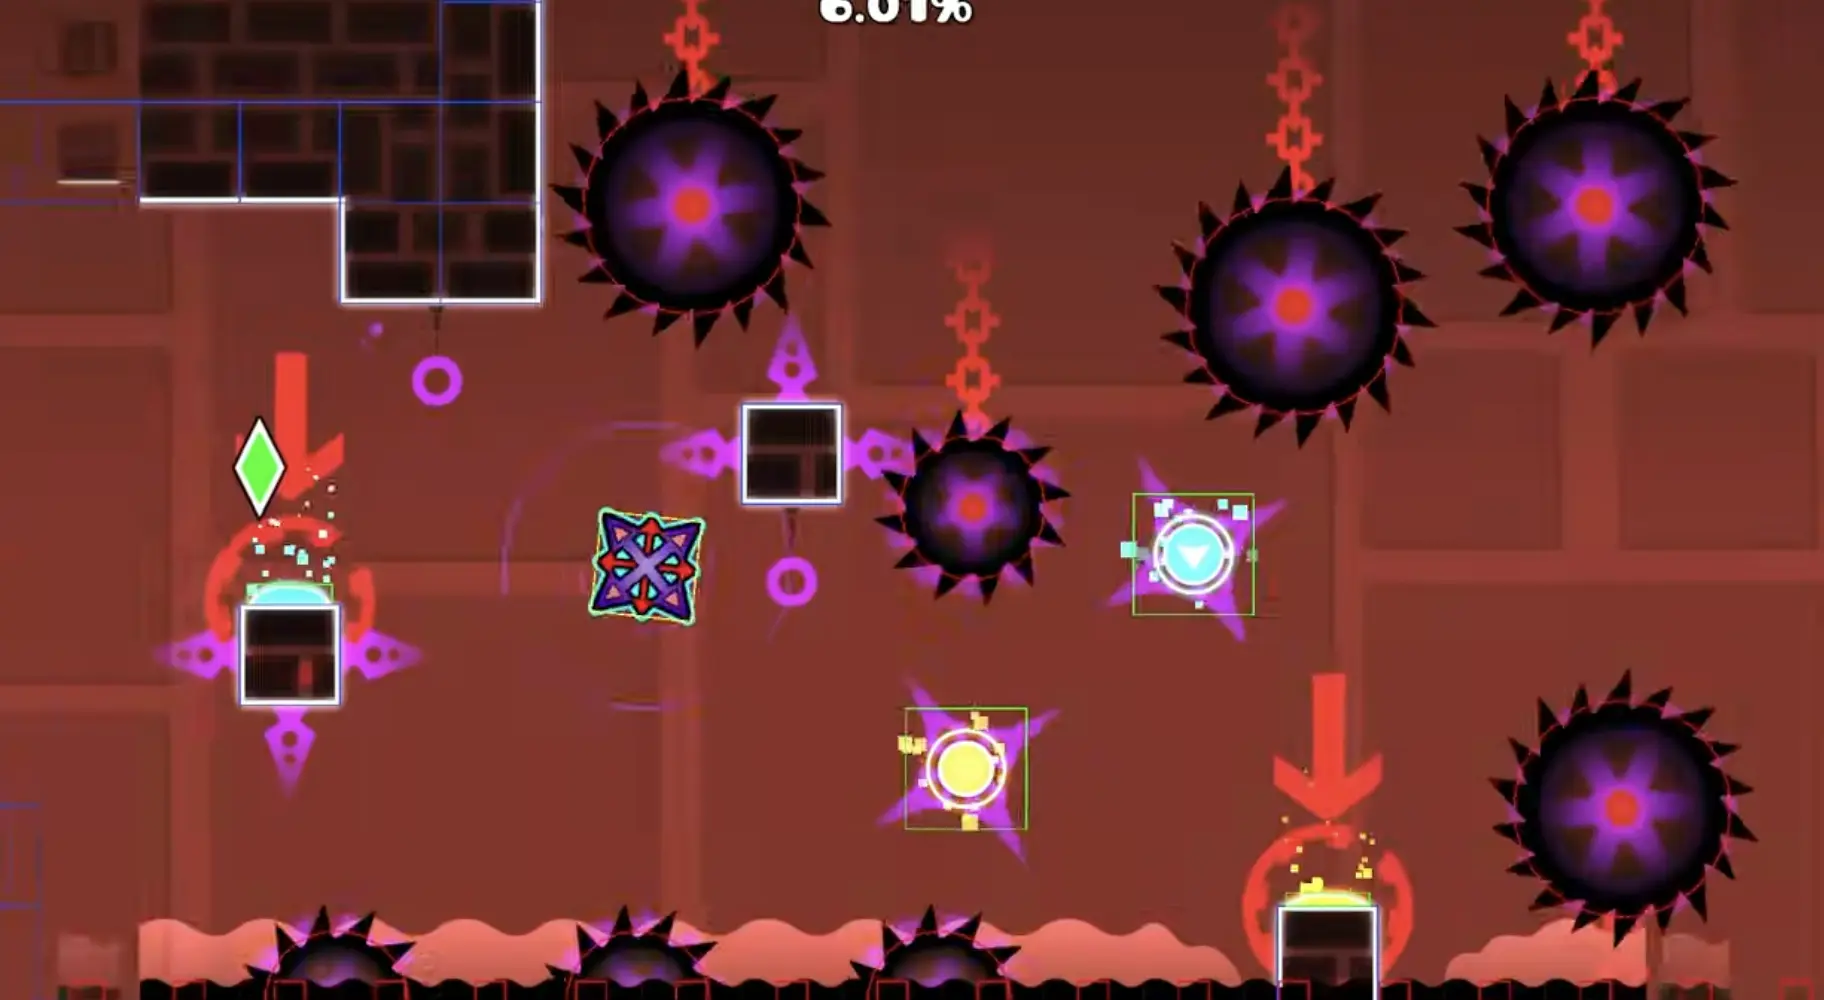
The opening is where Clubstep teaches its main lesson: not every orb is real, and not every obvious click is safe. Do not try to freestyle the start. Learn the opening orb route as a fixed pattern, because one wrong fake input can send you directly into saws. Once the first fake-orb logic clicks, this part becomes much more stable than it looks.
This is also where many first-time players overclick. The goal is not to react to every flashing orb. The goal is to know which inputs are actually part of the route and ignore the rest.
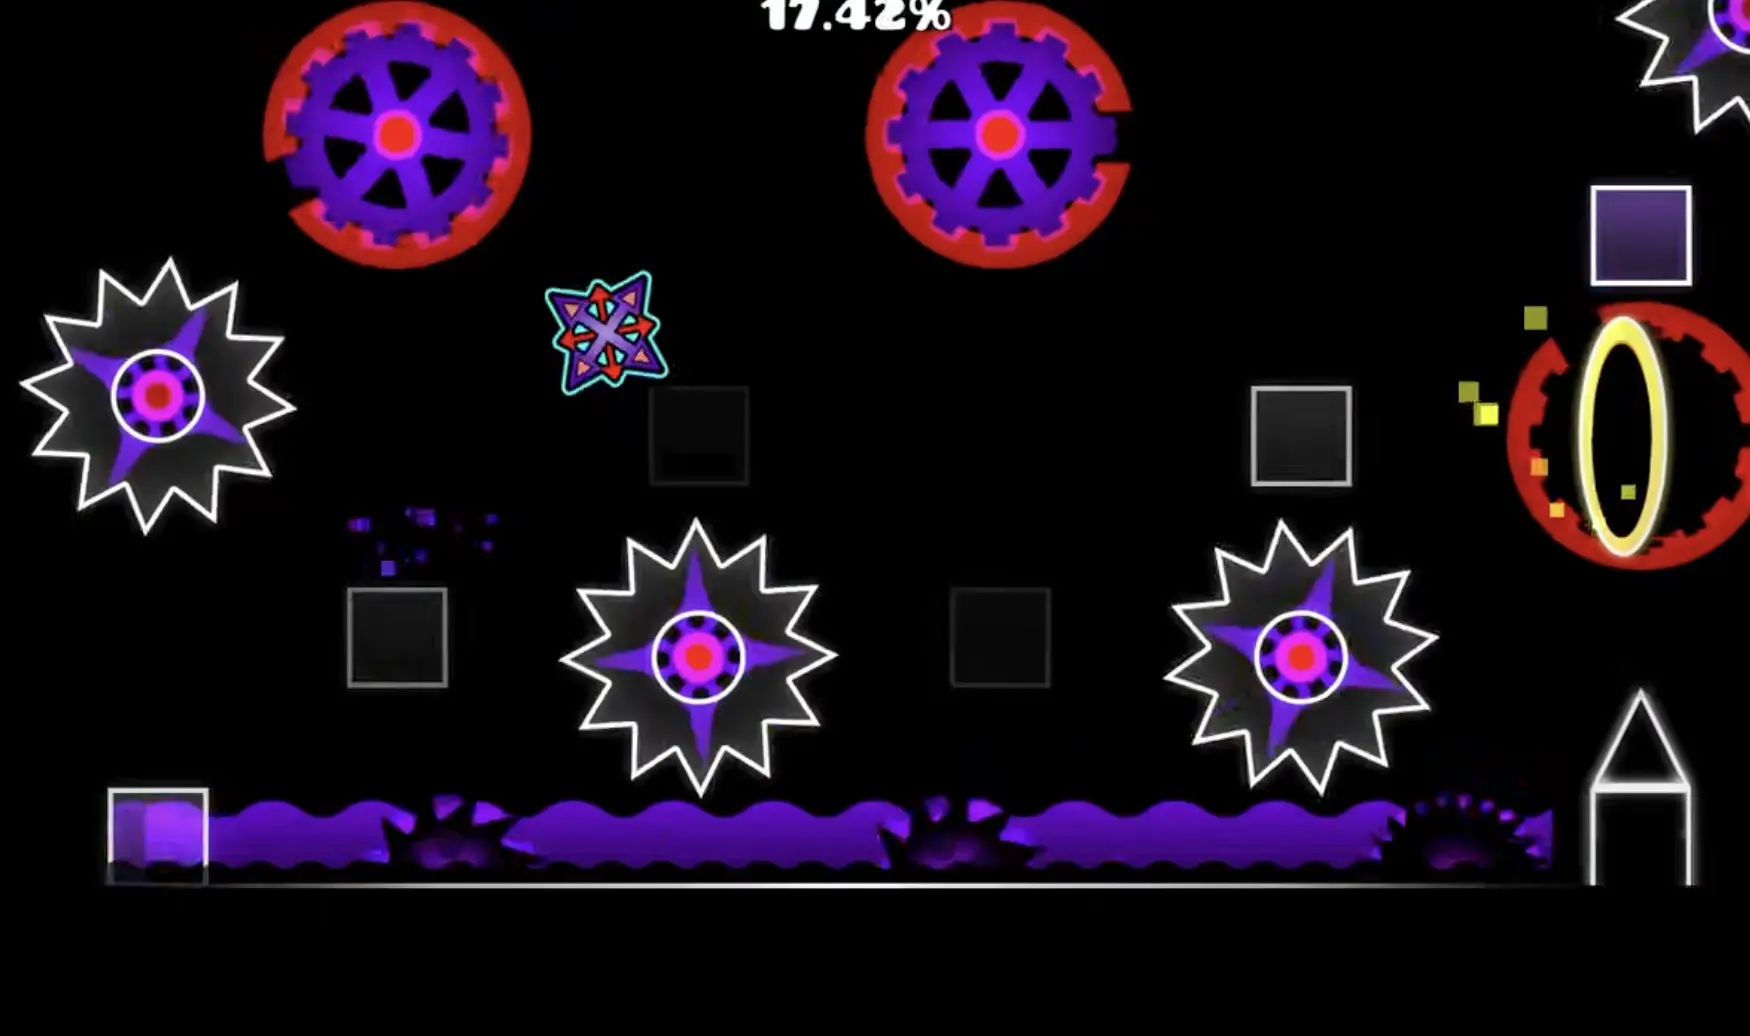
24–35%: invisible-block memory route
This is the first section that feels truly invisible to new players. The easiest fix is to stop staring only at your icon. Read slightly ahead and watch the right side of the screen so the route appears before it reaches you. That makes the path feel much less random.
If this part keeps killing you, use hitboxes in Practice Mode first. Once you understand the route, turn them off and learn the same path without visual crutches.
35–49%: first Ship and portal rhythm
The first Ship is where a lot of players start panicking, but it is more controlled than it looks. Pick one safe line and keep the same portal rhythm every time. If you sometimes bump your head and other times do not, your timing will feel inconsistent for no good reason. Consistency matters more than trying to fly perfectly.
Do not force random straight-fly corrections here. The section becomes easier once you decide on one repeatable path through the portals and stop changing it mid-run.

49–68%: mid Cube, Ball, and Mini Ball fake traps
This part is where some players relax too early, then die to a fake wall, a fake safe spot, or a badly timed gravity switch. The Ball and Mini Ball sections are not mechanically outrageous, but they punish rushed inputs. The most common death here is clicking too early right after a gravity flip and turning a manageable section into a random-feeling crash.
If this segment feels unstable, practice it as a rhythm problem, not a reaction problem. Get the gravity-flip timing solid in Practice Mode so you are not guessing on normal attempts.
68–82%: UFO and memory cleanup
The UFO section is much easier if you stop improvising and learn one fixed click pattern. A simple repeatable rhythm is better than trying to react to each gap separately. This section also hides another coin route and more visual bait, so commit to the normal clear route first if your goal is simply to beat the level.
By the time you are consistent here, you should already know whether your real issue is this UFO or the late Ship. Do not blame the whole level if one checkpoint is clearly the wall.
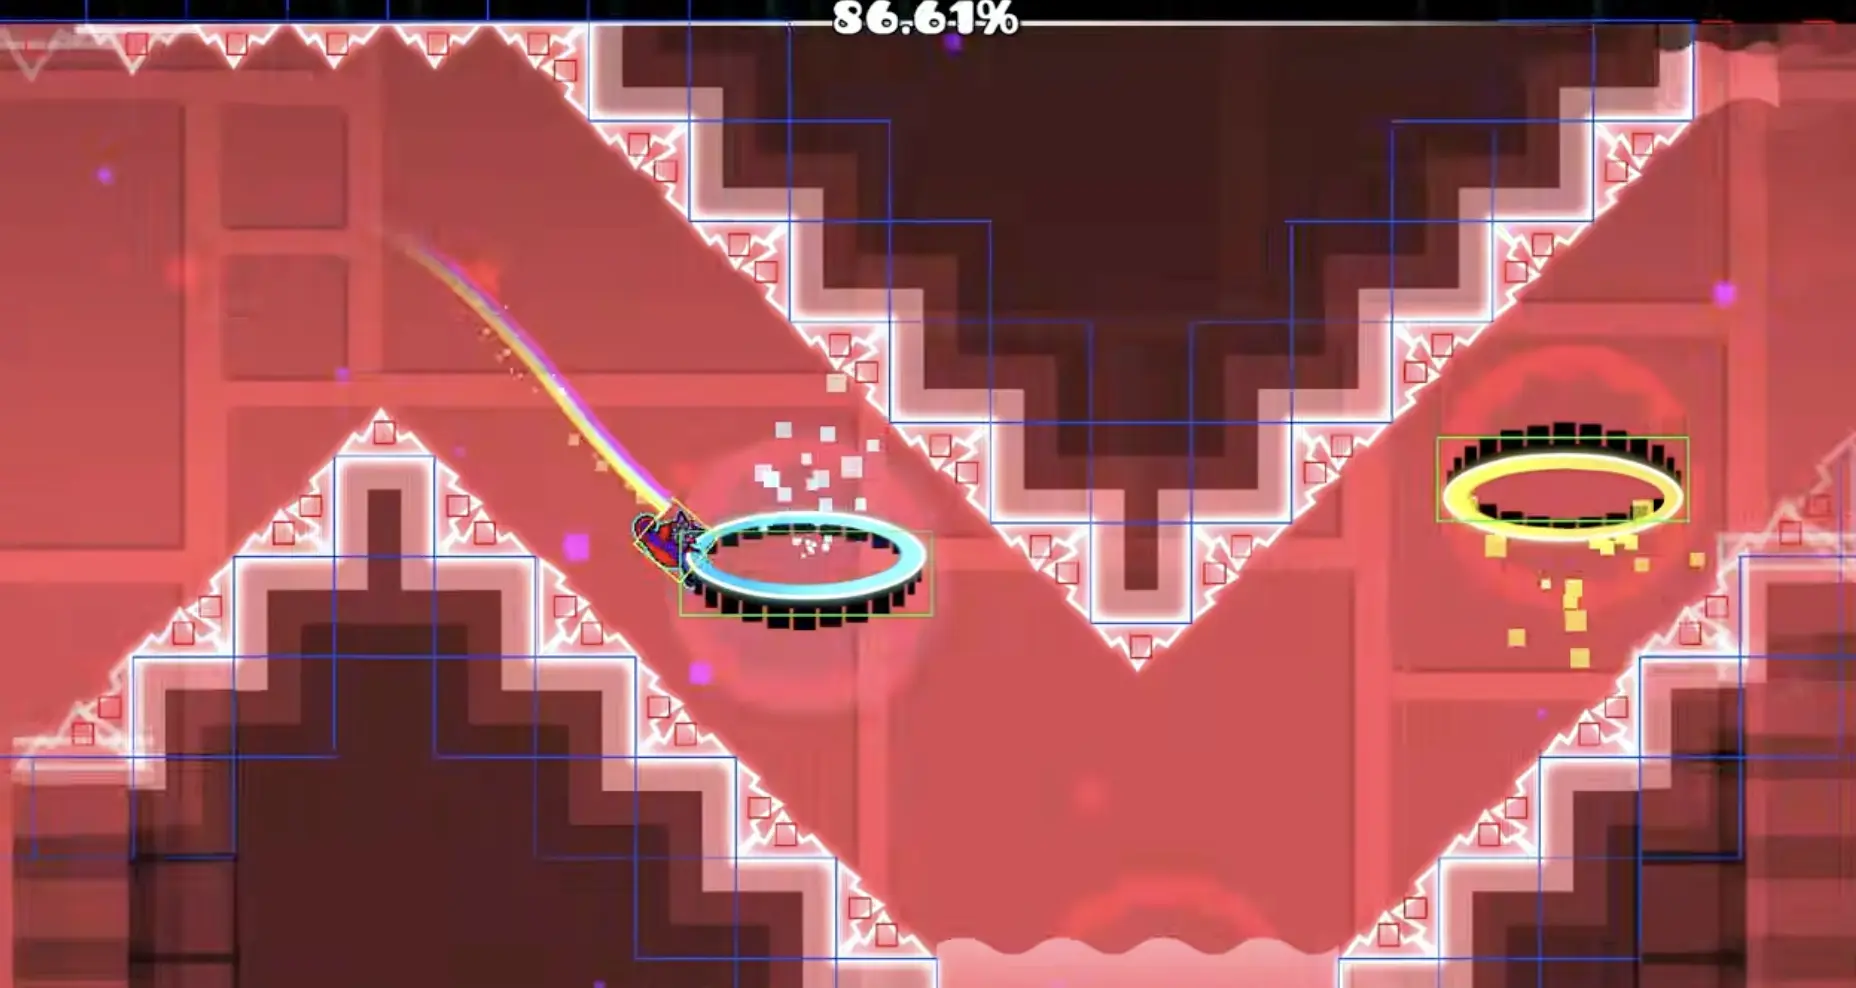
82–100%: final Ship and upside-down ending, the real first-clear wall
The portal into the late Ship around 82% is the point where many Clubstep runs stop feeling comfortable and start feeling dangerous. This is the section most players mean when they say the end of Clubstep is the real problem. It is not just the speed. It is the pressure of upside-down flight, late portal transitions, and knowing you are close to your first clear.
The biggest mistake here is random panic clicking. Learn a stable hold-and-release rhythm instead of trying to save every movement with extra inputs. If you can make 82–100% feel routine in practice, the rest of the level becomes much less intimidating.
What percent is the hardest part of Clubstep?
For most first clears, the hardest part of Clubstep is the final 82–100%, especially the late upside-down Ship and the portal timing near the end. Newer players can also struggle with the first Ship, but the last section is the place that most often turns a good run into a choke.
How to practice the last 20% without wasting attempts
This is where backward practice helps. Instead of trying to survive the whole level just to touch the final Ship once, isolate the ending with a copyable level and build your consistency from the back forward.
- Start with a Start Position at roughly 82%, where the late Ship begins.
- Clear that checkpoint repeatedly until you can beat it without panic clicking.
- Move the Start Position back to around 75%, then 68%, so you learn how to enter the ending cleanly instead of only surviving it in isolation.
- Only return to repeated 0% attempts once the back half no longer feels unfamiliar.
If the timing still feels unreadable, learn the visual cue at a slower pace first, then switch back to normal speed. Slow learning is much better than teaching yourself random panic timing.
Clubstep Secret Coins: should you get them on your first clear?
Usually no. If your goal is your first Clubstep completion, the smartest play is to beat the normal route first and come back for coins later. Clubstep already asks for enough memory and Ship control. Adding coin routes on top of that creates more ways to throw away a good run.
Coin 1 (around 9%)
The first coin is in the early orb section. To get it, take the middle yellow-orb route instead of the safest normal opener. This is a small route change, but it is still easier to learn after you already understand the opening fake-orb pattern.
Coin 2 (around 69–71%)
The second coin is in the UFO section. As soon as you enter the UFO, click upward immediately to enter the hidden upper route instead of staying on the safer normal path. From there, keep the UFO rhythm clean right away so you do not drop back into the spikes.
Coin 3 (around 95–96%)
The third coin is in the last Ship. Instead of following the standard safe line, you enter the mouth of the first monster near the end and fly downward for the coin before rejoining the finish route. This is the worst coin to combine with a first clear because it changes the safest late-Ship flow right before the level ends.
Common mistakes that keep players stuck on Clubstep
- Reacting to every orb instead of learning which ones are fake
- Staring only at the icon during the invisible-block route instead of reading ahead
- Changing your Ship line every run and making your portal timing inconsistent
- Clicking too early after Ball or Mini Ball gravity flips
- Trying to save the final Ship with random extra inputs instead of a stable rhythm
- Going for Secret Coins before the normal route is consistent
Should you beat other Demons before Clubstep?
Not necessarily, but it can help a lot if Clubstep feels overwhelming. Many players warm up with easier Demons such as The Nightmare or The Lightning Road before returning to Clubstep. That kind of progression helps because Clubstep is often less about one impossible click and more about handling Demon-style memory and nerves for the first time.
If you are already close on Clubstep, keep going. If the level still feels unreadable from top to bottom, an easier Demon first might save you a lot of frustration.
FAQ
How many attempts does Clubstep usually take?
For a first official Demon, a few hundred to a few thousand attempts is completely normal. The number depends heavily on how comfortable you already are with Ship control, memory, and staying calm late in the level.
What percent is the hardest part of Clubstep?
For most players, the hardest part is the final 82–100%, especially the late upside-down Ship and the portal timing near the end.
Should I beat other Demons before Clubstep?
You do not have to, but easier Demons can help if Clubstep still feels unreadable. If you are already making progress into the late sections, it is also reasonable to keep pushing Clubstep as your first major Demon.
Should I use Practice Mode and a copyable version for Clubstep?
Yes. Practice Mode teaches the fake routes, and a copyable version with Start Positions lets you isolate the exact section that is killing your runs instead of wasting attempts replaying the beginning.
Can you beat Clubstep on mobile?
Yes. Clubstep is completely beatable on mobile, but many players find the late Ship sections less forgiving there than on PC. If you play on mobile, the most important thing is still the same: memorize the fake routes and practice the final Ship until the rhythm feels stable.
How long is Clubstep?
A full Clubstep run is about 90 seconds long, so every serious normal-mode attempt is fairly time-expensive. That is one more reason to practice the late sections separately instead of only grinding from 0%.
Should I get the Clubstep coins during my first clear attempt?
Usually no. The safer plan is to beat the normal route first, then come back for the coins once the level already feels comfortable.
Next step
Clubstep starts feeling fair once you stop asking it to be readable on sight. Learn the fake routes, practice the late Ship from the back forward, and do not confuse panic runs with real improvement. Once 82–100% feels normal, your first clear is much closer than it looks.