Drive Mad Level 111 Walkthrough - Jumper Guide
Complete Drive Mad level 111 walkthrough. Learn how to beat Jumper by adjusting your speed for three different gaps, rolling the first, boosting for the second, and taking the f…
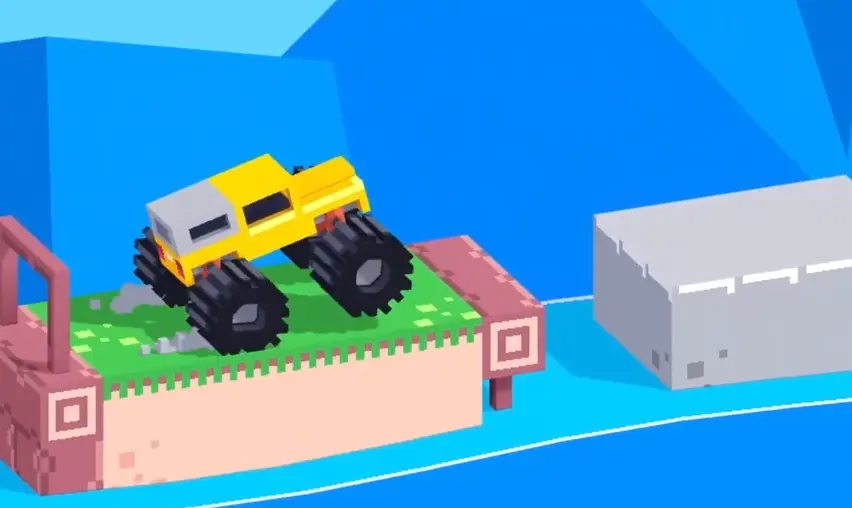
Drive Mad level 111, called Jumper, is a medium level built around gap judgment, momentum control, and clean takeoff timing. As part of the full Drive Mad levels progression, this stage does not use moving traps or sudden gimmicks. Instead, the whole challenge comes from reading the size of three different gaps and matching your speed to each one. The first gap is small enough to roll across without accelerating. The second needs a stronger push so the truck can lift onto the next block. The third is the real test, because you need full speed and a stable launch to clear the final distance. If you treat each jump as a separate speed check rather than one continuous rush, the level becomes much more consistent.
Why Level 111 Feels Hard
This Drive Mad level feels trickier than it looks because the same input does not work for all three jumps. The first gap punishes unnecessary speed, since rushing can make the truck bounce or land awkwardly. The second requires more momentum, so playing too cautiously leaves you short. The final gap is the largest, and any hesitation before takeoff usually kills the run. The level is really about switching from control to commitment at the right time.
Step-by-Step Walkthrough for Drive Mad Level 111
Step 1: Roll over the first small gap without forcing extra speed
The first gap is short enough that the truck can cross it naturally with almost no setup. Just drive forward at a calm pace and let the oversized tires carry the body over the opening. Do not try to launch here. The safest start is a smooth roll that keeps the truck level for the next section.
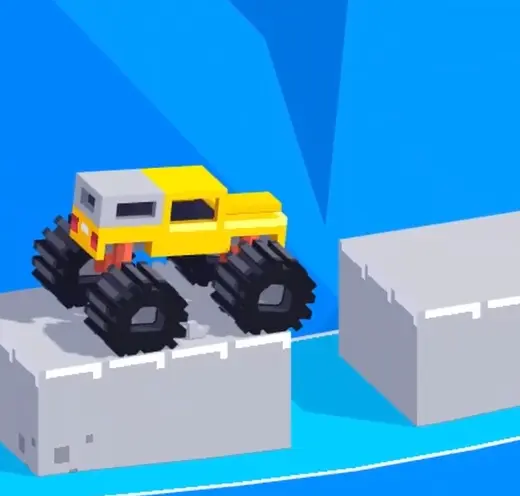
Step 2: Build momentum after the first landing to reach the second block
Once you are safely on the first stone block, start accelerating. The second gap is wider, so this is where momentum begins to matter. Carry enough speed to lift the truck into the air and reach the next platform, but stay composed so the landing does not tilt the body too far forward or backward.
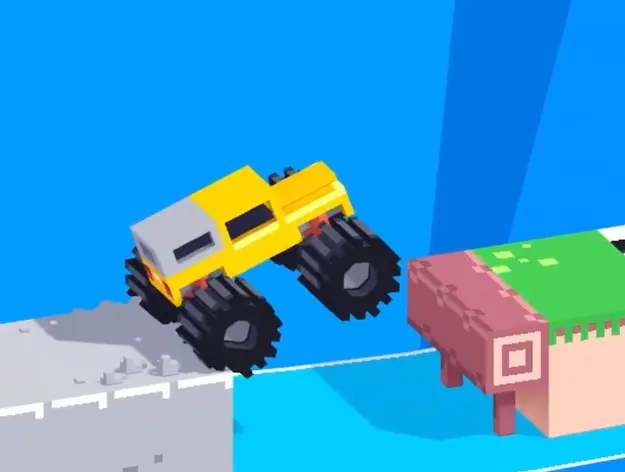
Step 3: Take the final jump at full speed and land squarely on the finish side
The third gap is the biggest one in the level, so you need a full-speed takeoff before leaving the second block. Do not hesitate at the edge. Commit to the jump, keep the truck stable in the air, and aim for a flat landing on the finish platform. If your speed is high enough and the body stays balanced, the last jump becomes much more reliable.
Best Cue for Consistent Clears
Roll the first, boost the second, send the third.
Why This Method Works
This method works because it treats each gap as a different momentum check instead of using one fixed pace for the whole level. The first opening is small enough that control matters more than speed, so a calm approach keeps the truck stable. The second requires a measured increase in momentum to carry the body onto the next block. The last gap then demands full commitment, because only a strong takeoff gives the truck enough distance to reach the finish side. Breaking the stage into three distinct speed decisions makes the level far more repeatable.
Common Mistakes in Drive Mad Level 111
- Accelerating too early and bouncing awkwardly over the first gap
- Crossing the second gap with too little momentum
- Slowing down before the final jump and falling short
- Watching the truck nose instead of the next landing point
- Landing off-balance and losing control before the finish
Fast Summary
- Roll over the first gap at a steady pace
- Accelerate after the first block
- Use that speed to clear the second gap
- Keep full throttle for the final jump
- Land squarely on the finish platform
FAQ
How do you beat Drive Mad Level 111?
Cross the first small gap without accelerating, build speed after the first landing to clear the second, then use full throttle for the final and longest jump to the finish.
Why is Drive Mad Level 111 difficult?
Because each gap needs a different amount of speed. Too much speed ruins the early section, while too little momentum makes the later jumps fail.
What is the key trick in Drive Mad Level 111?
The key trick is to scale your speed with the size of the gaps. You should not drive the whole level at one pace.
Where should I look in Drive Mad Level 111?
Look at the next landing point instead of staring at the truck itself. That makes it easier to judge how much momentum you need for each jump.