Drive Mad Level 134 Walkthrough - Cave In Guide
Complete Drive Mad level 134 walkthrough. Learn how to beat Cave In by lifting the front wheels through the collapsing obstacle, then reversing up the fallen ramp and balancing…
Drive Mad Level 134, called Cave In, is a medium-difficulty level built around obstacle timing, momentum, and reverse climbing. As part of the full Drive Mad levels progression, this stage asks you to break through a collapsing bridge-like obstacle, keep moving underneath it, then reverse back up the fallen ramp to reach the finish above. If you are looking for a reliable Drive Mad level walkthrough, this guide explains how to lift the front wheels on entry, maintain momentum through the collapse, and back up the slope with enough balance to finish cleanly.
Why Level 134 Feels Hard
This Drive Mad level is difficult because it combines two very different actions in one run. First, you must pass through the collapsing obstacle before gravity turns it into a wall. Then, after getting through, you need enough control and momentum to reverse up the fallen structure like a ramp. If your front wheels stay too low on the first pass, you get blocked. If your reverse angle is too flat or too slow, the truck cannot climb back up.
Step-by-Step Walkthrough for Drive Mad Level 134
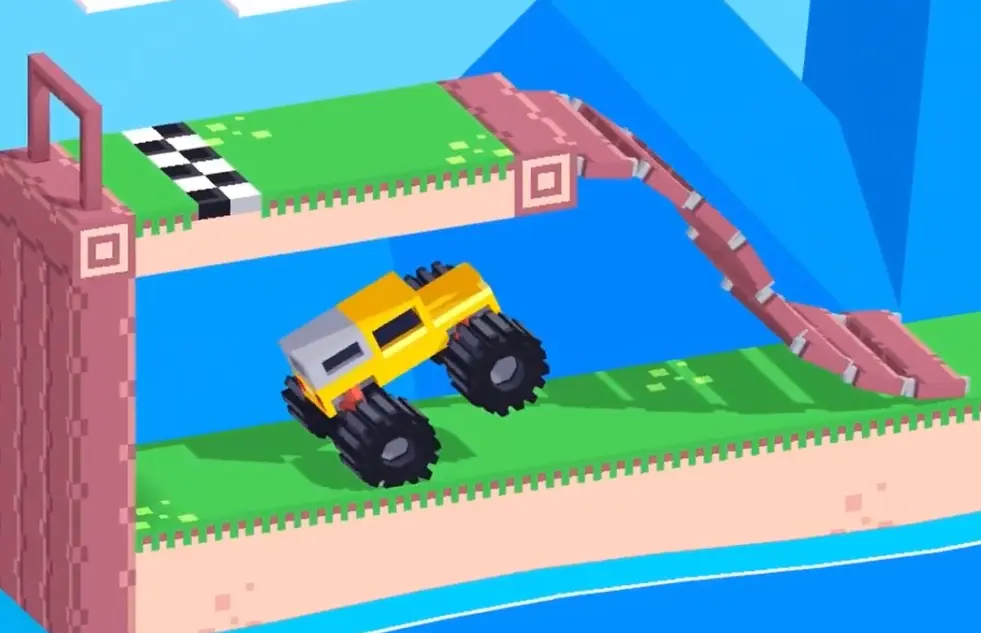
Step 1: Hit the collapsing obstacle with speed and front-wheel lift
Drive toward the collapsing bridge with enough speed and raise the front wheels as you enter. In this Drive Mad level, the obstacle drops under gravity and quickly blocks the path, so you need the correct approach angle to slip through before it settles too low.
If the front of the truck stays flat, the falling structure catches you much more easily. A slightly lifted nose gives you a better angle to pass under the collapse.
Step 2: Keep moving through, then set up the reverse climb
After passing the collapsing section, keep your momentum and continue forward until you have enough room to reverse. This is the transition point in this Drive Mad level. Do not lose too much speed or get stuck under the fallen structure.
Once you have cleared the obstacle, prepare to back up the slope. You need a committed reverse approach so the rear of the truck can climb cleanly.

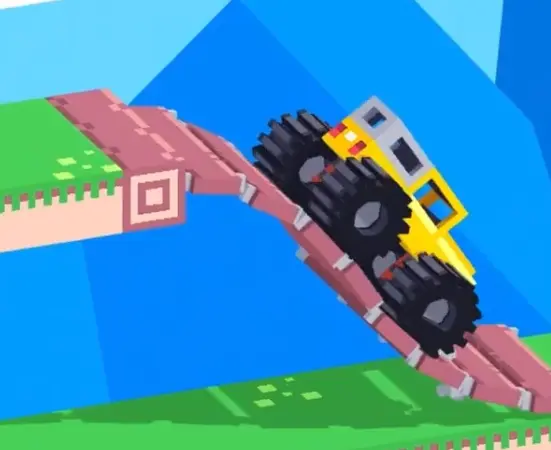
Step 3: Reverse up the ramp, balance at the top, and reach the finish
Back up the fallen ramp with enough speed to keep the truck climbing. In this Drive Mad level, reversing works best when the rear rises slightly and the truck stays balanced instead of dragging flat against the slope.
Once you reach the top, control the body angle carefully and settle onto the finish platform. The last part is simple as long as you do not over-rotate or slide off while cresting the ramp.
Best Cue for Consistent Clears
Think of the level in two phases: front lift to get through, then rear-weighted momentum to reverse back up.
Why This Method Works
This method works because this Drive Mad level is built around shape change. The obstacle that blocks you at first becomes the ramp you need later. Front-wheel lift and speed let you survive the collapse, while reversing with enough momentum allows the rear of the truck to climb the same structure after it falls into place. Treating the obstacle as both a barrier and a future path is the key to solving the level consistently.
Common Mistakes in Drive Mad Level 134
- Entering the collapsing obstacle too slowly
- Keeping the front wheels too low on the first pass
- Stopping under the fallen structure and losing momentum
- Reversing too cautiously and failing to climb the ramp
- Losing balance at the top before reaching the finish
Fast Summary
- Approach the collapse with speed
- Lift the front wheels to get through
- Keep moving after clearing the obstacle
- Reverse up the fallen ramp with momentum
- Balance at the top and finish the level
FAQ
How do you beat Drive Mad Level 134?
Use speed and front-wheel lift to pass through the collapsing obstacle, then reverse up the fallen ramp and balance the truck into the finish.
Why is Drive Mad Level 134 difficult?
Because the level requires two different skills in sequence: timing your way through a falling obstacle and then reversing up the same structure after it collapses.
What is the key trick in this Drive Mad level?
The key trick is understanding that the collapse is not only an obstacle. After it falls, it becomes the ramp you need to reverse up.
Should I reverse slowly up the ramp?
Usually no. You need enough reverse speed and rear lift to climb the slope instead of getting stuck halfway up.