Drive Mad Level 133 Walkthrough - Mini Golf Guide
Complete Drive Mad level 133 walkthrough. Learn how to beat Mini Golf by using the tall putter-like structure on top of your car to gently guide the ball into the hole with stea…
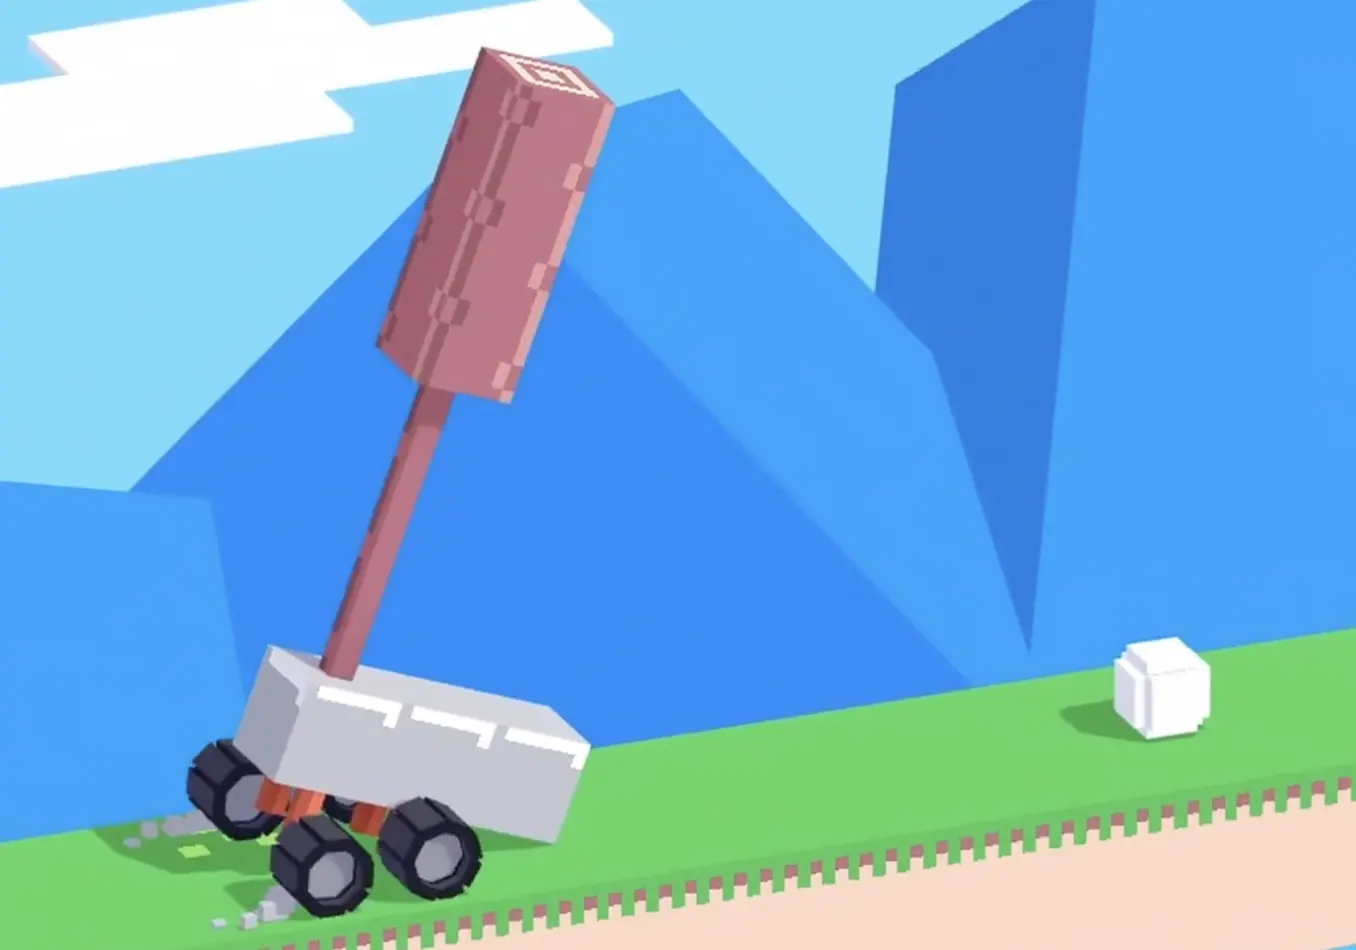
Drive Mad level 133, called Mini Golf, is an easy level built around precision pushing, timing, and body control. As part of the full Drive Mad levels progression, this stage gives your car a tall putter-like structure on the roof, which means the wheels cannot directly control the ball. Instead of driving into it normally, you must stabilize the car first, then use the roof-mounted pusher to guide the ball smoothly into the hole. If you are looking for a reliable Drive Mad level walkthrough, this guide explains how to avoid early wobble, maintain steady contact, and finish the push cleanly.
Why Level 133 Feels Hard
This Drive Mad level feels tricky because the main control point is not the wheels, but the giant putter-like attachment on top of the car. That extra height makes the vehicle wobble heavily when you accelerate too hard. If you rush the opening, the car shakes, your angle breaks, and the putter misses or bumps the ball too aggressively. The level looks simple, but it really tests how smoothly you manage timing, momentum, and balance.
Step-by-Step Walkthrough for Drive Mad Level 133
Step 1: Start with taps and wait for the car to settle
At the start, use light taps instead of holding the accelerator. In this Drive Mad level, the tall roof attachment makes the body swing more than usual, so sudden acceleration creates heavy wobble right away.
Before you move into the ball, let the suspension calm down and keep the car stable. A controlled setup gives the putter a cleaner line for the push.
Step 2: Bring the putter into contact and push the ball smoothly into the hole
Move the roof-mounted putter slowly toward the ball. The best method in this Drive Mad level is not a hard hit, but a gentle forward push with steady contact. Try to keep the putter touching the ball instead of bouncing off it.
Use even momentum and let inertia help you carry the ball forward. Once the line is stable, continue the smooth push until the ball drops into the hole.

Best Cue for Consistent Clears
Think of the level like real mini golf: balance and follow-through matter more than speed.
Why This Method Works
This method works because the level is built around controlled contact, not impact. The tall putter gives you reach, but it also makes the car unstable if you rush. Light throttle inputs reduce body sway, and steady forward pressure keeps the ball aligned with the hole. When you treat the car like a putting tool instead of a battering ram, the level becomes much more consistent.
Common Mistakes in Drive Mad Level 133
- Holding the accelerator too early and making the car wobble
- Approaching the ball before the suspension settles
- Trying to hit the ball hard instead of guiding it
- Losing contact between the putter and the ball
- Ignoring balance and overcorrecting during the push
Fast Summary
- Use taps instead of full throttle at the start
- Let the car settle before approaching the ball
- Bring the roof putter into gentle contact
- Push the ball forward with steady momentum
- Guide it smoothly into the hole
FAQ
How do you beat Drive Mad Level 133?
Use light throttle taps, let the car settle, then use the tall roof-mounted putter to gently push the ball into the hole.
Why is Drive Mad Level 133 difficult?
Because the car becomes unstable with the tall attachment on top, and you must control the ball with that roof structure instead of the wheels.
Should I hit the ball hard in this level?
No. A steady guided push is much more reliable than a hard impact, because strong acceleration usually creates wobble and breaks your angle.
What is the key trick in Drive Mad Level 133?
The key trick is treating the level like mini golf: stabilize first, then use smooth contact and controlled momentum to guide the ball into the hole.