Drive Mad Level 100 Walkthrough - Mazeball Guide
Complete Drive Mad level 100 walkthrough. Learn how to beat Mazeball by rotating the multi-layer maze with careful left-right acceleration, guiding the red ball through each dro…
Drive Mad level 100, called Mazeball, is a hard level built around momentum, obstacle timing, timing, and precision. The whole stage is a rotating multi-layer maze with a red ball trapped inside. You are not really driving toward the finish in the normal way. Instead, you are using the vehicle's movement to tilt the maze and control how the ball falls from lane to lane. Every burst of speed changes the angle of the structure, which changes the ball's path. If you tilt too early, the ball misses the opening you wanted. If you tilt too hard, it drops out of control. The level becomes much easier once you stop thinking like a driver and start thinking like a ball guide using controlled rotation.
Why Level 100 Feels Hard
This Drive Mad level feels difficult because the ball keeps obeying inertia while the maze keeps reacting to your acceleration. That means you are always managing two timings at once: when to rotate the structure, and when the ball is actually about to leave its current lane. Many failures happen because players wait until the ball is already at the edge before changing direction. By then, the opening angle is late and the ball falls to the wrong place or straight out of the safe path. The solution is to make smaller swings and start your correction just before each drop point, not after it.
Step-by-Step Walkthrough for Drive Mad Level 100
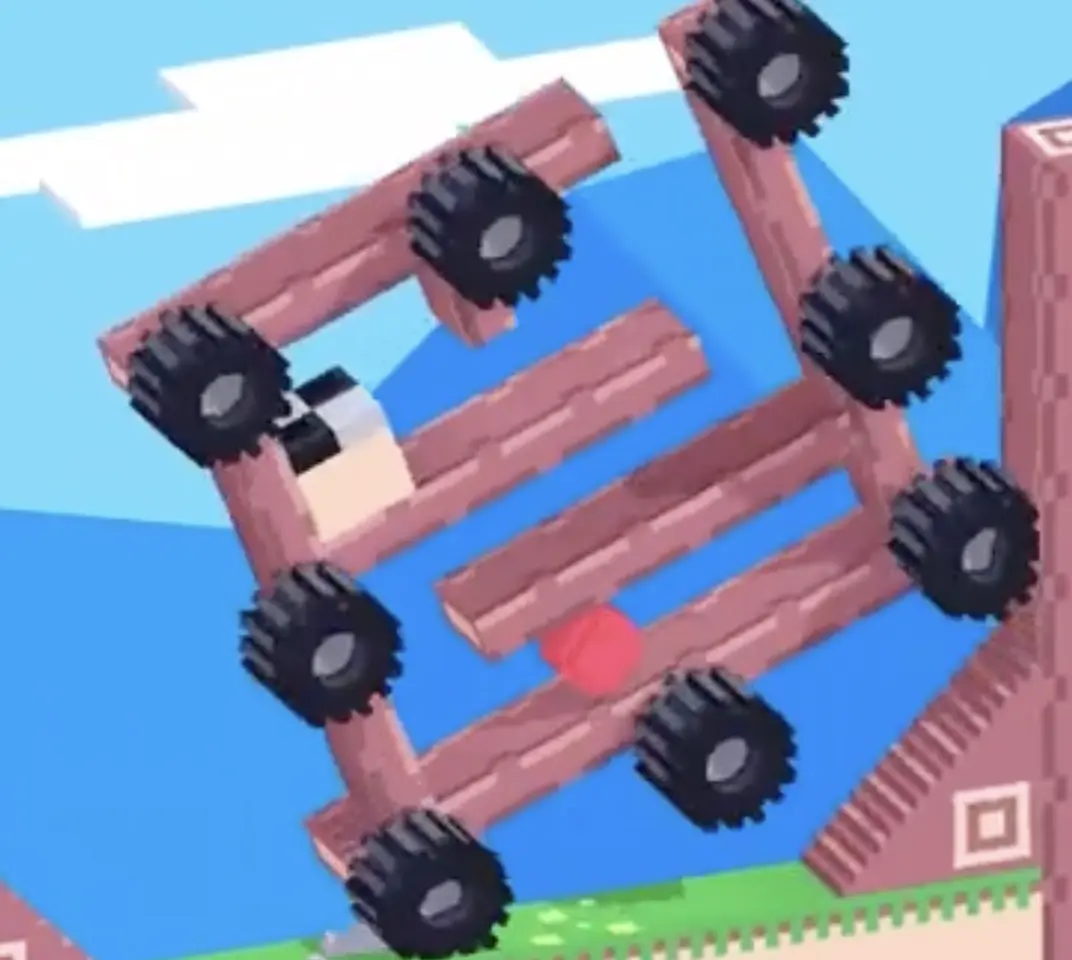
Step 1: Rotate the maze counterclockwise to feed the ball into the second lane
At the start, use the right-side ramp and a controlled push to make the whole Mazeball rotate counterclockwise. This first tilt gives the red ball the inward slide it needs to leave the outer track and settle into the next layer safely. Do not mash the throttle. You want a measured lean, not a violent spin, because too much rotation makes the ball overshoot the opening.
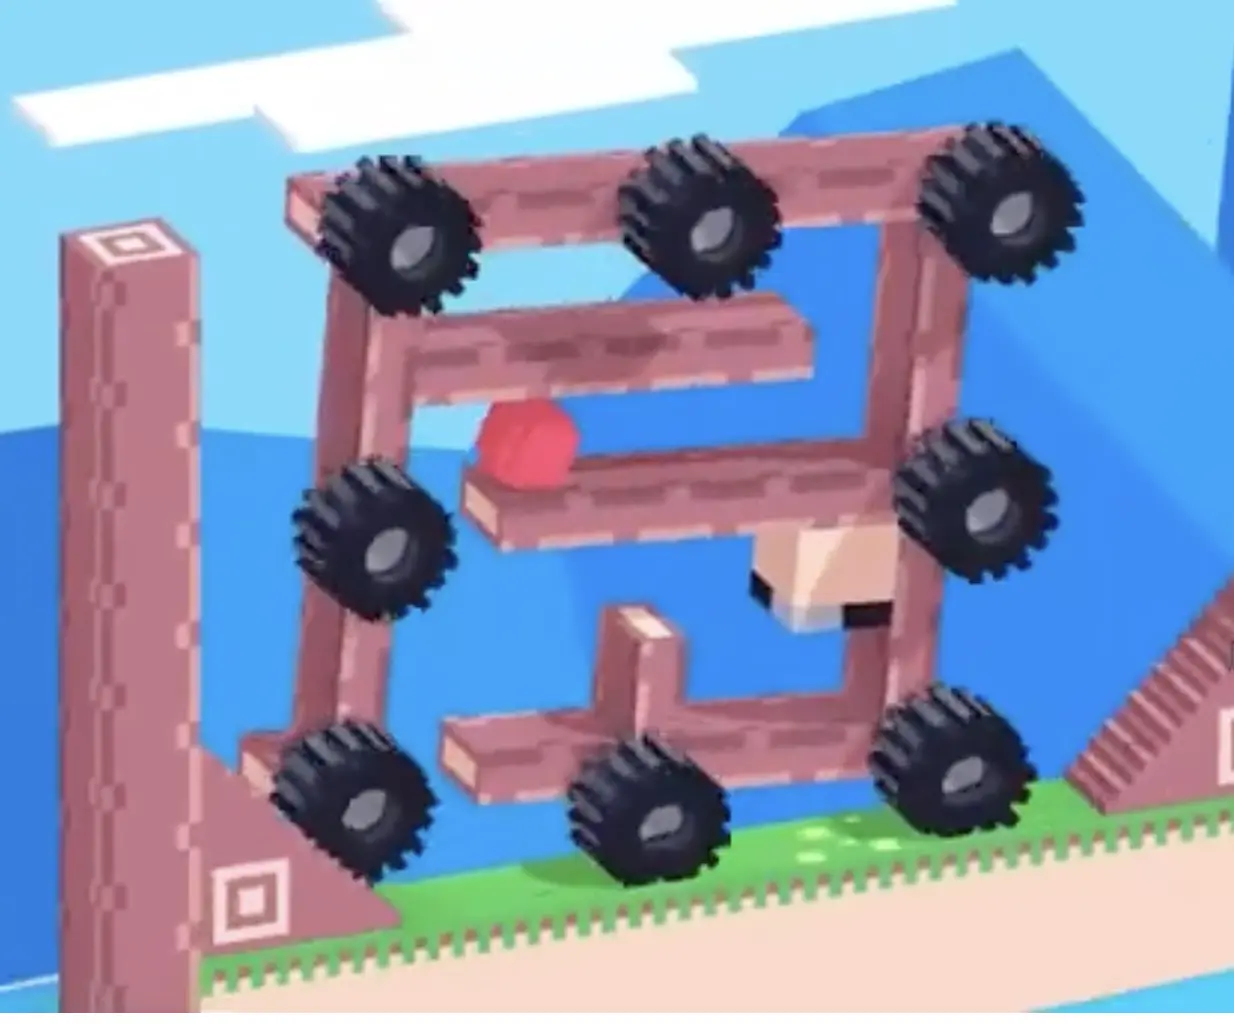
Step 2: Reverse the tilt before the next edge so the ball gets caught instead of falling out
As the ball approaches the next drop from the second lane, start steering the structure back the other way by moving toward the left-side slope. This changes the maze into a clockwise catch angle. The timing here is the whole trick. If you switch too late, the ball keeps its old momentum and misses the safe lane below. Start the correction a little before the ball reaches the lip so the maze is already waiting for it.
Step 3: Repeat the same pre-tilt logic to guide the ball into the inner track
From here, repeat the same rhythm: watch the ball, identify the next opening, and begin your tilt change before the ball reaches the end of its current path. This stage is really about consistency. You are not improvising a new trick each time. You are repeating the same controlled drop-and-catch pattern one lane deeper. Small adjustments work better than dramatic swings because the ball only needs a slight angle change to choose the correct opening.
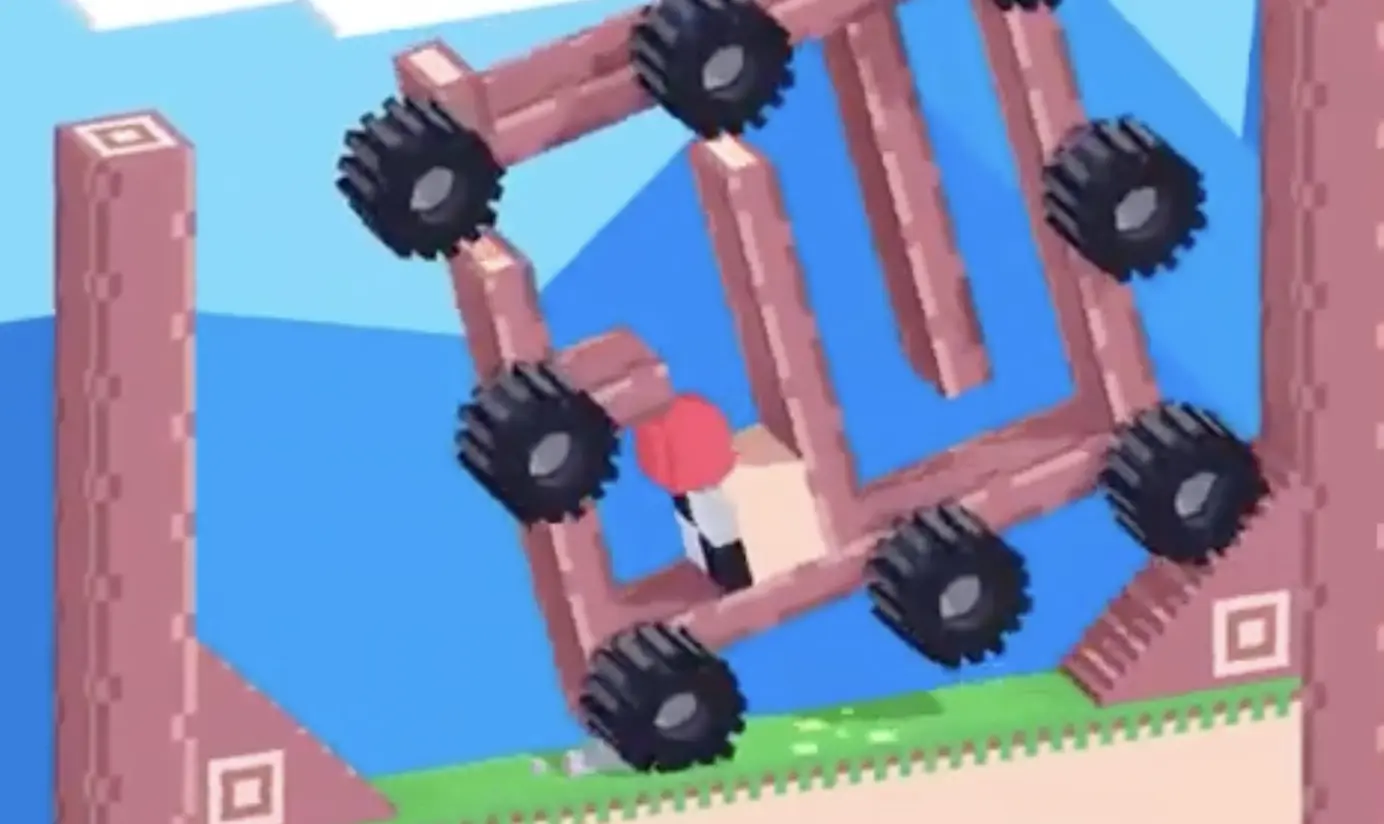
Step 4: Stabilize the final angle and roll the ball into the center finish
Once the ball reaches the inner section, stop over-rotating the maze and focus on balance. Use one last gentle lean to let the red ball roll into the middle black-and-white goal. The ending is easier to throw away than it looks, because a panic input can shake the maze and send the ball past the center line. Stay calm, keep the tilt modest, and guide the final roll instead of forcing it.
Best Cue for Consistent Clears
Tilt early, catch cleanly, repeat inward.
Why This Method Works
This method works because the red ball never really changes its own plan. It only follows gravity and momentum. What you control is the maze angle waiting underneath it. By rotating a little early before each edge, you turn every dangerous drop into a prepared catch. That is why the level feels impossible when played reactively and much more stable when played one half-second ahead. The same logic carries all the way to the center: do not chase the ball after it moves. Prepare the lane before it moves.
Common Mistakes in Drive Mad Level 100
- Tilting only after the ball reaches the edge
- Using full throttle and making the maze swing too violently
- Trying to correct with one huge rotation instead of small controlled changes
- Watching the vehicle instead of tracking the ball's next drop point
- Throwing away the final center roll by oversteering near the finish
Fast Summary
- Use the ramp to start a controlled counterclockwise rotation
- Guide the ball into the next lane
- Reverse the tilt before each new drop point
- Repeat the drop-and-catch pattern toward the center
- Stabilize the maze and roll the ball into the checkered finish
FAQ
How do you beat Drive Mad Level 100?
Rotate the Mazeball in controlled left-right swings, guide the red ball through each inner lane one drop at a time, and then steady the maze so the ball rolls into the center finish.
Why is Drive Mad Level 100 difficult?
Because you are managing both maze rotation and ball momentum at the same time. The hardest part is changing the tilt early enough so the next lane is ready before the ball falls.
What is the key trick in Drive Mad Level 100?
The key trick is to pre-tilt the maze before each drop point. Do not react after the ball starts falling. Set the receiving lane first, then let gravity do the rest.
Why does the ball keep missing the next lane in Drive Mad Level 100?
Usually because the direction change starts too late or too hard. Begin adjusting about half a second before the ball reaches the edge, and use smaller swings so the maze catches the ball cleanly.