Drive Mad Level 65 Walkthrough - Flood Control Guide
Complete Drive Mad level 65 walkthrough. Learn how to beat Flood Control by lowering the water level in stages, landing cleanly on each lower platform, pressing the drainage but…
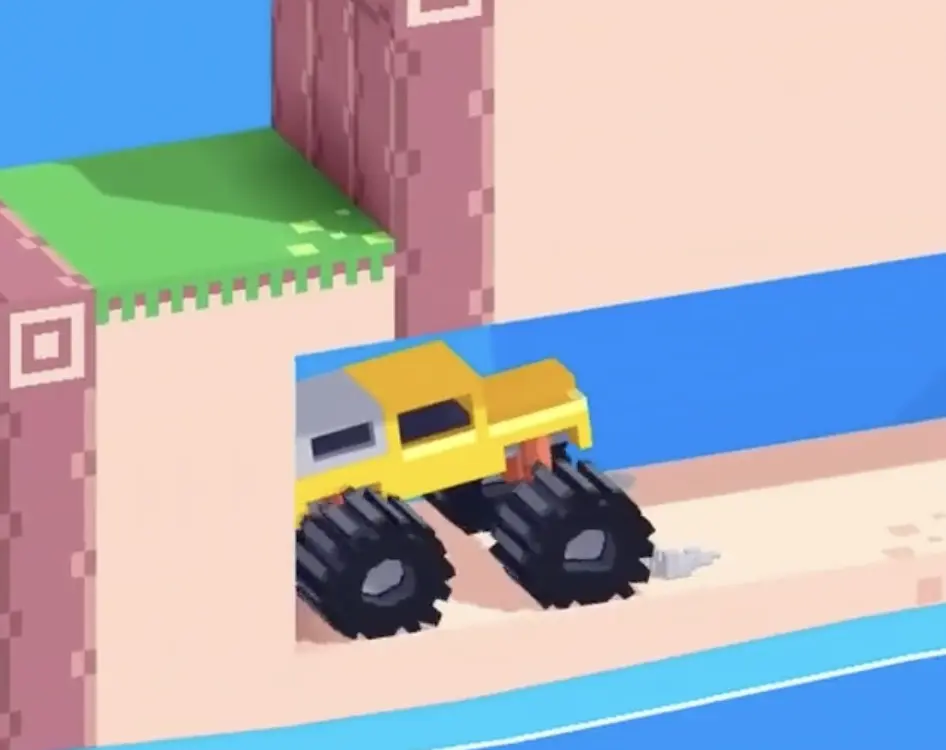
Drive Mad level 65, called Flood Control, is an easy level built around staged water drainage and controlled drops. The path is hidden under different water levels, so you cannot just drive straight to the finish. Instead, you need to lower the flood one layer at a time by hitting physical buttons placed on lower platforms. Each successful descent reveals the next drivable route underneath, almost like walking down a staircase made of receding water. The only real danger is that every transition between layers includes a drop or gap, so you need enough momentum to clear the jump but enough control to land without flipping.
Why Level 65 Feels Hard
This level feels strange because the road is not fully available when you begin. You are constantly driving into spaces that only become usable after the water drops. That makes the stage feel more like a sequence puzzle than a pure driving test. The truck also has to handle several elevation changes in a short space, and those little jumps are where most mistakes happen. If you land nose-first, rush before the water has fully drained, or carry too much speed into a lower layer, an easy stage can suddenly become messy.
Step-by-Step Walkthrough for Drive Mad Level 65
Step 1: Jump to the first lower platform and trigger the first drainage button
At the start, build only moderate speed and launch off the upper ledge toward the lower platform ahead. You do not need a huge leap. The goal is a calm, balanced landing that lets all four wheels touch down as evenly as possible. Once you land, roll straight over the first red button. This activates the first drainage step and lowers the water enough to expose the next route below. Do not drive off instantly. Give the physics a moment to finish changing the environment so the newly revealed path is fully visible.

Step 2: Reverse into the next exposed layer and press the second button
After the first drain, the next lower corridor becomes accessible. Reposition carefully and switch into reverse so you can drop into the newly opened section with better control. This part is easier when you respect the height difference instead of attacking it at full speed. Back the truck into the next level, keep the landing stable, and drive over the second button. That triggers the next water drop and reveals the lowest route where the finish is waiting.
Step 3: Stay in reverse and drive through the final flooded lane to the finish
Once the second drainage cycle finishes, the bottom route to the finish is exposed. There is still shallow water in this last section, but it is not a real problem if you stay calm. Keep the truck in reverse and drive steadily toward the checkered line. The main thing to avoid is panicking because the corridor looks cramped and wet. At this point, the puzzle is already solved. Just maintain balance, hold the reverse line, and back into the finish cleanly.

Best Cue for Consistent Clears
Drain, wait, drop, repeat.
Why This Method Works
This method works because the level is designed as a layered sequence. Every button lowers the water just enough to unlock the next piece of the route, so trying to rush ahead before the drainage finishes only creates bad angles and blind drops. Moderate speed keeps the truck stable during the transitions, while reversing on the later descent gives you better control over the height change. By treating the level like a controlled staircase instead of a race, you remove almost all of the risk.
Key Tips for Level 65
- Use medium speed on the opening jump so the landing stays balanced
- Try to land with all four wheels as evenly as possible on each lower layer
- After pressing a button, wait a moment for the water to fully recede
- Use reverse for the lower transition because it gives better drop control
- Do not overreact to the shallow water in the final lane
Common Mistakes in Drive Mad Level 65
- Jumping too aggressively and nose-diving onto the first lower platform
- Driving away before the drained path is fully exposed
- Dropping into the second layer with too much speed and losing balance
- Forgetting that the last section is meant to be handled in reverse
- Panicking in the final flooded corridor even though the hard part is already over
Fast Summary
- Jump down to the first lower platform at medium speed
- Hit the first button and wait for the water to drop
- Reverse into the next exposed layer
- Press the second button to reveal the final route
- Stay in reverse and back through the last flooded lane to the finish
FAQ
How do you beat Drive Mad Level 65?
Land on the first lower platform, press the first drainage button, reverse into the next exposed level, hit the second button, and then back through the final flooded lane to the finish.
Why is Drive Mad Level 65 difficult?
Because the route is unlocked in stages. You need to manage each drop carefully while waiting for the water level to lower enough to reveal the next section.
What is the main trick in Drive Mad Level 65?
The main trick is understanding that the level is controlled by global water drainage. Each button reveals the next layer of the path, so progress depends on correct sequencing rather than raw speed.
What usually causes failure in Drive Mad Level 65?
Most failures come from bad landing control, too much momentum on the drops, moving before the water has fully drained, or mishandling the final reverse section.
Do you need to drive forward at the end of Flood Control?
No. The safest way to clear the last section is to stay in reverse and back into the finish through the shallow water.