Drive Mad Level 122 Walkthrough - Zero Gravity Guide
Complete Drive Mad level 122 walkthrough. Learn how to beat Zero Gravity by controlling your vehicle's attitude, using short thrust taps, and timing each rotation to slip throug…
Drive Mad level 122, called Zero Gravity, is a medium difficulty level built around attitude control rather than normal driving. In this stage, the vehicle behaves more like a tiny spacecraft than a car. Your thrust depends entirely on where the igniter is facing, so every move comes from rotation first and acceleration second. The level punishes players who mash the button, because long burns create too much speed and make the tight corners impossible to recover. If you wait for the correct angle, tap the thrust briefly, and use the vehicle's natural spin to your advantage, the whole sequence becomes much more consistent.
Why Level 122 Feels Hard
This Drive Mad level feels awkward because the game suddenly stops rewarding ordinary steering and starts testing spatial awareness instead. There is almost no useful friction, so once you create momentum, the vehicle keeps drifting. That means the real challenge is not speed. It is timing, balance, and obstacle timing. You need to let the chassis rotate into place, fire only when the igniter is aimed correctly, and avoid overcorrecting during the narrow vertical and horizontal transitions.
Step-by-Step Walkthrough for Drive Mad Level 122
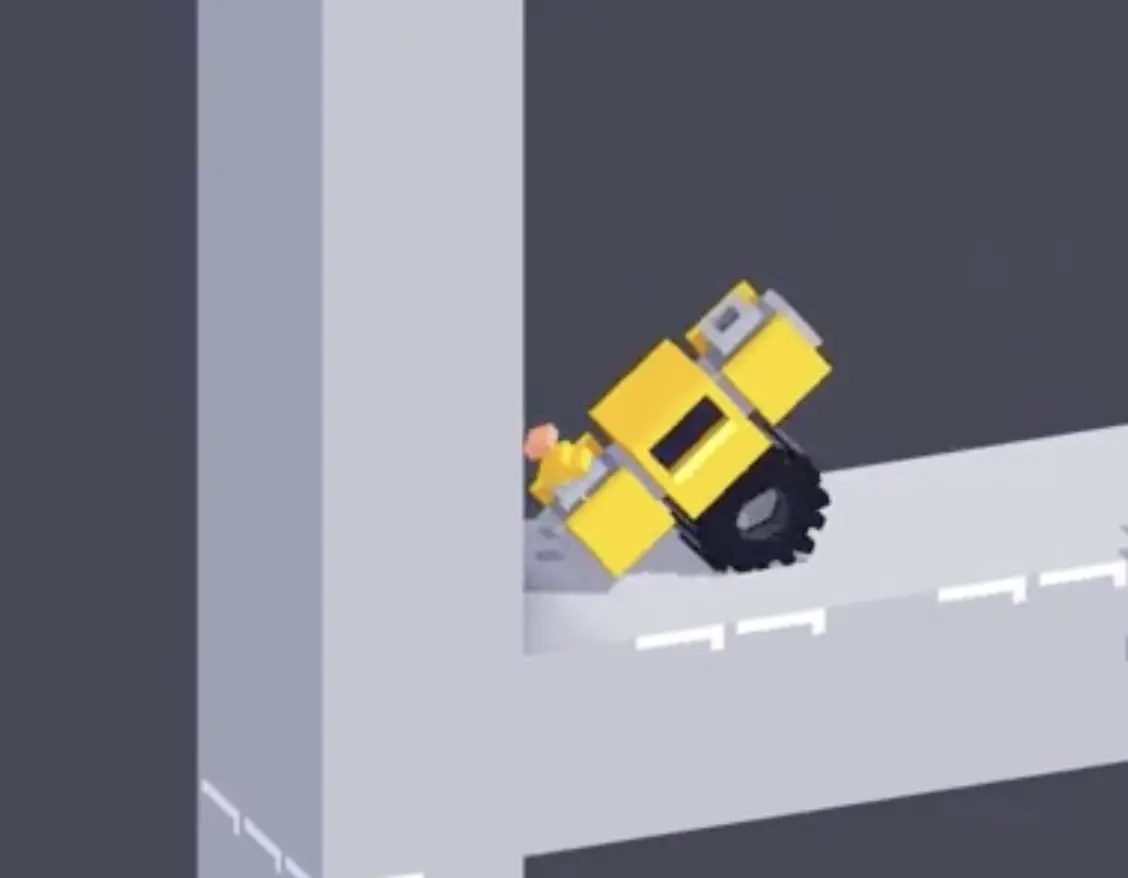
Step 1: Rotate first, then tap thrust to move forward
At the start, do not rush to ignite. Let the one-wheeled vehicle rotate until the igniter is pointing backward relative to your intended movement, toward the left wall. Once the angle is correct, give it a short tap. The recoil pushes the vehicle forward into the first opening without sending it wildly out of control.
A long press usually ruins this section because the vehicle gains too much speed before you are lined up for the drop. Treat the first movement like a tiny adjustment, not a full launch.
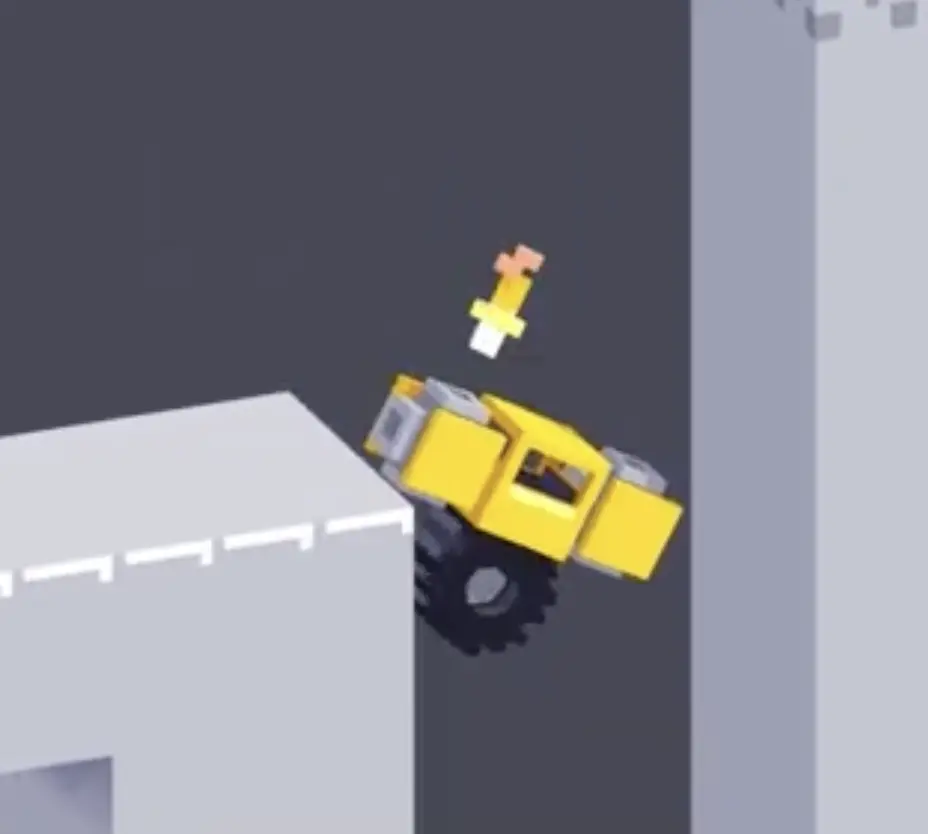
Step 2: Stop input at the first gap and rotate to aim downward
When you reach the first opening, stop pressing anything and let the vehicle settle into a new angle. Your goal here is to rotate until the igniter points upward. When you tap thrust from that position, the reaction force pushes the vehicle down into the lower passage.
This is where many attempts fail. Pressing too early sends you sideways into the wall, while pressing too long makes the descent too fast to recover. Wait for the right orientation, then give only a brief burst.
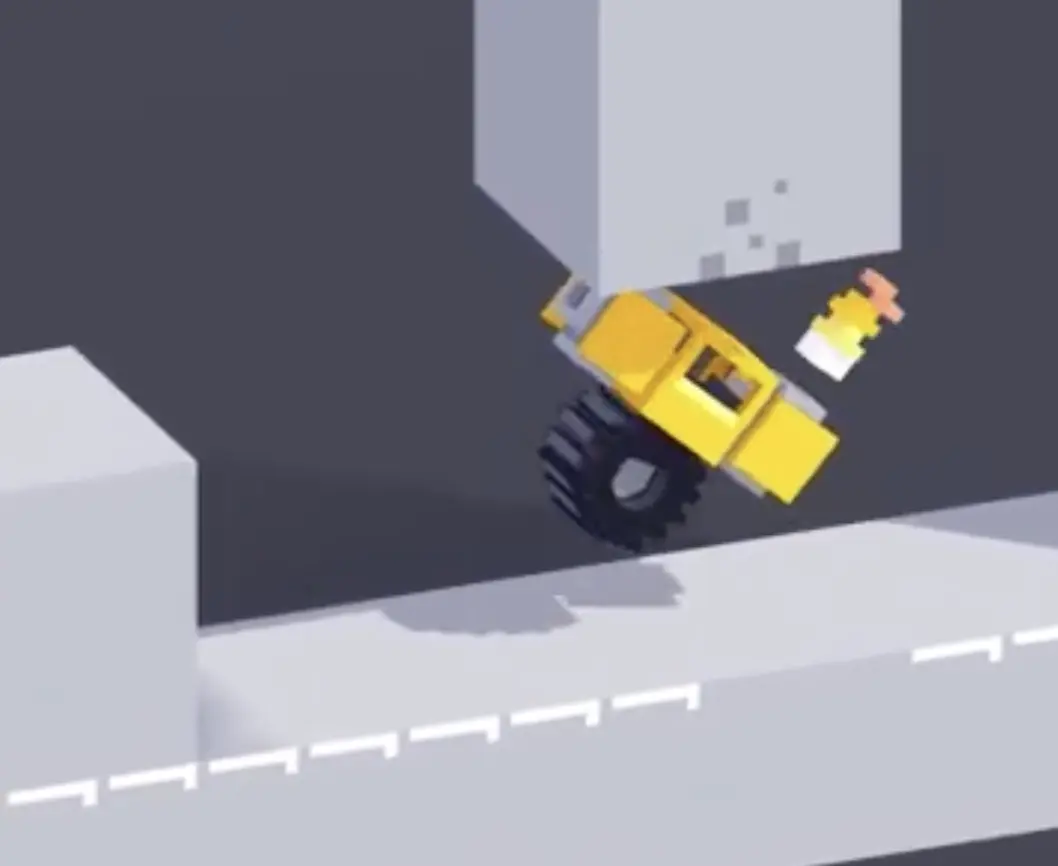
Step 3: Repeat the forward-push setup before touching the lower platform
As you approach the lower platform, prepare the same orientation you used at the beginning. Rotate until the igniter faces backward toward the left side, then tap again to push the vehicle forward through the next corridor. This keeps your movement controlled and aligned with the horizontal lane.
Do not panic if the chassis looks unstable. A slight tilt is fine as long as the thrust direction is correct. The important part is using another small tap instead of trying to brute-force the whole hallway in one burn.
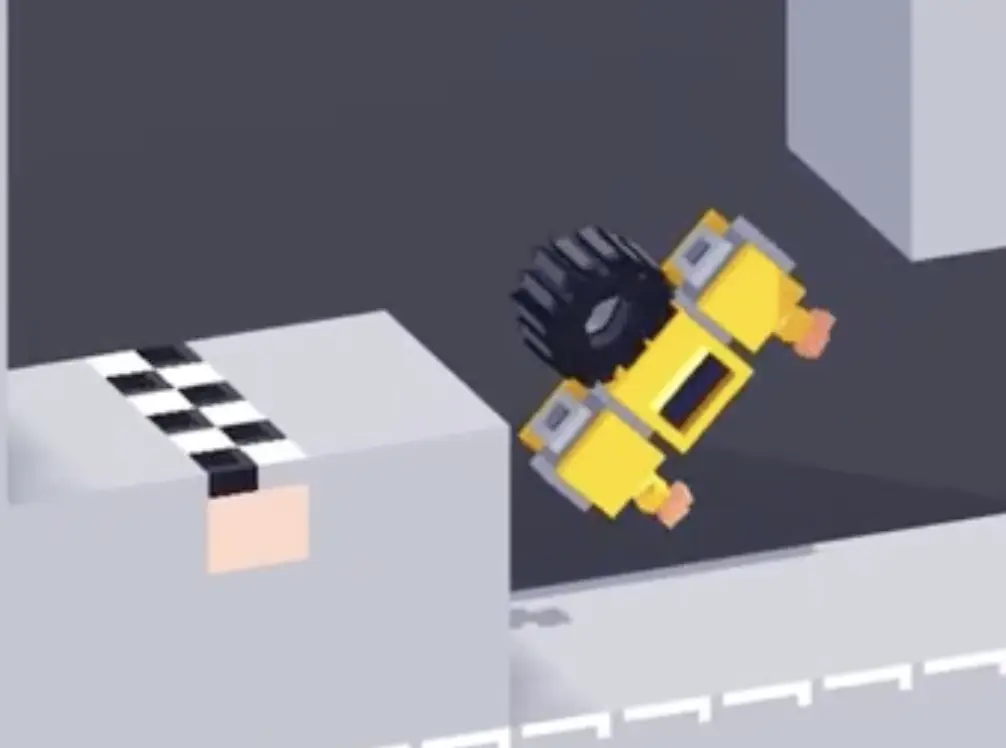
Step 4: Make two quick orientation changes for the final corner
The last turn is the most technical part. First, rotate so the igniter points downward and tap to lift the vehicle upward around the corner. Then quickly rotate again so the igniter points backward and use one more light burst to slide toward the checkered finish.
Keep micro-adjusting instead of committing to a long burn. In zero gravity, patience beats speed. Even a messy-looking final approach can still work if each tap is aimed correctly.
Best Cue for Consistent Clears
Think in one rhythm: rotate, aim, tap, then wait.
Why This Method Works
This method works because the level is built around reaction force and rotational timing, not traction. By waiting for the igniter to face the correct direction, you turn every burst into a controlled positional adjustment instead of random speed. Short taps prevent overshooting, while deliberate pauses let the vehicle's natural spin do most of the alignment work for you. Once you stop trying to drive and start treating the vehicle like a small thruster pod, the route becomes much easier to read and repeat.
Common Mistakes in Drive Mad Level 122
- Igniting too early before the vehicle is facing the correct direction
- Holding thrust too long and creating uncontrollable speed
- Trying to steer normally instead of using posture control
- Overcorrecting during the first drop and hitting the side wall
- Rushing the final corner instead of using two separate taps
Fast Summary
- Rotate first and only tap thrust when the igniter is aimed correctly
- Use the igniter facing up to push yourself down through the first drop
- Repeat the backward-facing thrust to move forward in the lower lane
- At the end, tap once to go up and once to go forward
- Use patience and micro-adjustments instead of long burns
FAQ
How do you beat Drive Mad Level 122?
Rotate the vehicle until the igniter faces the correct direction, then use short thrust taps to move forward, drop into the lower passage, and make the final upward and forward adjustments into the finish.
Why is Drive Mad Level 122 difficult?
Because the level removes normal traction and turns movement into a timing and balance test. Press too early or for too long, and the vehicle drifts out of alignment.
What is the key trick in Drive Mad Level 122?
The key trick is to wait for the right rotation angle before tapping thrust. In Zero Gravity, the direction of the igniter matters more than the speed of your input.
Should I hold the thrust button in Zero Gravity?
Usually no. Short taps are much safer because there is little resistance in the level, so long burns create too much speed and make the tight corners much harder to control.