How to Beat Level 163 in Drive Mad – Deadly Tunnel Guide
Beat Deadly Tunnel by lifting the front wheels before the laser section, then moving only during the laser gaps and keeping a calm rhythm until you can dash to the finish.
Drive Mad Level 163, called Deadly Tunnel, is a laser timing level where your truck needs the right angle before it even enters the danger zone. The main idea is to lift the front wheels early, then move through the tunnel only when the lasers are off. If the timing is wrong or the truck sits too flat, the run usually ends immediately.
Why Level 163 Feels Hard
This level feels difficult because it tests three things at once: front-wheel lift, balance, and timing. You cannot just drive fast through it. If the front end stays too low, the truck gets caught in the laser section. If you panic and keep moving when the lasers come back, you lose instantly. The tunnel rewards patience much more than aggression.
Step-by-Step Walkthrough for Drive Mad Level 163
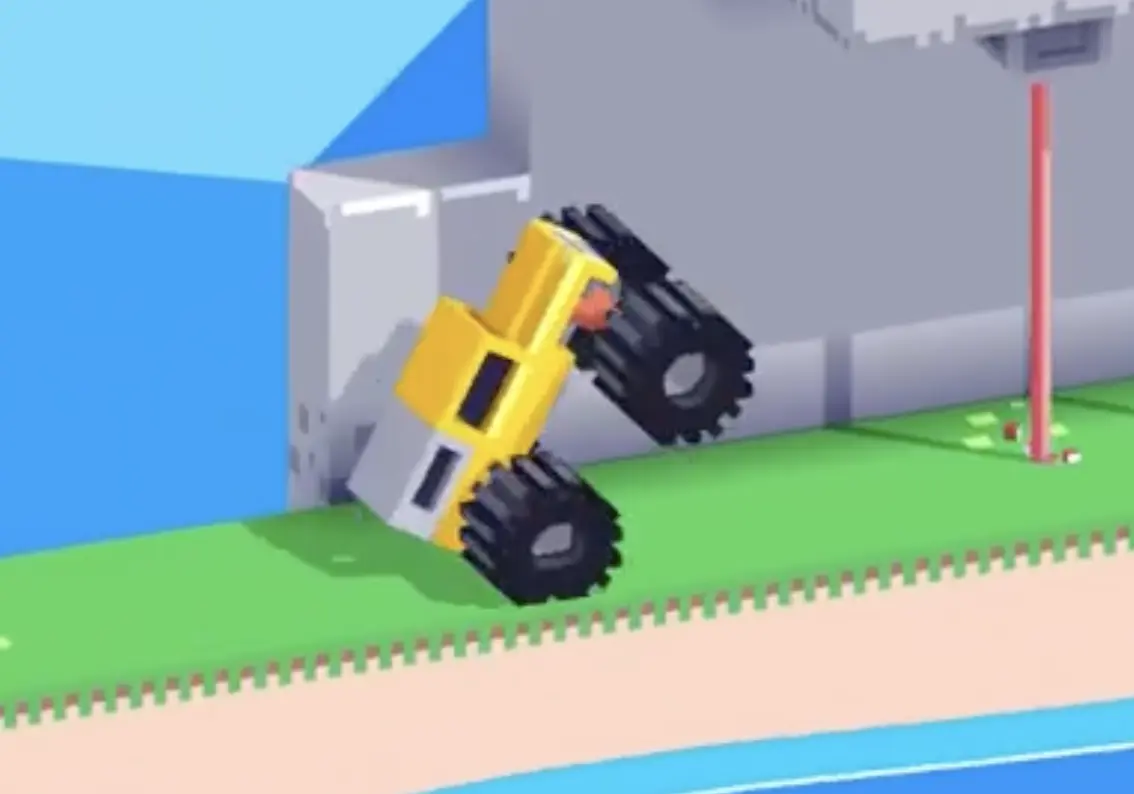
Step 1: Lift the front wheels before entering the laser section
Before you reach the laser tunnel, raise the truck's front wheels. This setup matters a lot, because the level is much harder if the truck enters too flat. You want the vehicle leaning upward before the real obstacle begins.
Do not rush into the tunnel without preparation. The front-lift is what makes the laser section manageable.
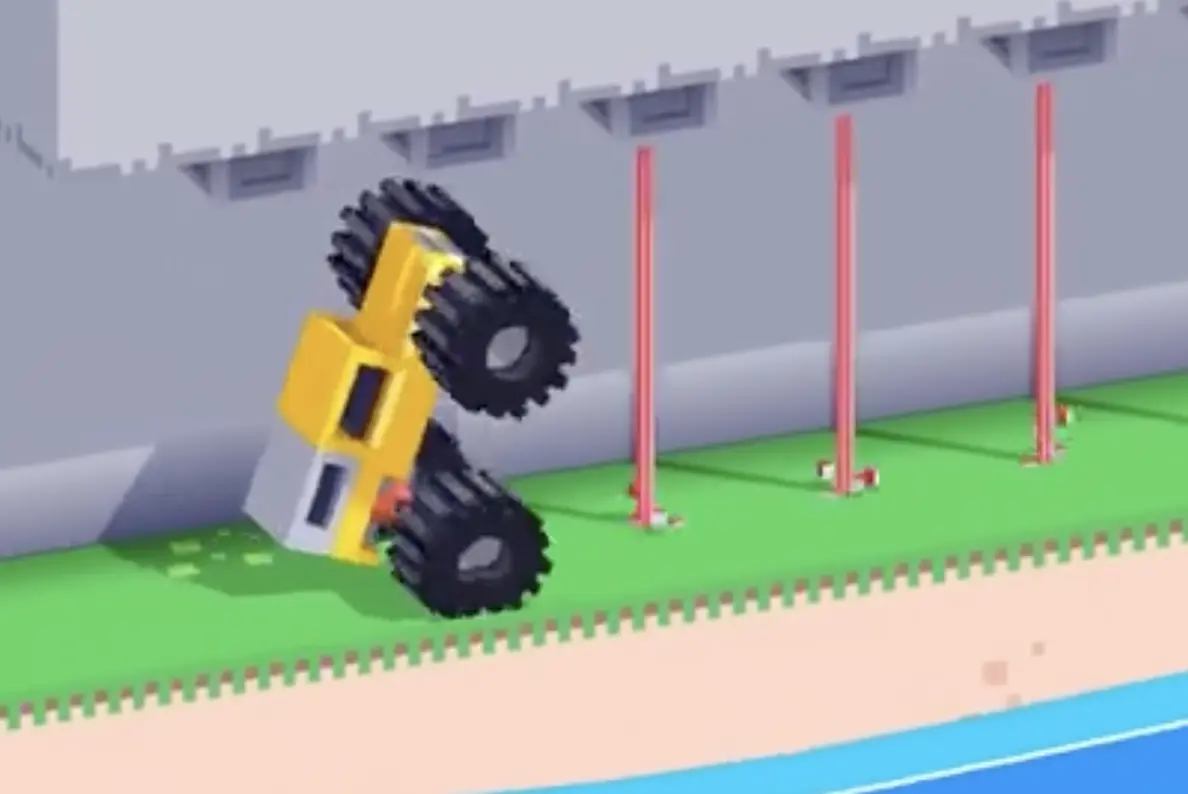
Step 2: Move during the laser gaps and stop when the lasers return
Once you are in front of the tunnel, follow the laser rhythm carefully. Move forward when the lasers disappear, then stop as soon as they come back. This is a controlled stop-and-go section, not a full-speed charge.
Keep your balance while waiting. Small, calm advances are safer than one reckless push.
Step 3: Use the final timing window to clear the tunnel and drive to the finish
After you have worked through the laser tunnel with the right rhythm, use the opening to push out cleanly and head straight for the finish. Once the danger section is behind you, the level ends quickly.
The important thing is not to lose control right at the exit. Stay steady through the last laser timing, then commit to the final run.

Best Cue for Consistent Clears
Think angle first, rhythm second. Lift the front wheels before the tunnel, then let the laser cycle tell you when to move and when to wait.
Why This Method Works
This method works because the tunnel punishes bad entry posture and bad timing more than low speed. Raising the front wheels gives the truck a safer shape for the obstacle, and waiting for each laser gap turns the section into a repeatable rhythm instead of a panic run. Once you respect that rhythm, the finish becomes much more consistent.
Common Mistakes in Drive Mad Level 163
- Entering the laser section without lifting the front wheels first.
- Driving forward while the lasers are active.
- Trying to rush the whole tunnel in one move.
- Losing balance while waiting between laser cycles.
- Clearing most of the tunnel, then panicking and crashing before the finish.
Fast Summary
- Lift the front wheels before the tunnel.
- Wait for the lasers to disappear.
- Move only during the safe gaps.
- Stop when the lasers return.
- Clear the last opening and drive straight to the finish.
FAQ
How do you beat Level 163 in Drive Mad?
Raise the front wheels before entering the laser tunnel, then move forward only during the moments when the lasers are off and stop when they come back.
Why do I fail in Deadly Tunnel?
Most failures happen because players enter the tunnel too flat, move at the wrong time, or panic and keep pushing while the lasers are active.
Do I need to lift the front wheels in Level 163?
Yes. The front-wheel lift is a core part of the level, because it helps the truck enter the laser section in the correct angle.
What is the key trick in Drive Mad Level 163?
The key trick is patience. This is a stop-and-go timing level, so you should follow the laser cycle instead of trying to brute-force the tunnel.