Drive Mad Level 92 Walkthrough - Descent Guide
Complete Drive Mad level 92 walkthrough. Learn how to beat Descent by alternating forward and reverse drops, keeping the truck level on each narrow ledge, and working your way s…
Drive Mad level 92, called Descent, is a medium level built around momentum, timing, and balance. The goal is not to race forward. It is to climb down a vertical shaft made of small alternating ledges without letting the truck tip over. Each landing needs a different direction input depending on which side the next platform sits on. If the front end drops too hard, the truck flips forward. If the rear end lands badly, it can bounce and roll the other way. Once you understand that the level is really a controlled staircase descent in alternating directions, it becomes much more manageable.
Why Level 92 Feels Hard
This Drive Mad level feels awkward because each platform is narrow and offset from the one before it. That means you are constantly landing off-center and then immediately preparing for the next controlled drop. Many failed runs happen because players try to rush straight down the shaft. That usually makes one end of the truck slam first, which turns a small descent into a flip. The level becomes much easier when you treat every ledge as a separate balancing problem instead of one continuous fall.
Step-by-Step Walkthrough for Drive Mad Level 92
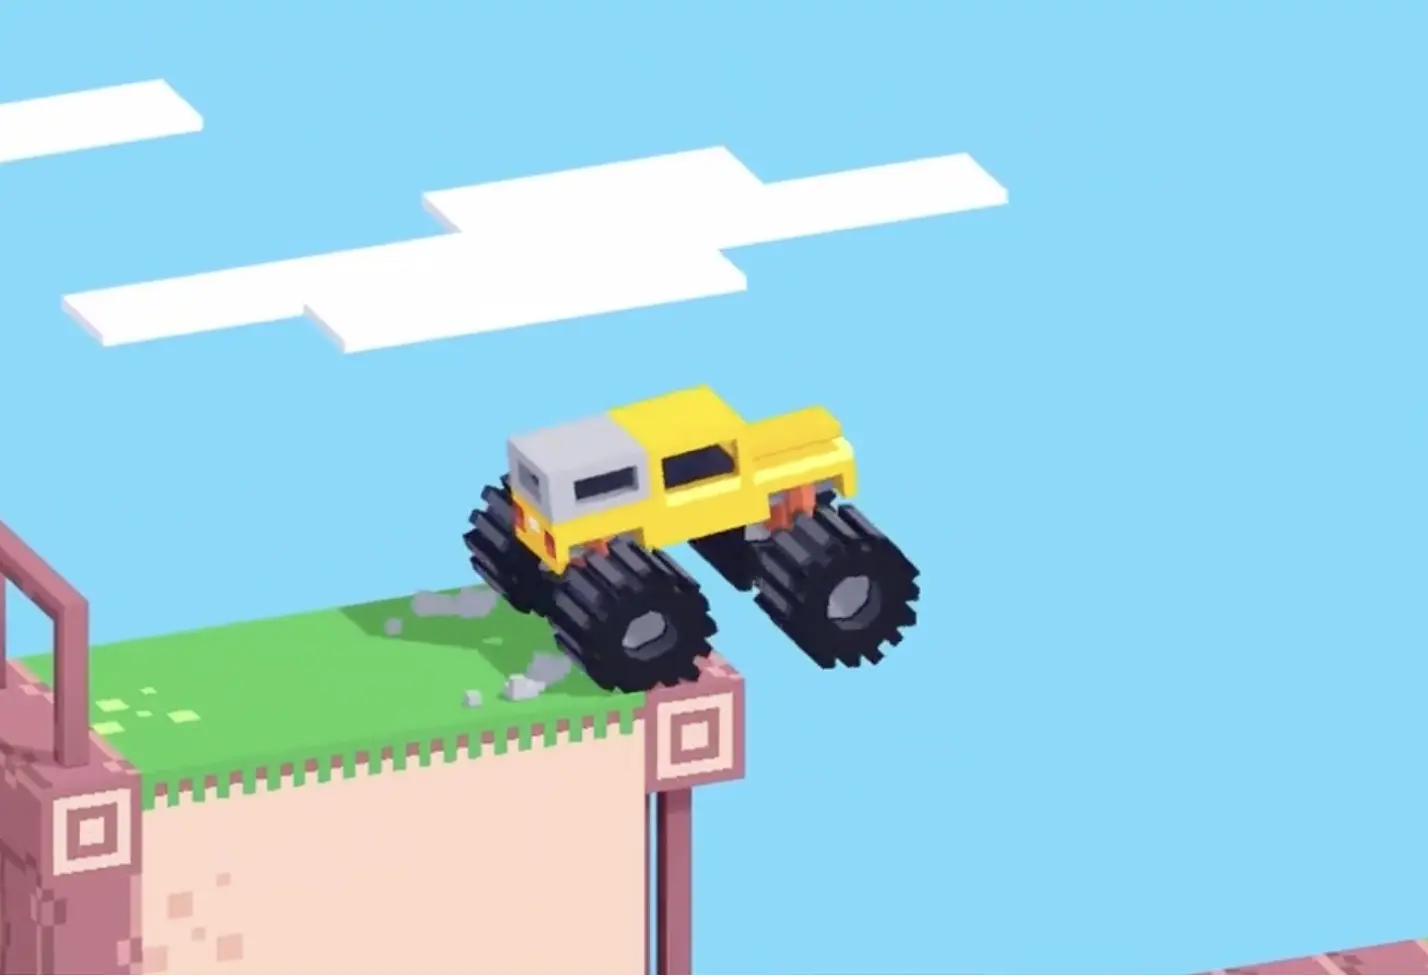
Step 1: Roll off the top platform and settle onto the first lower ledge
Start by moving off the upper platform with patience instead of speed. Let the truck slip down to the first ledge and release the throttle as the tires touch. The important part is the landing, not the drop. If you keep pushing too hard through impact, the nose can dip and throw the truck off balance immediately. A soft first contact sets up the rest of the descent.
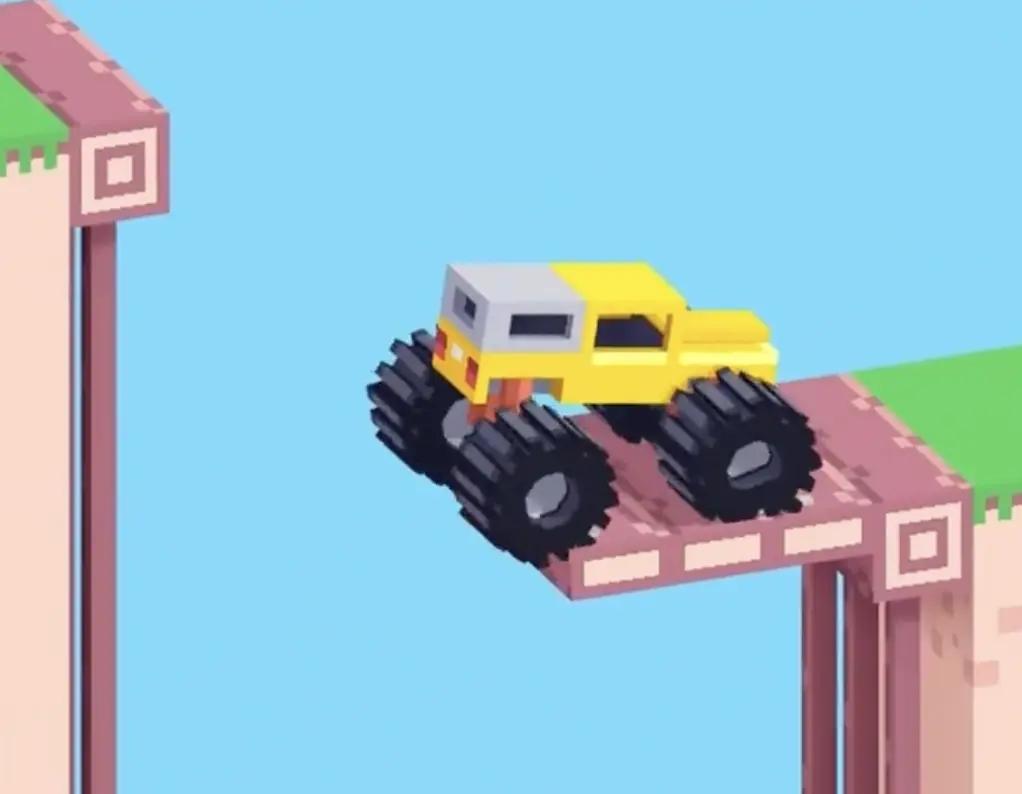
Step 2: Use reverse to place the rear end onto the opposite ledge
Once the truck settles, switch to reverse and let the rear side guide the next landing onto the opposite ledge. This backward input is important because it helps the heavier rear section absorb the drop and keeps the truck from diving nose-first. Do not yank it. Just let the vehicle fall into place with controlled weight transfer.
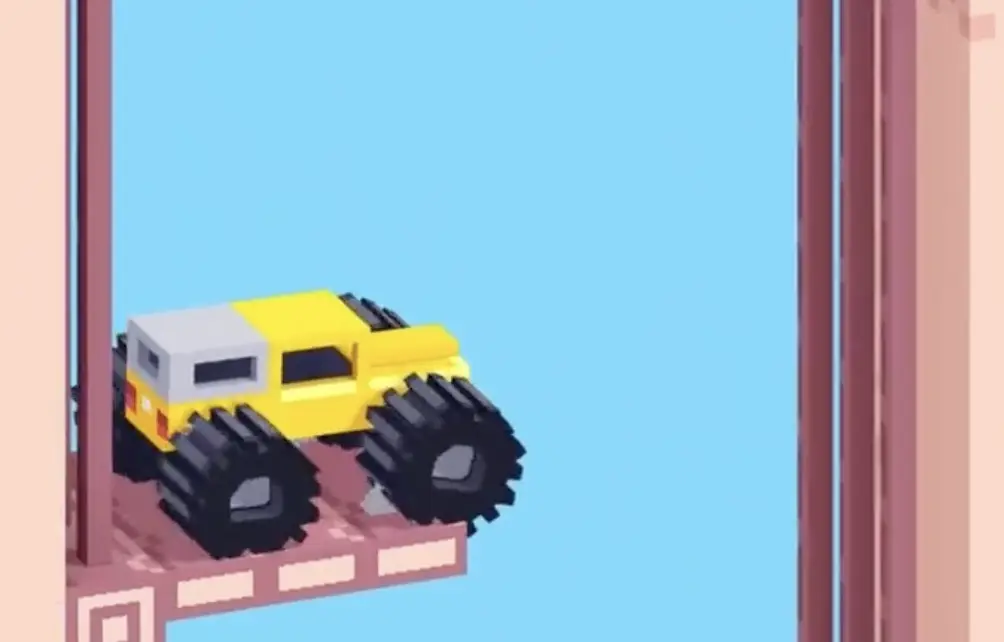
Step 3: Switch back to forward and repeat the controlled drop on the next side
From there, switch direction again and ease the truck down toward the next ledge on the other side. The exact movement is the same idea as before, but mirrored. Go slowly enough that the truck almost slides into the platform instead of crashing onto it. The key is to land with both ends feeling supported rather than letting one end spike the impact.
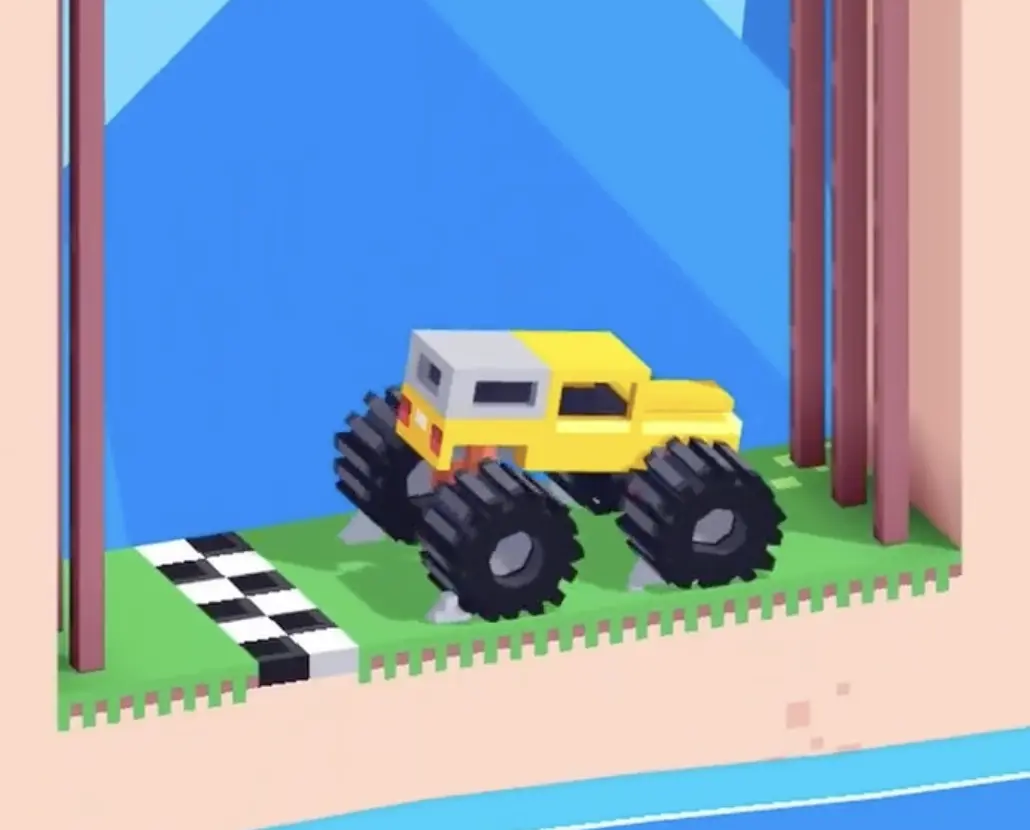
Step 4: Finish the descent and back gently into the goal
Keep repeating the same left-right descent logic until you reach the bottom floor. Once the truck is safely down, slow everything down even more. There is no need to accelerate at the end. Simply reverse carefully into the black-and-white finish zone and let the level end cleanly. The stage rewards patience all the way to the last move.
Best Cue for Consistent Clears
Drop, settle, switch, repeat.
Why This Method Works
This method works because every ledge is testing the same thing: whether you can cancel the truck's tilt before taking the next drop. Switching between forward and reverse keeps the center of mass working with the landing instead of against it. By slowing each descent and waiting for the suspension to settle, you turn a dangerous shaft into a sequence of small, readable steps.
Common Mistakes in Drive Mad Level 92
- Dropping too fast onto the first ledge and pitching the truck forward
- Forgetting to switch direction for the next opposite-side platform
- Letting one end of the truck hit too hard on a narrow ledge
- Trying to rush the whole shaft as one continuous descent
- Accelerating at the bottom instead of finishing with a calm reverse
Fast Summary
- Ease off the top platform gently
- Land and let the truck settle
- Switch between forward and reverse on each alternating ledge
- Keep every drop slow and level
- Reverse calmly into the finish at the bottom
FAQ
How do you beat Drive Mad Level 92?
Drop gently onto the first ledge, alternate between forward and reverse for each offset platform, keep the truck level on every landing, and then reverse into the finish once you reach the bottom.
Why is Drive Mad Level 92 difficult?
Because the ledges alternate from side to side and are very narrow, so each landing can tip the truck if the wrong end hits too hard.
What is the key trick in Drive Mad Level 92?
The key trick is switching directions on every drop. Forward and reverse are used to counterbalance the truck depending on which side the next ledge is on.
Should I go fast in Drive Mad Level 92?
No. Slow, settled landings are much more important than speed. This level is mainly about patience and balance.