Drive Mad Level 95 Walkthrough - Trike Guide
Complete Drive Mad level 95 walkthrough. Learn how to beat Trike by lifting the front wheel at the start, balancing the rear wheels on the two narrow rails, and using the raised…
Drive Mad level 95, called Trike, is a medium level built around time, obstacle timing, front lift, and gap control. The middle of the stage is not a normal bridge. It is a narrow two-rail crossing with empty space between the beams, so the whole puzzle depends on the truck entering in a wheelie posture. If the front wheel drops, it gets dragged into the gap and the run ends instantly. The safest clear comes from treating the front wheel like a probe and connector while the rear wheels do the real balancing work on the rails.
Why Level 95 Feels Hard
This Drive Mad level feels awkward because the truck is stable only on two contact points for most of the crossing. You are not simply driving over a gap. You are balancing the rear wheels on twin rails while keeping the front wheel high enough to avoid falling between them. Many failed attempts happen because players do manage to reach the rails, but they let the front end settle too early. Once the nose drops, there is almost no recovery.
Step-by-Step Walkthrough for Drive Mad Level 95
Step 1: Lift the front wheel immediately and carry the angle toward the rails
At the start, use a tiny backward adjustment and then a quick forward burst, or simply use the starting torque well enough to pop the front wheel high. The important part is not raw speed. It is angle. You want the truck leaning back before it reaches the dual-rail bridge so the front wheel stays suspended over the center gap. If you roll in flat, the front end becomes a liability instead of a guide.
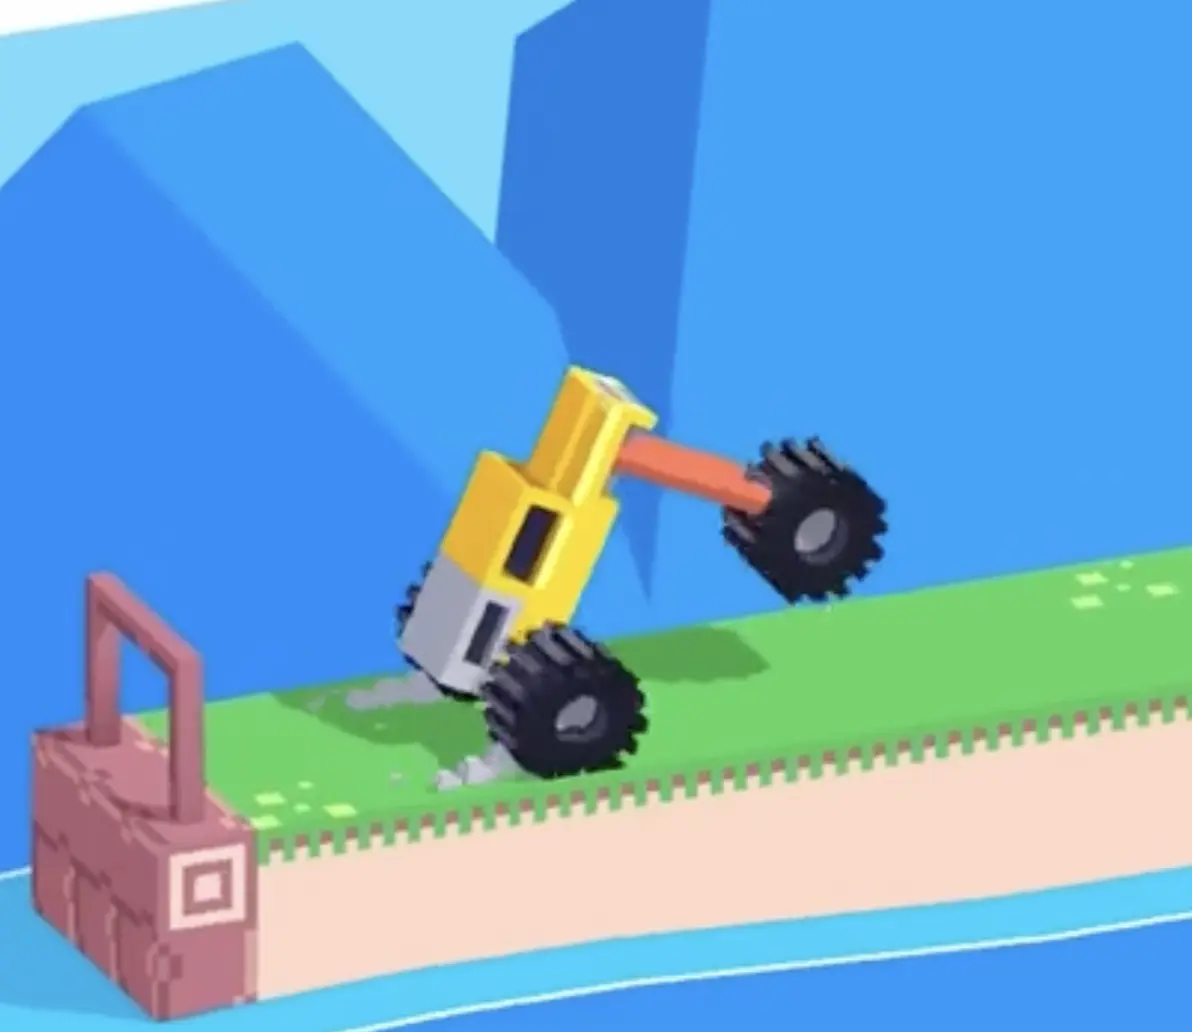
Step 2: Balance the rear wheels on the rails and let the front end reach the far platform
Once you are on the crossing, keep the rear wheels planted on the left and right rails while the front wheel stays floating. Do not rush to drop the nose. The raised front end acts like a connector, and when it reaches the far side it helps the truck bridge the final edge cleanly. As soon as the front part lands on the platform, keep a smooth forward push so the rear wheels follow up and the truck pulls itself all the way to the finish.

Best Cue for Consistent Clears
Lift, balance, latch.
Why This Method Works
This method works because the truck only needs one stable idea during the whole stage: keep the front wheel useless as a rolling wheel and useful as a reach tool. The rear wheels are wide enough to ride the twin rails, but the front wheel is what determines whether you survive the gap transition. By entering in a wheelie and refusing to flatten out too early, you turn the dangerous front end into the part that secures the landing.
Common Mistakes in Drive Mad Level 95
- Entering the bridge with the truck too flat
- Letting the front wheel fall between the rails
- Misaligning the rear wheels so one slips off a beam
- Panicking and over-accelerating in the middle of the crossing
- Dropping the nose before the front end reaches the far platform
Fast Summary
- Pop the front wheel up at the start
- Carry the wheelie into the dual rails
- Keep the rear wheels aligned on both beams
- Do not let the front wheel drop into the gap
- Use the front end to catch the far platform and finish
FAQ
How do you beat Drive Mad Level 95?
Lift the front wheel immediately, ride the bridge with the rear wheels balanced on the two rails, and keep the front end raised until it reaches the far platform so the truck can climb up safely.
Why is Drive Mad Level 95 difficult?
Because the middle bridge is only two narrow rails with a gap between them. If the front wheel drops or the rear wheels lose alignment, the truck falls right away.
What is the key trick in Drive Mad Level 95?
The key trick is to hold a wheelie posture for the entire crossing. The front wheel should stay lifted and act like a reach tool rather than a normal contact point.
How do I get onto the far platform in Drive Mad Level 95?
Keep the front end raised until it reaches the edge of the far platform, then continue with smooth forward pressure so the rear wheels climb off the rails and follow through.