Drive Mad Level 96 Walkthrough - Ball Haul Guide
Complete Drive Mad level 96 walkthrough. Learn how to beat Ball Haul by escorting the loose ball with short control taps, keeping it stable through the downhill and uphill secti…
Drive Mad level 96, called Ball Haul, is a hard level built around time, obstacle timing, balance, and momentum. The truck is only half the puzzle here. The real challenge is escorting a loose, lively ball in the bed while the road keeps changing angle underneath you. Every downhill, uphill, landing, and bridge segment shifts the ball's position. If you brake too hard, the ball surges forward. If you accelerate too sharply, it gets flung backward or bounces out entirely. Once you stop thinking about speed and start thinking about synchronized motion between truck and cargo, the level becomes much more readable.
Why Level 96 Feels Hard
This Drive Mad level feels punishing because the ball is never fixed in place. You are constantly correcting two things at once: the truck's position and the ball's inertia. Many failed runs happen when players treat the level like a race and hold the accelerator too long. That usually creates one sharp motion that the ball cannot survive. The safest clears come from tiny corrections, where the truck almost acts like a moving cradle instead of a vehicle trying to go fast.
Step-by-Step Walkthrough for Drive Mad Level 96
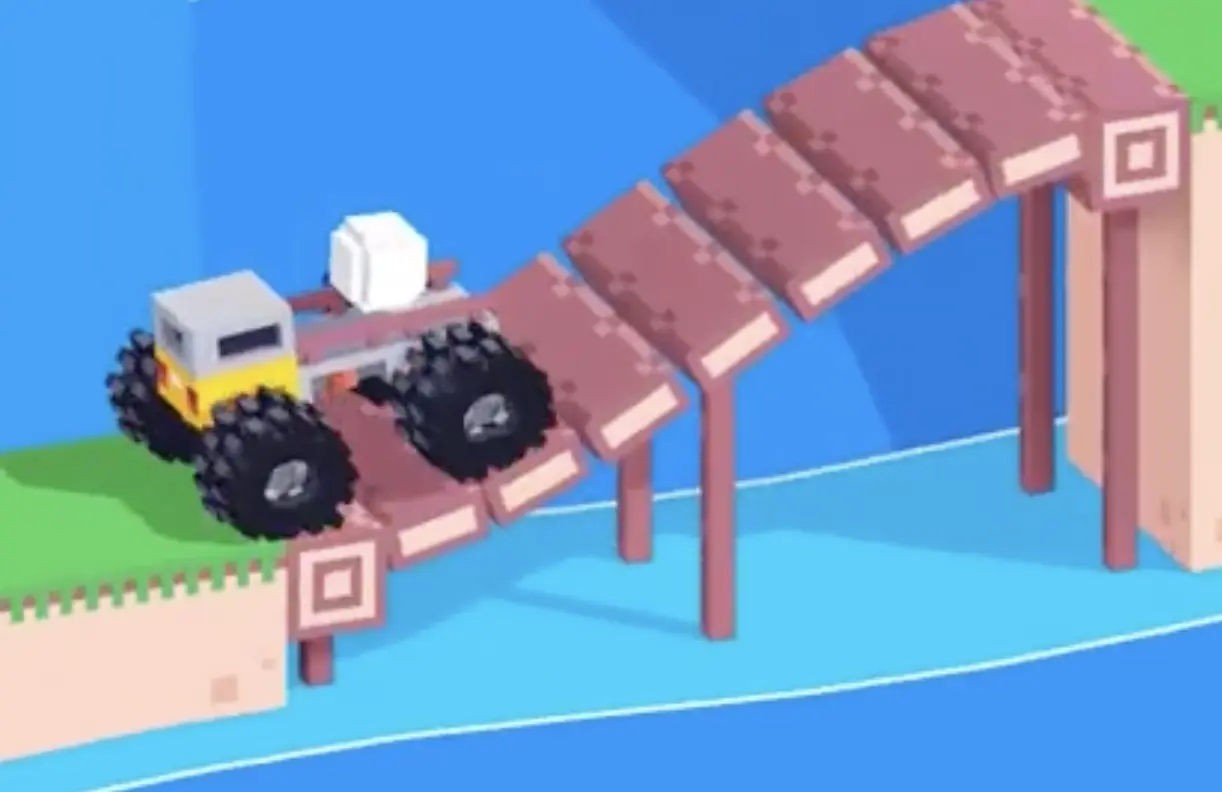
Step 1: Let the ball settle back and ride the opening drop smoothly
Right away, the course wants to pull the ball around, so your first job is to calm it down instead of forcing speed. Let the ball rest toward the rear of the truck bed and move into the descent with smooth forward motion. Do not slam the brakes on the way down. Sudden braking makes the ball leap toward the cab and can eject it. Treat the first slope like a controlled slide where the truck and ball stay synchronized.

Step 2: Climb the bridge and uphill section with even, controlled speed
As the truck starts climbing, avoid punching the accelerator. Sharp uphill force can fling the ball backward or make it bounce high enough to leave the bed. Use short forward taps and keep the climb steady so the ball rolls with the truck instead of fighting it. The goal is not to rush up the bridge. It is to carry the ball over the changing angle without a violent weight shift.
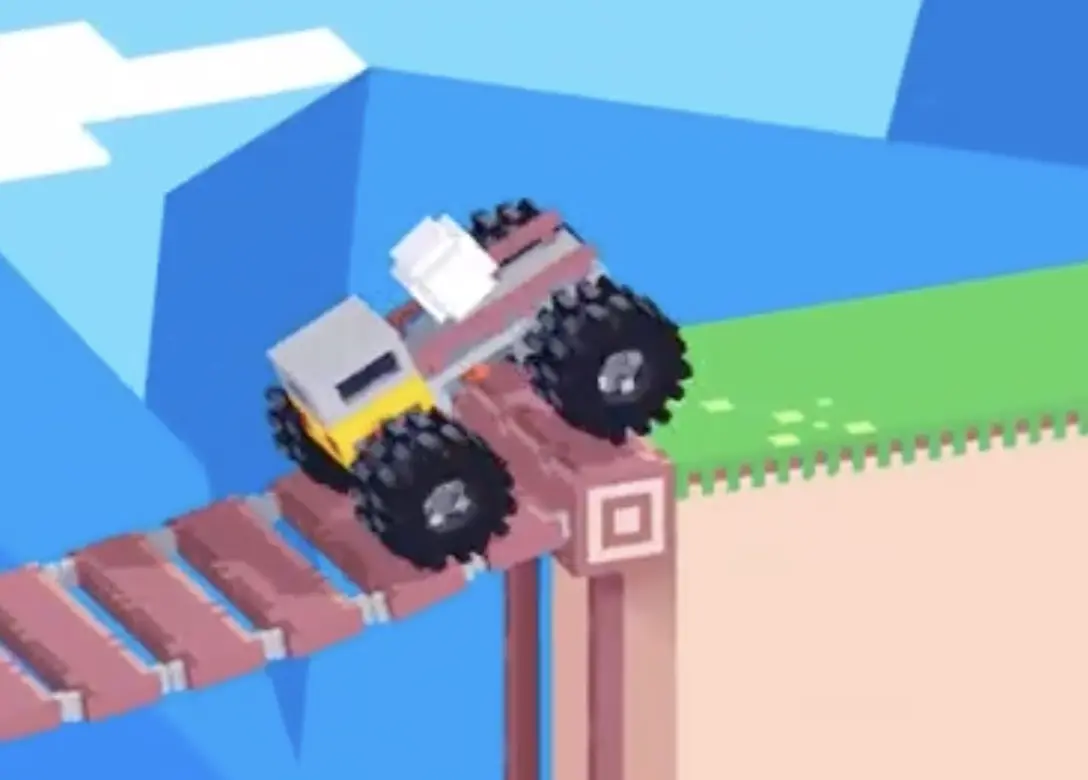
Step 3: Absorb the crest and small drop with tiny correction taps
The top section is dangerous because the truck's wheels change height and create a rebound that can pop the ball out. As the truck reaches the crest and settles over the lip, use a quick control tap to soften the jolt. This is not a big adjustment. It is a tiny stabilizing input meant to cancel the bounce before it grows. If the ball survives this transition cleanly, the hardest part of the transport is basically over.
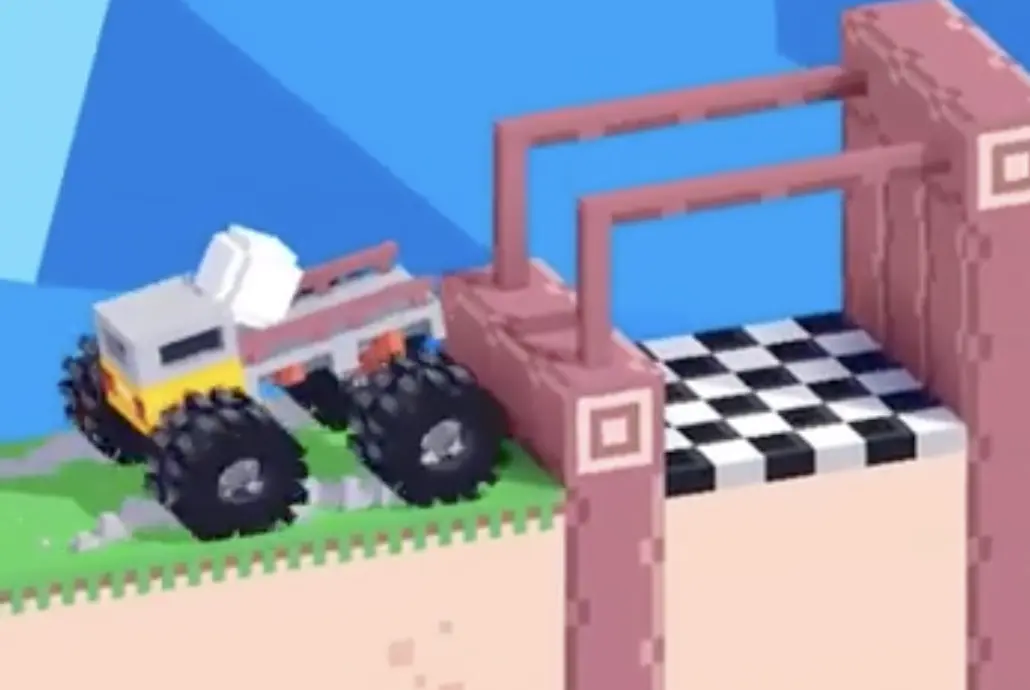
Step 4: Cross the final section and push the ball cleanly into the finish
Near the goal, do not get reckless just because the finish is visible. Keep the same measured rhythm across the last section, then use the truck's forward motion to nudge the ball past the final barrier and into the checkered area. You are not trying to launch the ball. You are trying to escort it over the line. A calm finishing push is much more reliable than one last burst of speed.
Best Cue for Consistent Clears
Tap, settle, carry, finish.
Why This Method Works
This method works because the ball reacts most violently to sudden changes, not to slow continuous motion. By using short taps, you smooth out the truck's acceleration and let the cargo stay supported by the bed instead of being thrown around inside it. The whole level becomes easier once you realize the truck is acting like a cradle for the ball. Every obstacle is solved the same way: reduce shock, match the ball's movement, and never create a bigger swing than you need.
Common Mistakes in Drive Mad Level 96
- Braking too hard on the opening descent and throwing the ball forward
- Using full acceleration on the uphill and launching the ball backward
- Ignoring the rebound at the crest and letting the ball pop out
- Rushing the final bridge just because the finish is close
- Trying to blast the ball into the goal instead of guiding it in
Fast Summary
- Settle the ball against the back on the opening section
- Use short taps to control the downhill and uphill
- Soften the bounce at the crest
- Cross the last bridge with steady momentum
- Push the ball calmly into the finish
FAQ
How do you beat Drive Mad Level 96?
Keep the ball stable with short control taps, ride the opening drop smoothly, climb the bridge with steady momentum, absorb the bounce at the crest, and then guide the ball into the finish with a controlled final push.
Why is Drive Mad Level 96 difficult?
Because the ball is loose inside the truck bed, so every slope and acceleration change affects it. The stage is hard because you are constantly managing cargo inertia as well as the road.
What is the key trick in Drive Mad Level 96?
The key trick is to tap instead of hold. Tiny corrections keep the truck and ball synchronized much better than aggressive acceleration or braking.
How do I stop the ball from flying out in Drive Mad Level 96?
Avoid sudden speed changes, especially on slopes and at the crest. Keep the truck moving in small measured pulses so the ball rolls with the bed instead of bouncing out of it.