Drive Mad Level 97 Walkthrough - Soccer Guide
Complete Drive Mad level 97 walkthrough. Learn how to beat Soccer by guiding the ball with gentle platform movement, weaving it around the standing players, and giving it one fi…
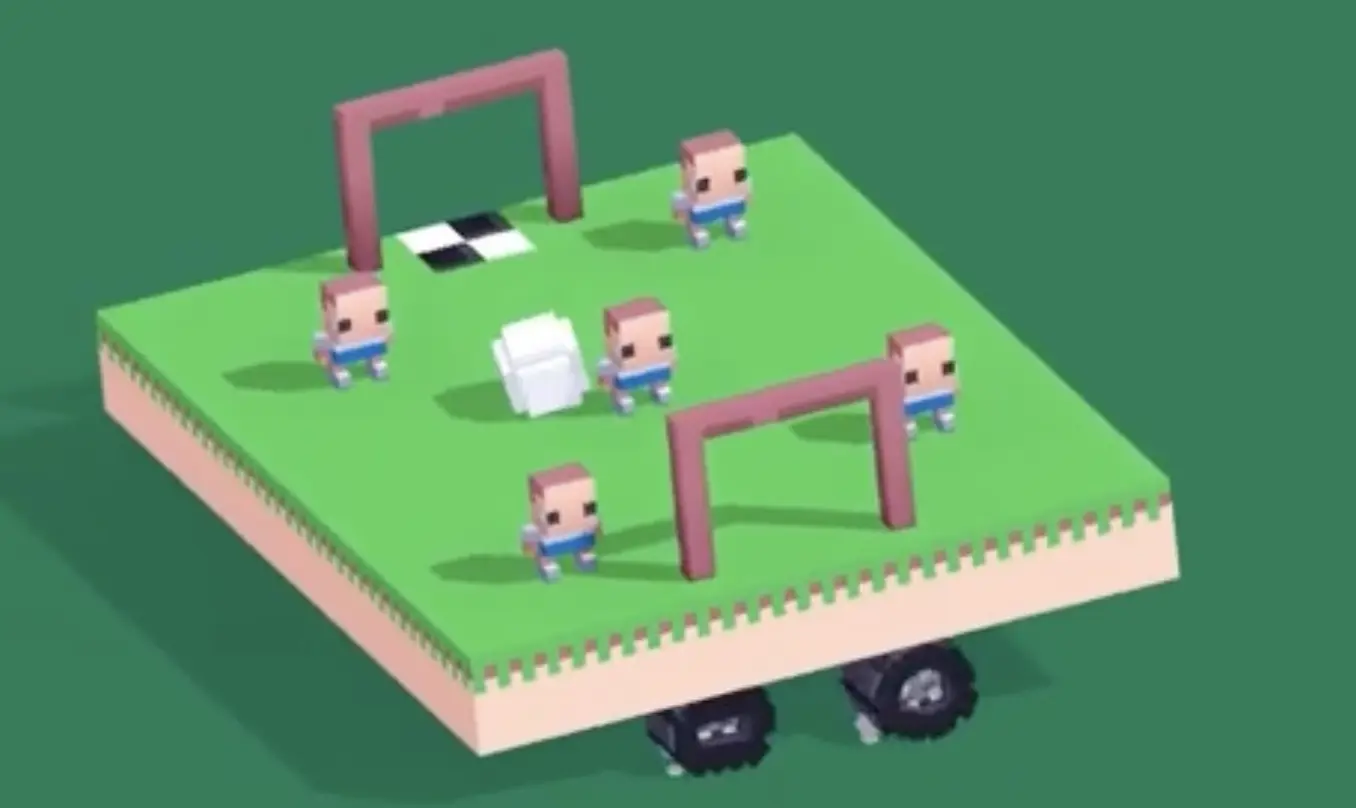
Drive Mad level 97, called Soccer, is a hard level built around time, obstacle timing, and balance. Instead of controlling a normal vehicle body, you are really controlling the flat platform underneath the ball. The ball does not obey direct steering. It responds to inertia, which means every tap on the controls shifts the platform and changes how the ball rolls between the standing player obstacles. If you overcorrect, the ball shoots off the edge. If you do nothing, it rolls straight into a blocker. Once you understand that the puzzle is about tiny momentum transfers rather than speed, the whole level becomes much more manageable.
Why Level 97 Feels Hard
This Drive Mad level feels awkward because you are never really steering the ball directly. You are moving the platform under it and waiting for the ball to react. That delayed response is what makes the stage hard. Many failed runs happen because players panic after the first dodge and try to snap the ball back to center immediately. That usually creates a bigger swing and sends the ball into another obstacle or off the platform. The cleanest clears come from accepting a gentle pendulum rhythm instead of trying to micromanage every inch.
Step-by-Step Walkthrough for Drive Mad Level 97
Step 1: Start with a light sideways drift to set up the first dodge
At the start, do not slam the controls. Give the platform one light tap to one side so the ball begins rolling with a small lateral trend. That first drift matters because it sets up the angle for the opening obstacle. As the ball approaches the first player, tap back the other way just enough to bend the path around the blocker. Think curve, not shove.
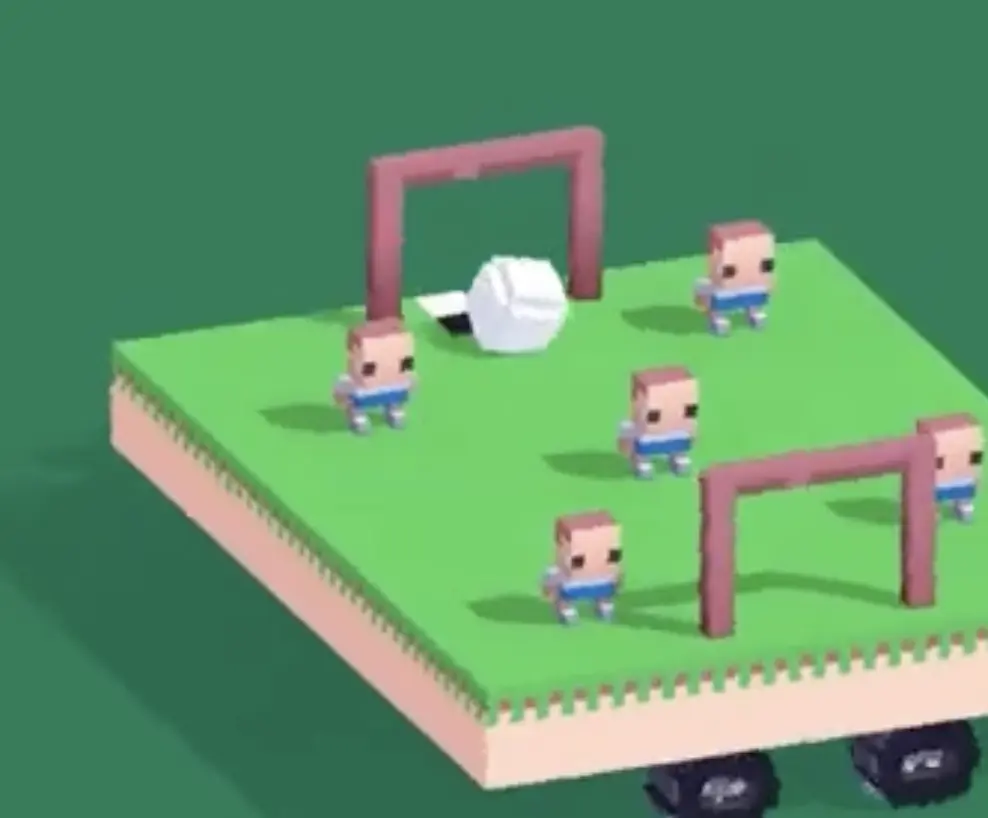
Step 2: Keep the pendulum motion and thread the ball past the middle defenders
After the first dodge, resist the urge to instantly straighten everything out. Let the ball continue in its current direction for a moment, then make another small correction to guide it around the next defender. This section works best when you think in swings: left drift, catch, right drift, catch. The platform should move underneath the ball just enough to support its path, not fight against it.

Step 3: Add a final forward nudge so the ball rolls into the goal
Near the goal, your job changes from dodging to finishing. Once the ball has a clean lane, give it a gentle extra push so it keeps rolling into the checkered area. Do not overhit it. The goal is close, and a heavy correction can still throw the ball wide at the last moment. A calm finishing nudge is enough.
Best Cue for Consistent Clears
Tap, arc, tap, score.
Why This Method Works
This method works because the ball is safest when it keeps moving in shallow, controlled arcs. Small platform taps transfer just enough inertia to redirect the ball without launching it out of bounds. The standing players are not meant to be powered through. They are meant to be navigated around. By letting each correction blend into the next one, you turn the whole level from a chaotic balance test into a predictable dribbling sequence.
Common Mistakes in Drive Mad Level 97
- Holding a direction too long and throwing the ball off the platform
- Trying to recenter the ball too aggressively after the first dodge
- Forcing the ball straight at a defender instead of curving around them
- Making corrections too late and clipping the player obstacles
- Overhitting the final approach and missing the goal
Fast Summary
- Start with a light sideways drift
- Use small reverse taps to curve around the first obstacle
- Keep the pendulum rhythm through the middle defenders
- Do not overcorrect after each dodge
- Give the ball one gentle final push into the goal
FAQ
How do you beat Drive Mad Level 97?
Use tiny side-to-side taps to move the platform under the ball, let the ball curve around each defender, and then add a gentle final push so it rolls into the goal.
Why is Drive Mad Level 97 difficult?
Because you are not steering the ball directly. You are controlling the platform under it, so every correction has delayed inertia and can easily become too strong.
What is the key trick in Drive Mad Level 97?
The key trick is to tap instead of hold. Small momentum corrections are much safer than long presses in this level.
How do I stop the ball from falling off the platform in Drive Mad Level 97?
Move the platform slightly in the same direction the ball is already rolling so you catch it underneath, instead of trying to yank it back the other way too hard.