Drive Mad Level 60 Walkthrough - Control Room Guide
Complete Drive Mad level 60 walkthrough. Learn how to beat Control Room by reversing into the control room, pressing the floor buttons to flatten the remote bridges, and then dr…
Drive Mad level 60, called Control Room, is an easy level built around remote bridge linkage and pressure-based alignment. The route ahead is blocked at first because the three hanging bridge segments are standing too steeply to drive across safely. The real solution is behind you. You need to reverse into the control room and use the floor pressure buttons to rotate the bridge sections into a flatter position. The more fully the buttons are pressed, the closer the bridge pieces get to horizontal. Once the bridges are properly aligned, the rest of the level becomes a calm straight crossing instead of a risky jump puzzle.
Why Level 60 Feels Hard
This level feels strange because the obvious path forward is not really the first thing you should do. Many players see the bridges, try to force their way across, and fail before realizing the stage is actually a setup puzzle. The other reason it can go wrong is precision. Even a small leftover angle in one of the bridge sections can create a nasty bounce when three segments connect in a row. So the hard part is not driving fast. It is taking the time to flatten the path properly before you commit.
Step-by-Step Walkthrough for Drive Mad Level 60
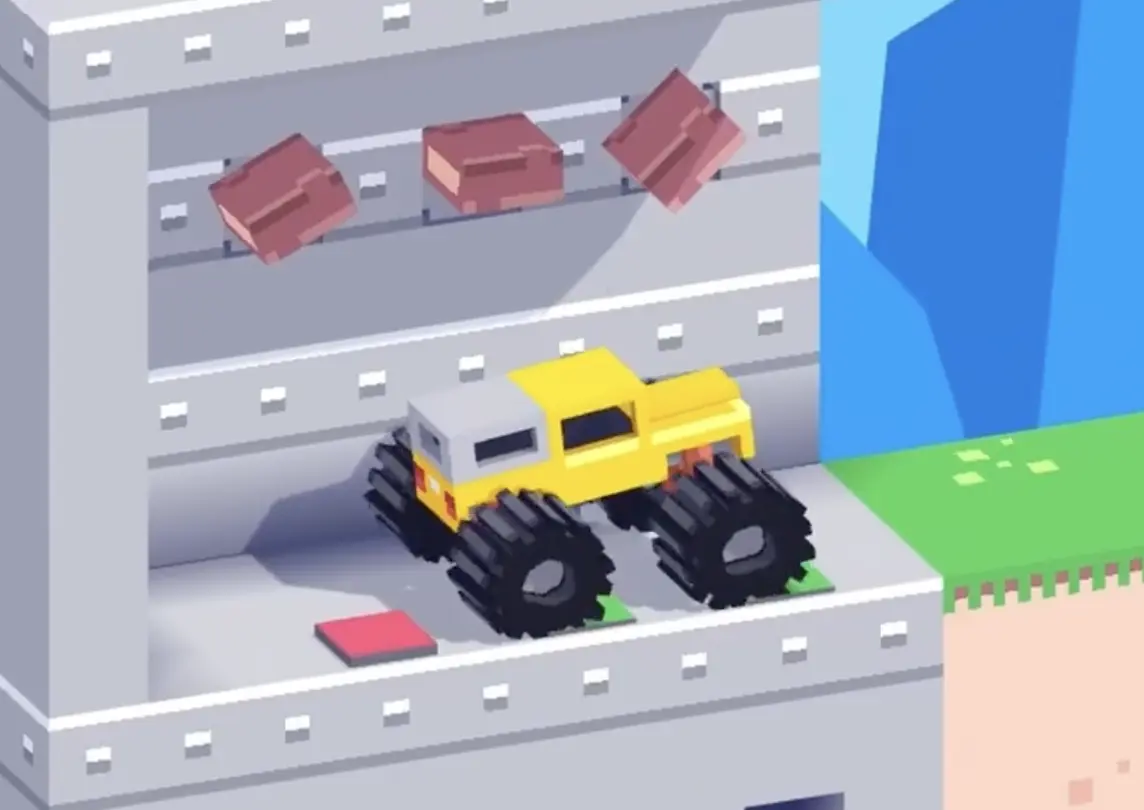
Step 1: Reverse into the control room and press the buttons until the bridges are nearly flat
At the start, immediately switch to reverse and head into the control room behind you. This area is the real control panel for the stage. Position the truck carefully over the floor pressure pads and let its weight press them down fully. As you do this, watch the small indicator bars above, because they mirror the bridge angles ahead. Your goal is to make those indicators rotate as close to horizontal as possible. Stay centered on the pads and do not leave too early. The safest clear comes when the bridge movement has completely settled and there is no more visible adjustment happening.
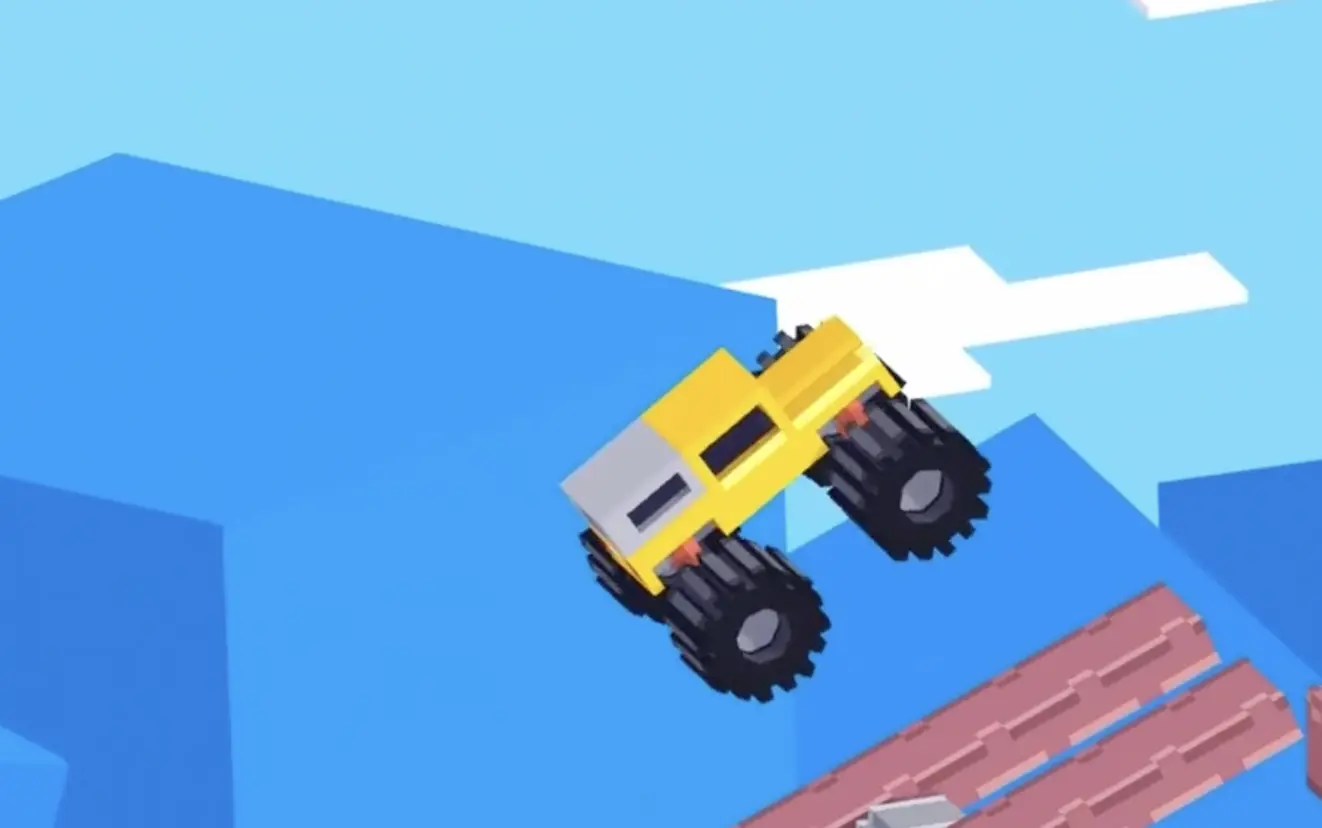
Step 2: Drive forward smoothly across the flattened bridges and avoid bouncing at the joints
Once the bridges are set, turn around and drive forward toward the crossing. At this point, the stage should feel much simpler, but you still need to respect the seams between the three linked sections. Use a steady, moderate pace rather than a jumpy burst of speed. If you hit the joints too aggressively, even a mostly flat bridge can kick the truck upward and ruin the run. Keep the truck centered, let the suspension absorb the transitions, and continue straight until you roll onto the finish platform.
Best Cue for Consistent Clears
Flatten first. Drive second.
Why This Method Works
This method works because the level is controlled by bridge angle more than by truck skill. When the pressure pads are fully engaged, the bridge segments rotate downward and reduce the height difference between each section. That removes the launch effect that would otherwise happen at every joint. By waiting until the movement finishes, you reduce the chance of crossing on a half-adjusted setup. Then, by using steady speed instead of aggressive acceleration, you keep the truck balanced over the linked surfaces and prevent rebound from turning a solved puzzle into an avoidable crash.
Key Tips for Level 60
- The flatter the bridges are, the safer the whole level becomes
- Stay centered on the pressure pads so they press as deeply as possible
- Watch the indicator bars and wait until the bridge movement stops changing
- Do not rush out of the control room before the setup is complete
- Cross the three bridge joints with smooth speed instead of jumpy inputs
Common Mistakes in Drive Mad Level 60
- Trying to drive forward immediately without using the control room
- Only partially pressing the buttons and leaving the bridges too steep
- Ignoring the indicator bars and crossing before the alignment is finished
- Hitting the bridge seams too fast and bouncing out of control
- Treating the ending like a sprint instead of a simple stable crossing
Fast Summary
- Reverse into the control room
- Press the floor buttons until the bridge segments are nearly horizontal
- Wait for the bridge movement to fully settle
- Drive forward across the linked bridges at steady speed
- Stay smooth over the seams and roll to the finish
FAQ
How do you beat Drive Mad Level 60?
Reverse into the control room, press the floor buttons to flatten the three remote bridge sections, then drive forward steadily across the bridges to the finish.
Why is Drive Mad Level 60 difficult?
Because the stage looks like a driving challenge, but it is really a setup puzzle. If the bridges are not flattened enough, the seams between them become dangerous.
What is the main trick in Drive Mad Level 60?
The main trick is using the control room pressure buttons to rotate the bridge sections into a nearly level position before attempting the crossing.
What usually causes failure in Drive Mad Level 60?
Most failures come from poor timing in the setup, leaving the bridges too steep, or carrying too much speed across the connected bridge joints and bouncing out of balance.
Should you rush across the bridges in Control Room?
No. Once the bridges are properly aligned, the safest method is a calm, even crossing with minimal bounce.