Drive Mad Level 61 Walkthrough - Slow Climb Guide
Complete Drive Mad level 61 walkthrough. Learn how to beat Slow Climb by using light front-wheel lifts over the early bumps, climbing the tall staircase one ledge at a time, and…
Drive Mad level 61, called Slow Climb, is a medium level built around segmented step-climbing and terrain control. The staircase obstacle looks simple at first, but it punishes players who try to brute-force it with raw speed. The ledges are high enough that a full sprint usually jams the chassis against the step face or flips the truck backward. The correct method is to split the climb into stages: let the front wheels reach the upper surface first, then use the rear wheels to push the body the rest of the way up. After the climb, the final descent adds one more control test, because a careless drop can send the nose straight into the ground.
Why Level 61 Feels Hard
This level feels difficult because it punishes the instinct to keep accelerating. The first low obstacles encourage a flowing start, but the big staircase immediately changes the rules. From that point on, the truck has to be guided very deliberately. Each ledge is high enough to demand a front-wheel catch, yet small enough that overdriving can ruin your angle. Then, after finally reaching the top, the stage flips again and asks you to manage the descent without letting the truck dive forward. It is really a level about restraint and precise positioning rather than speed.
Step-by-Step Walkthrough for Drive Mad Level 61
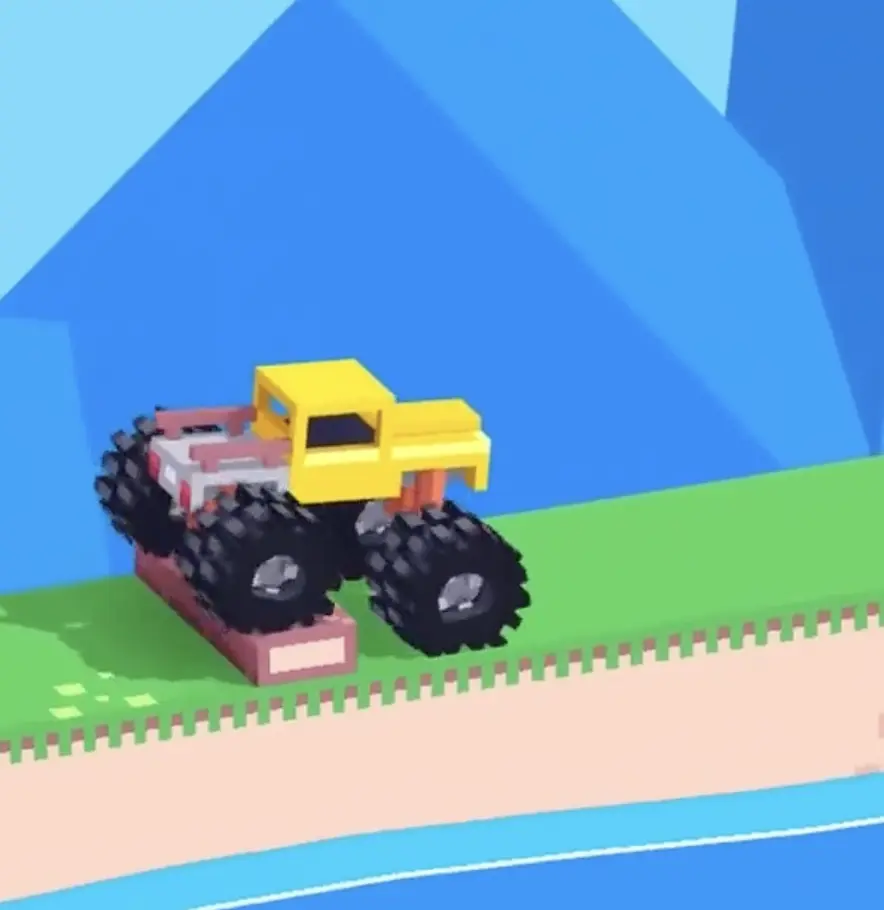
Step 1: Glide over the early low bumps with a light front-wheel lift
At the start, keep moving with moderate confidence and do not overbrake for the first small obstacles. As you reach them, use a light burst of forward input so the front wheels rise slightly and skim over the bumps instead of digging into them. These opening pieces are not the real challenge. They are just there to disrupt your rhythm. Clear them smoothly and keep the truck stable so you arrive at the staircase in good shape.
Step 2: Climb the staircase one ledge at a time with front-wheel placement and rear-wheel push
When you reach the tall steps, stop treating the obstacle like a ramp. Let the front wheels meet the step face, then use a small weight shift or tiny reverse-to-forward correction to lift the nose and place the front wheels onto the upper surface. Once they catch, keep calm pressure on the throttle so the rear wheels push the rest of the truck upward. Repeat this same sequence on each ledge instead of trying one giant push. If the rear wheels slip, do not panic. Small repeated inputs often find the right grip point better than a full hold.

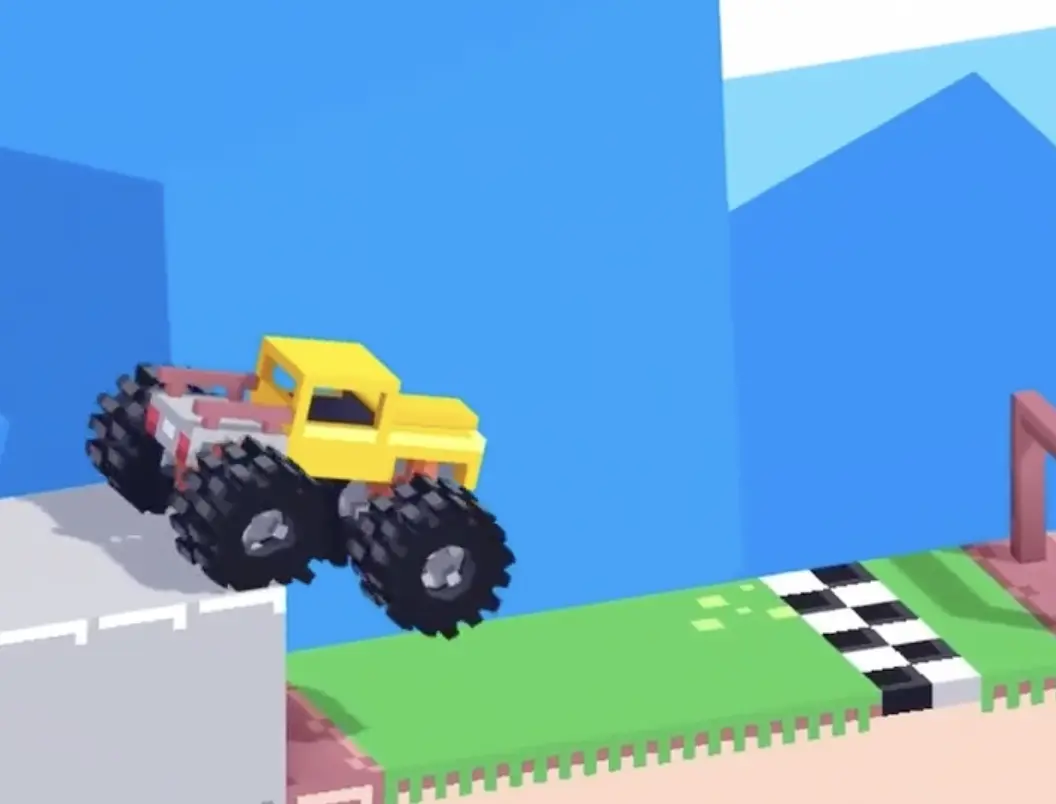
Step 3: Descend slowly and control the landing angle all the way to the finish
After reaching the top, the level is not over yet. The safest descent is a slow one. As the truck drops down each step, use tiny forward and backward corrections to keep the body centered and stop the nose from spearing into the ground. Try to let the wheels touch down as evenly as possible. Once the truck reaches the final flat section, keep it calm and roll straight onto the finish. Most endgame failures happen only because players relax too early and let gravity take over.
Best Cue for Consistent Clears
Catch the front wheels first. Let the rear wheels do the work.
Why This Method Works
This method works because the steps are too tall for a flat, direct charge. The truck needs leverage. By first placing the front wheels on top of each ledge, you create the angle needed for the rear wheels to generate upward drive instead of wasted spin. That segmented approach prevents the chassis from jamming into the wall of the step. On the way down, the same principle applies in reverse: controlled wheel placement matters more than speed. Slowing the descent reduces pitch angle and keeps the truck balanced through every landing.
Key Tips for Level 61
- Use the first small obstacles as a rhythm warm-up, not as a place to waste speed
- On the big steps, think ledge by ledge instead of trying to brute-force the whole staircase
- If the rear wheels slip, use short repeated inputs instead of one long panic hold
- Front-wheel placement is more important than raw acceleration on the climb
- On the descent, tiny corrections are safer than letting the truck free-fall
Common Mistakes in Drive Mad Level 61
- Slowing down too much on the first low obstacles and losing useful rhythm
- Charging the staircase at full speed and getting the chassis stuck
- Trying to climb without first lifting the front wheels onto the ledge
- Overholding the throttle when the rear wheels lose grip
- Descending too fast and driving the nose into the ground before the finish
Fast Summary
- Lightly lift the front wheels over the early bumps
- At the staircase, place the front wheels on each ledge first
- Use rear-wheel push to bring the rest of the truck up
- Repeat one step at a time until you reach the top
- Descend slowly with small corrections and drive to the finish
FAQ
How do you beat Drive Mad Level 61?
Clear the early bumps with a small front-wheel lift, then climb the tall staircase one ledge at a time by placing the front wheels first and letting the rear wheels push the truck up. After that, descend carefully and roll to the finish.
Why is Drive Mad Level 61 difficult?
Because the staircase is too tall to brute-force cleanly. The level demands careful wheel placement, controlled momentum, and balanced descents instead of raw speed.
What is the main trick in Drive Mad Level 61?
The main trick is segmented step-climbing. You have to split each ledge into two actions: front-wheel catch first, then rear-wheel drive to complete the climb.
What usually causes failure in Drive Mad Level 61?
Most failures come from bad timing, too much momentum into the steps, poor balance during the climb, or weak terrain control on the descent.
Should you accelerate hard on the staircase in Slow Climb?
No. The safest method is to climb each step deliberately. Full-speed charging usually gets the truck stuck or flips it backward.