Drive Mad Level 63 Walkthrough - Tricky Switch Guide
Complete Drive Mad level 63 walkthrough. Learn how to beat Tricky Switch by carrying enough speed into the loop, completing a full rotation to trigger the hidden switch, and wai…
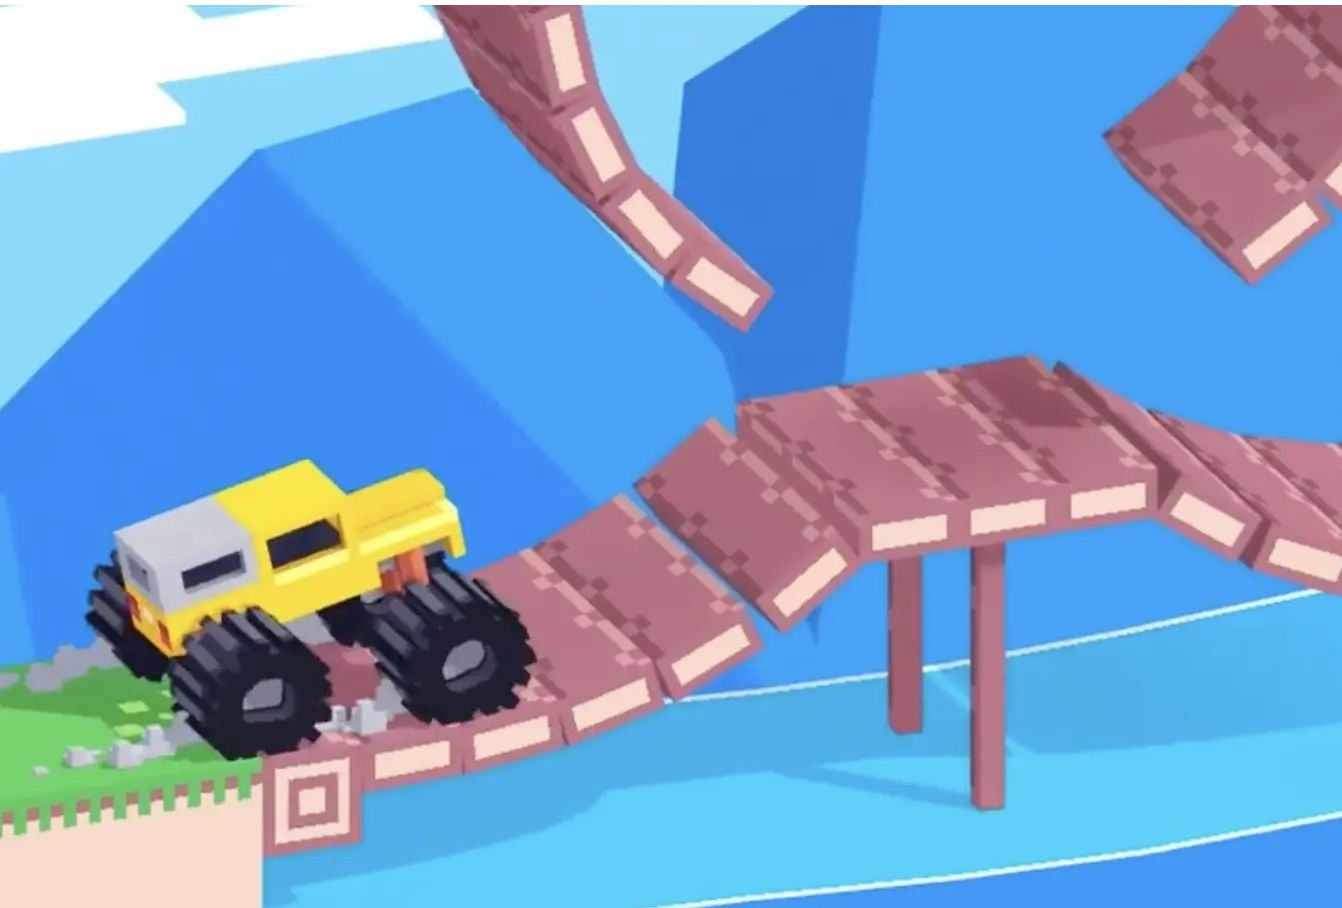
Drive Mad level 63, called Tricky Switch, is a medium level built around centrifugal triggering and a dynamic bridge. A tall wooden wall blocks the middle of the stage, so you cannot drive straight through in a normal way. The real solution is hidden inside the large loop. You need to enter the ring with enough speed to complete a full 360-degree rotation, and during that rotation the truck hits the concealed trigger near the top. That impact causes the wall ahead to fall forward and transform into a temporary bridge across the gap.
Why Level 63 Feels Hard
This level feels difficult because the important action happens before the obstacle you actually care about. Players see the wall and think about the gap, but the real challenge is the loop entry. If your approach speed is too low, the truck falls out of the ring before reaching the top and the hidden switch never activates. If your speed is messy or your balance gets unstable during the rotation, you can still lose control even after the mechanism works. So the stage is really about preparing the loop correctly, then calming the truck before crossing the newly created bridge.
Step-by-Step Walkthrough for Drive Mad Level 63
Step 1: Build strong entry speed before driving into the loop
From the start, commit to a fast approach. The loop only works if the truck enters with enough momentum to stick to the inner surface instead of sliding back down halfway. This is one of those levels where hesitation is the real enemy. Drive into the curved entrance cleanly and avoid awkward wobble at the bottom. The better your entry line, the easier it is to carry speed into the full rotation.
Step 2: Stay on the throttle through the 360-degree rotation and trigger the hidden switch
Once inside the loop, do not panic and lift off too early. Keep the throttle engaged so the truck continues around the circle. As you pass the highest point, the vehicle activates the hidden mechanism that knocks the wall forward. If the truck begins to lose energy around the upper half, give it the extra push it needs instead of letting gravity win. After you come back down, be ready for a small landing shake. A tiny stabilizing correction can help settle the body before the next move.

Step 3: Wait for the wall to fall completely, then drive across the bridge to the finish
After the trigger works, do not rush immediately. Give the wall time to finish falling and settle into a flat enough bridge across the gap. Once the temporary path is stable, drive forward with controlled speed and cross it like a normal bridge. The hard part is already over, so there is no reason to overdrive the ending. Just keep the truck centered, roll across the fallen wall, and continue onto the finish platform.

Best Cue for Consistent Clears
Fast into the loop, calm onto the bridge.
Why This Method Works
This method works because the loop is governed by momentum and centrifugal force, not hesitation. A quick entry gives the truck enough speed to stay pressed against the loop and reach the highest point, where the hidden trigger sits. Keeping the throttle through the rotation prevents the truck from stalling on the upper arc. Then, waiting for the wall to fully finish its motion removes the last big risk, because a half-fallen bridge is much less stable than a settled one. The level becomes simple once you separate it into two phases: trigger first, cross second.
Key Tips for Level 63
- Treat loop entry speed as the most important part of the level
- It is usually safer to enter slightly too fast than too slow
- Keep the throttle on during the loop so the truck completes the full rotation
- If the truck shakes after exiting the loop, use a tiny correction to settle it
- Wait until the fallen wall fully bridges the gap before crossing
Common Mistakes in Drive Mad Level 63
- Approaching the loop too slowly and sliding down before reaching the top
- Letting off the throttle in the upper half of the ring
- Losing balance during the rotation and wasting the trigger attempt
- Driving onto the bridge before the wall has fully fallen into place
- Rushing the final crossing even though the dangerous part is already finished
Fast Summary
- Build strong speed before the loop
- Drive through the ring and complete the full 360-degree rotation
- Trigger the hidden switch at the top
- Wait for the wall to fall and form a bridge
- Cross the bridge steadily and drive to the finish
FAQ
How do you beat Drive Mad Level 63?
Carry enough speed into the loop to complete a full rotation, trigger the hidden switch at the top, wait for the wall to fall into bridge position, and then drive across to the finish.
Why is Drive Mad Level 63 difficult?
Because the level depends on momentum through the loop. If your speed is too low or your balance breaks during the rotation, the switch never activates and the path stays blocked.
What is the main trick in Drive Mad Level 63?
The main trick is realizing that the wall is opened indirectly. You must use the loop to activate a hidden trigger that turns the wall into a bridge.
What usually causes failure in Drive Mad Level 63?
Most failures come from weak loop entry speed, losing momentum near the top of the ring, unstable balance during the rotation, or trying to cross before the bridge has fully settled.
Should you drive immediately after the switch activates in Tricky Switch?
No. The safest method is to wait a moment for the wall to finish falling and become a usable bridge before you cross.